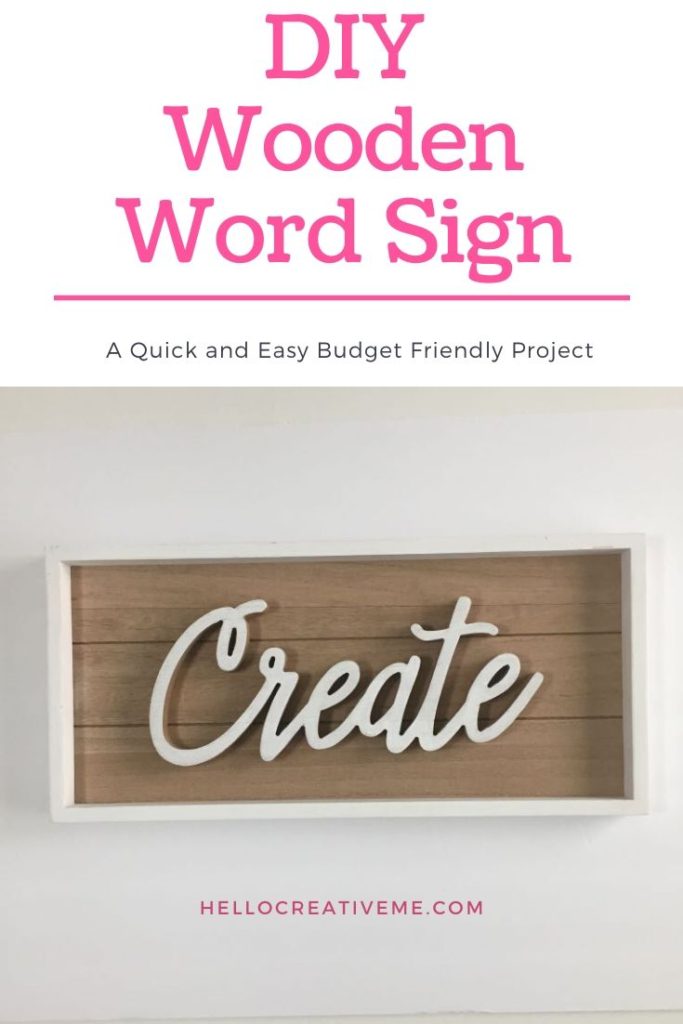
Hello all! Today I’m sharing with you an easy DIY hack to “create” your own wooden sign for really cheap!
As I was planning the decor for my craft room I came across this wooden sign from Kirklands.com. Totally perfect for my craft room. So I printed off a picture from the website and added it to my Sketchbook…a place I use for dreaming and planning and working out the details of my projects.
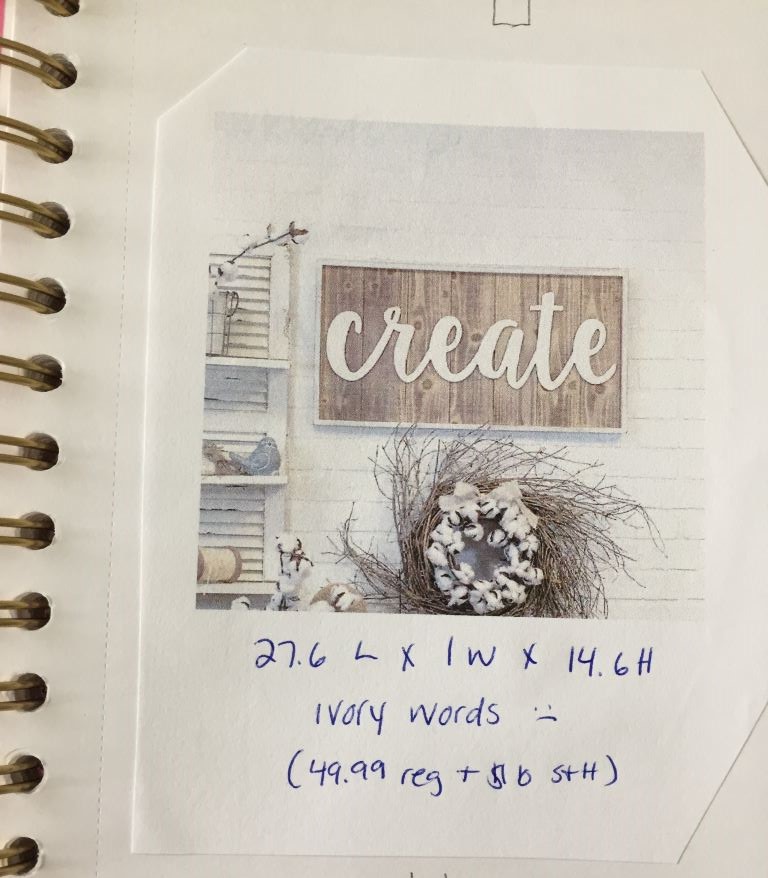
This sign would add a little farmhouse touch to my craft room. And the word “create”…so appropriate for this space. It also happens to be my current word for the year. Seems like it was meant to be. Although the color of the word said “ivory” in the description I thought well, I’ll just paint it white to better match my craft room.
However the cost was a bit much for such a simple sign. One I knew I would have to paint white since the ivory color just wouldn’t do. But I REALLY wanted it!!! I found a similar “create” sign last year but when I went to order it it was gone!!. I didn’t want that to happen again!
So when Kirkland’s had a sale I decided to splurge and go for it.
I was so excited when it arrived. Then I opened the package and womp womp!! The sign was damaged!!! Say what?!? The letter “e” was split. So disappointing!!! Both the damage and the overall quality of the sign. The little nails that attached the word to the sign were sticking up and it was poorly constructed. Not what I expected for that amount of money!!!
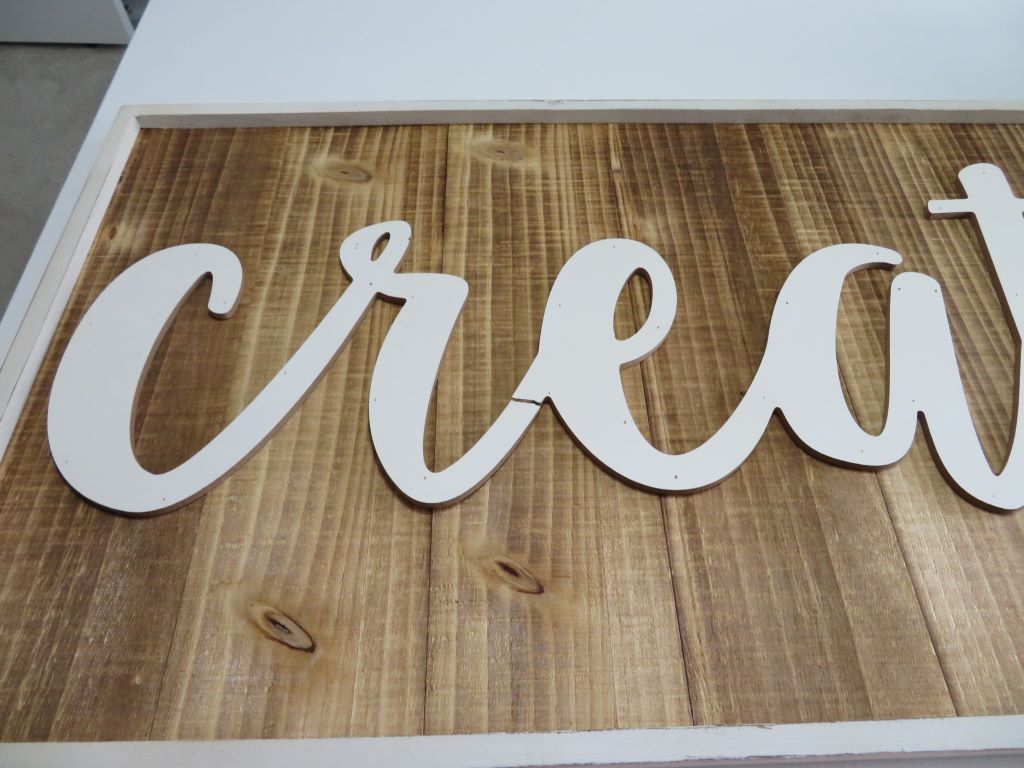
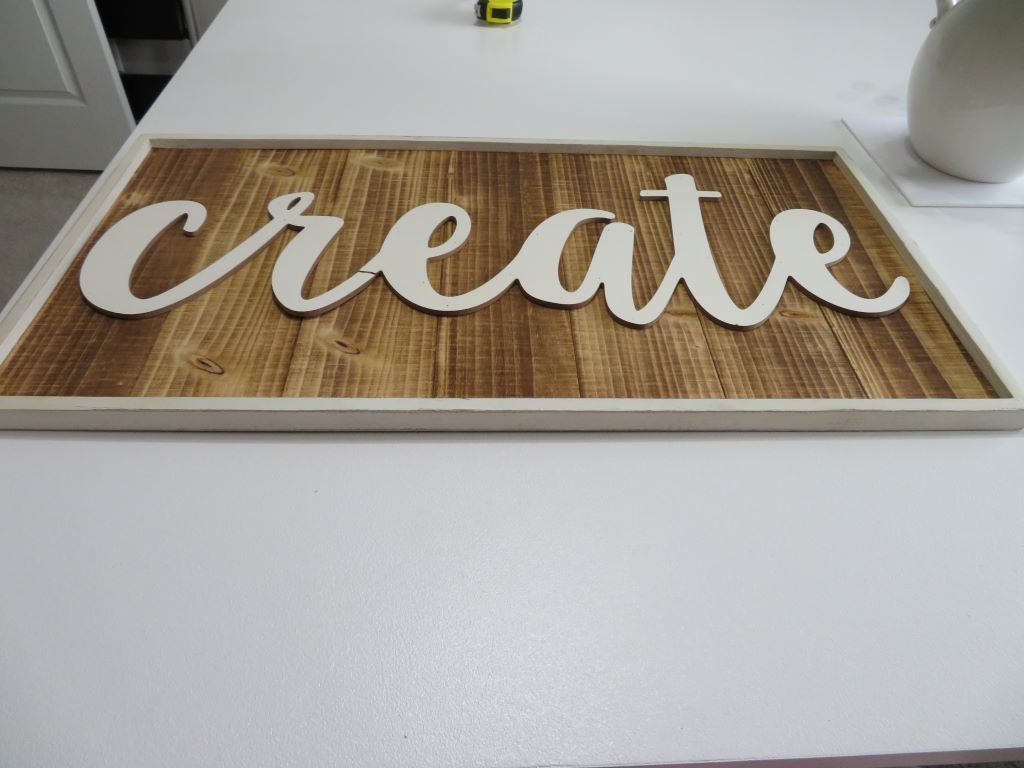
So I returned it to the store. I considered exchanging it but it was no longer listed on their site. Ugh! Such high hopes. On a good note however, I did get my $10 shipping cost back because the product was damaged.
But I really really wanted a “create” sign. I wondered…how might I make one myself for a lot less money? The research began.
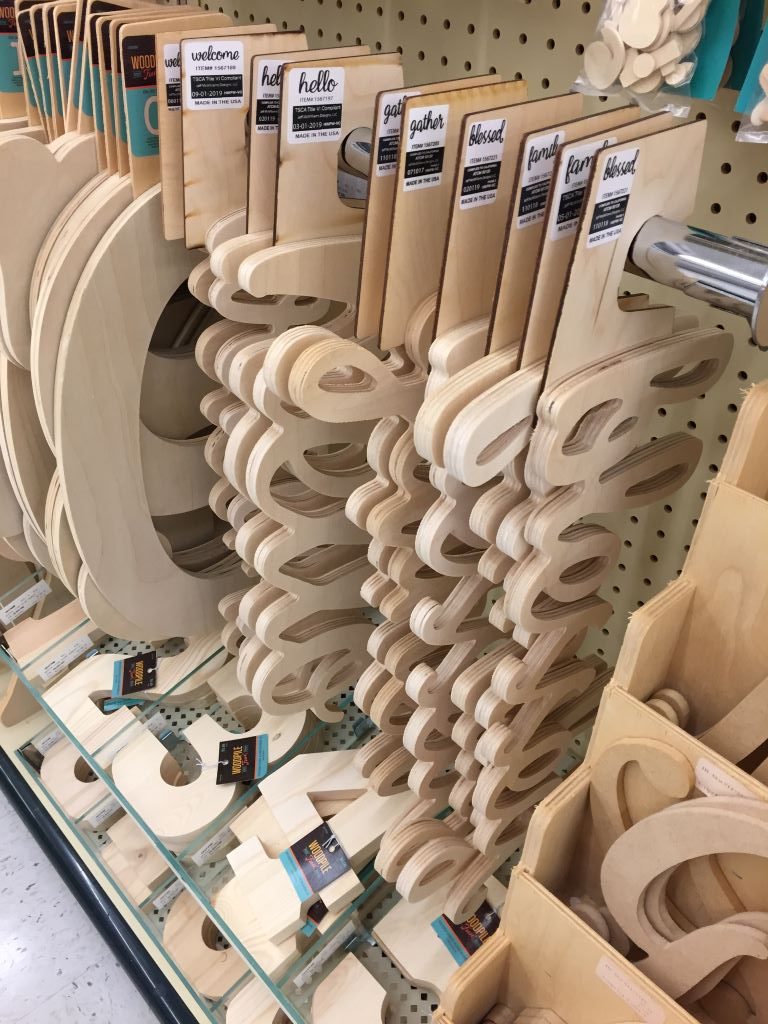
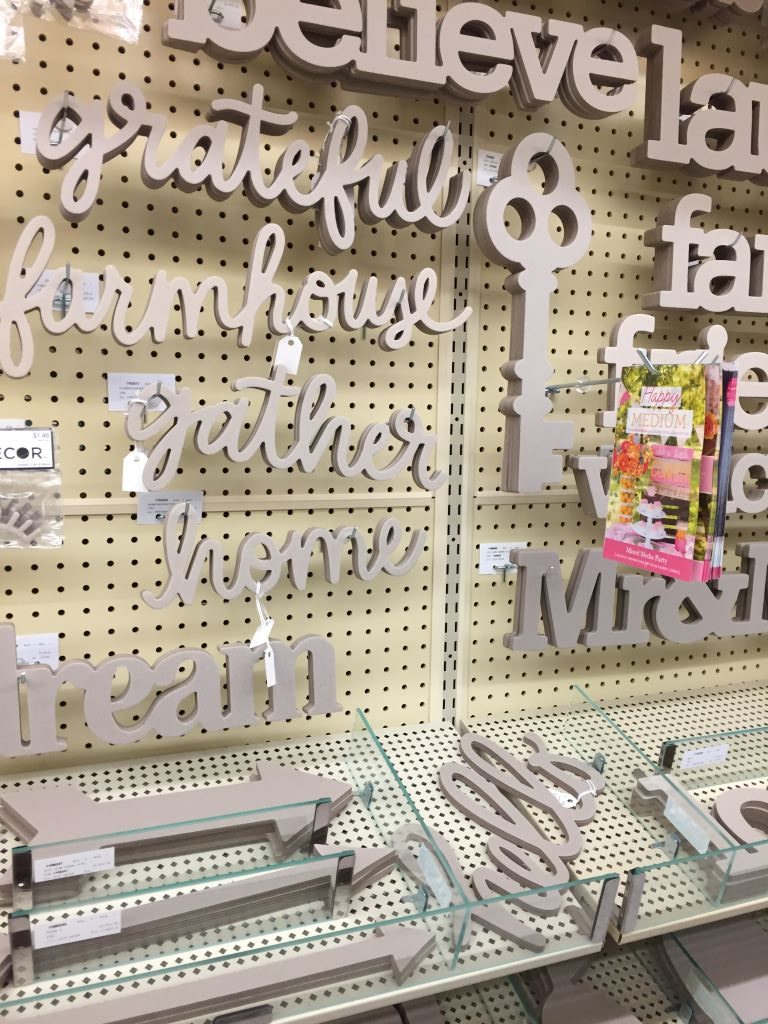
I headed out to my local craft store. Most craft stores have some type of wooden or cardboard word cutouts in pretty scripts to use for projects. But you’ll mostly find words such as blessed, welcome, gather,family, or love. Couldn’t find any that said “create”. So I kept looking.
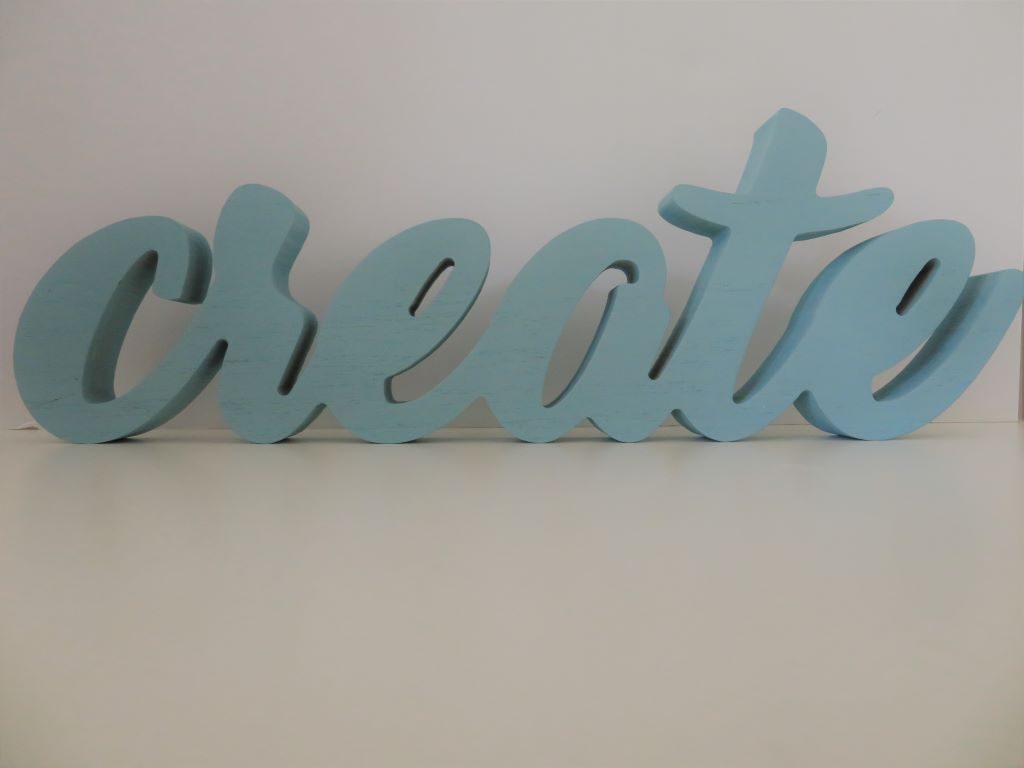
I finally saw my first “create” word. At a Big Lots store in the clearance aisle for $8. It was too thick for a sign but I bought it anyways. It can sit upright on its own and the teal color was perfect. Not gonna pass that up!!
Then one day while browsing online I found a “create” word on the Hobby Lobby website. Perfect size! I went to the store to look for it and even asked employees for help locating it. No one could find it. It’s a new item so keep checking back they said. And I did two more times!
On on my last trip I happened to walk down the stationery aisle and THERE IT WAS!! The stationery aisle of all places!! And the best part it was only $6 with my coupon. I did a little happy dance.
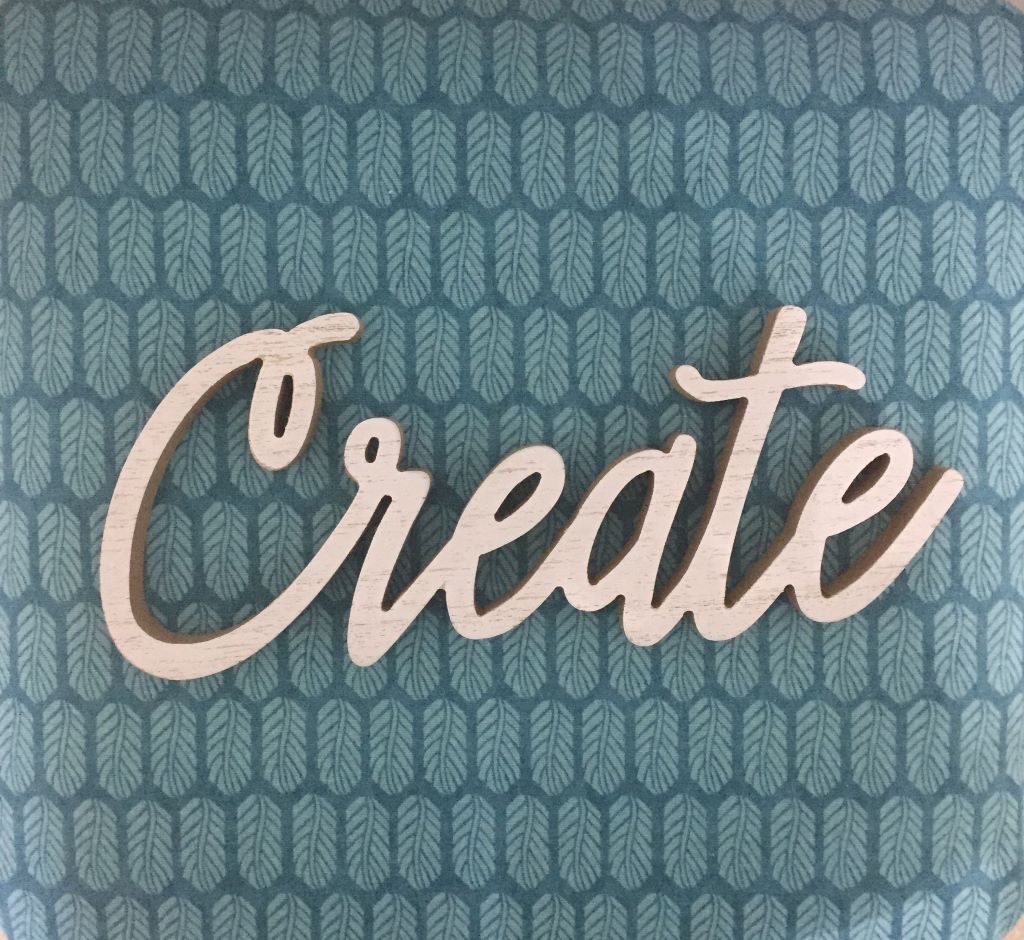
The size was just right: 6 1/2″ tall, 13 1/4″ wide and just over 1″ thick.
I also found this pre-made frame there as well. Perfect size…19 1/2″ x 9″. On sale it was only $7!!
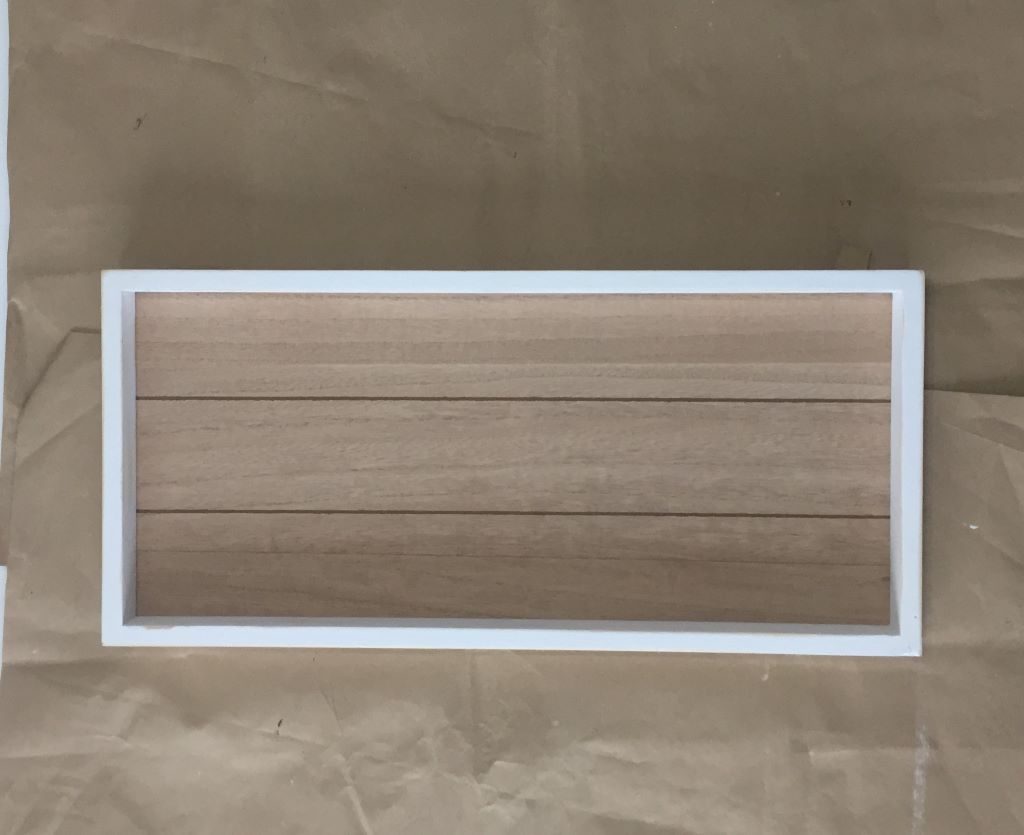
Let the creating begin!!
I gave the word and the frame a quick wash of white paint. Probably not necessary but I wanted a little brighter color. And then it was ready to go. Easy so far.
The hardest part of this project was trying to align the word on the inside of the frame. It was a little tricky because there wasn’t a straight bottom on the word. I took pictures with my iPhone to help me correctly align it once I removed the word to apply the glue.
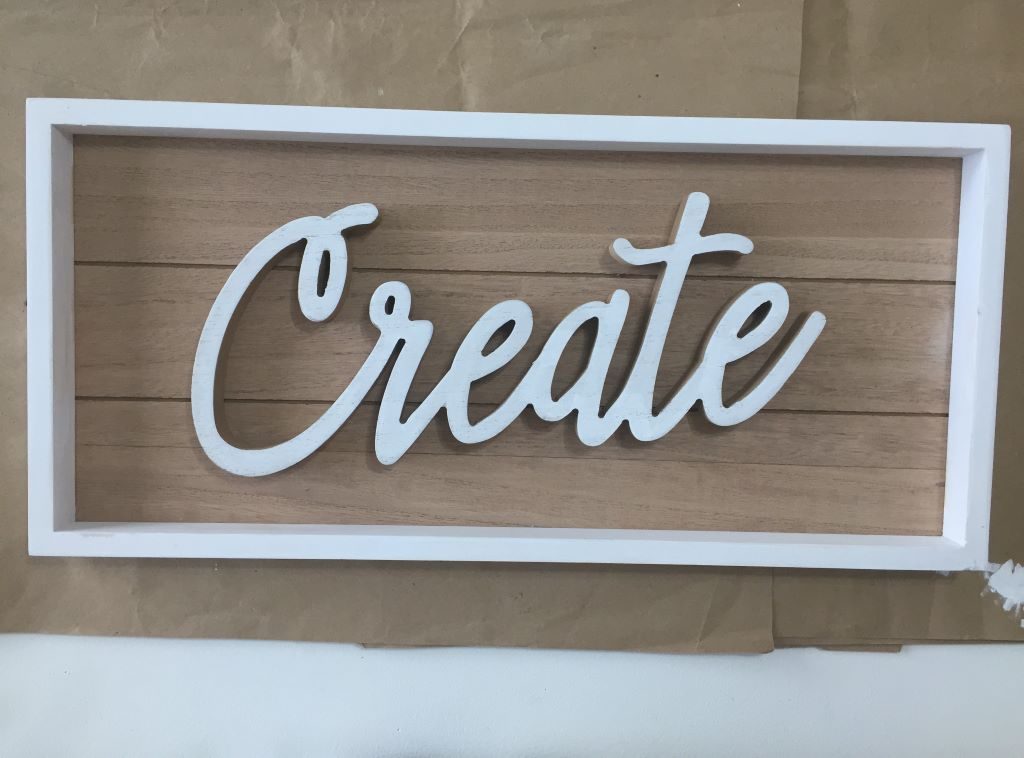
My husband, who likes to be much more precise than me, came and offered to measure it from all sides to get it as centered as possible. Thanks dear! (He even did a test of the two wood glues we had on hand to see which one would dry the clearest.)
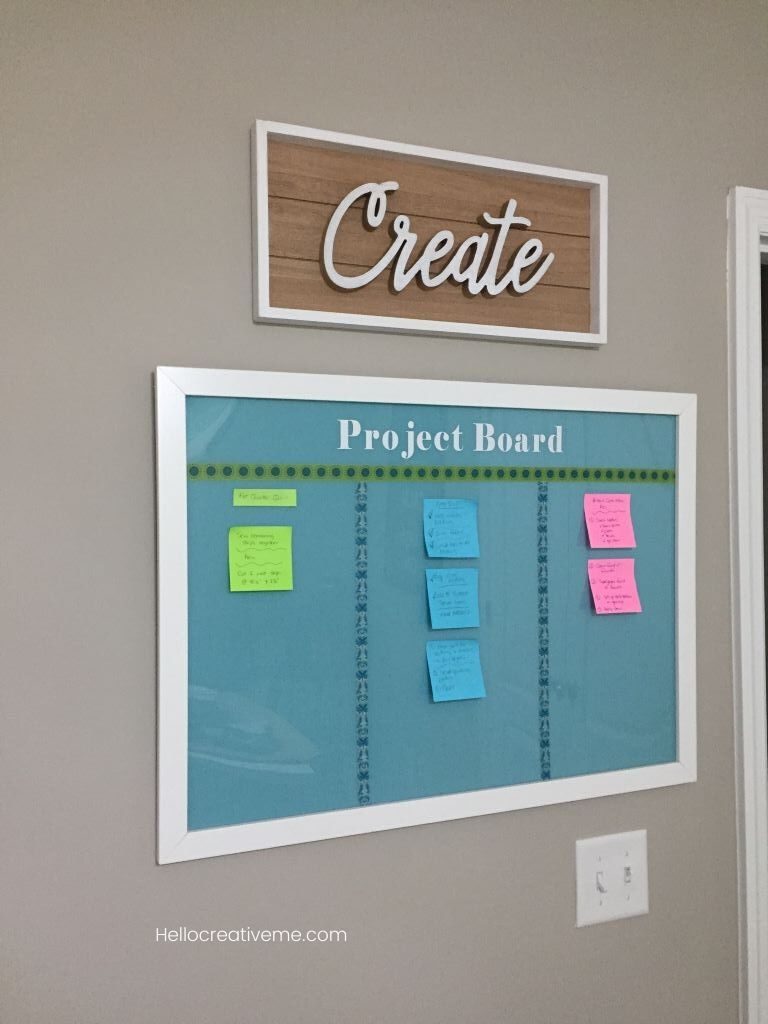
We applied the glue on the back of the word and carefully placed it inside the frame according to his measurements. And my iPhone pictures. We did have to clean up some glue that oozed out…but not much. Placed a book on top and let it dry for almost 24 hours. Then hung it on the wall, right above my DIY Project Board. A perfect fit!
So I finally have my “Create” sign in my craft room. And for only $13!! Can’t beat that.
If you want to make your own DIY wooden sign, consider trying this easy project. Look for ready made cutout words at your craft store and see what you might “create” today.
And if you do, please send me a picture in the comments. I’d love to see it.
Pin this for later!
~Sherry
This sign project turned out perfect!
Happy Weekend,
Kippi
Thanks! It was an easy and fun project to do.
So easy and looks great!
Thanks Pamela!!
Your vision ended up spot on ~ Pinned! I miss having a hobby lobby nearby. I still want to make the hour or so trip to the closest one to me. I’m looking at your two pictures with all those words/signs lined up and it’s making that trip move up on my list. Lol. I’m visiting from Over the Moon where I shared #19 and #20. Enjoy your week!
Thanks Allyson! That does make it challenging but check any local craft stores or Michaels too. I’ll be sure to hop over and check out your shared posts. Thanks for visiting!
I love this! Thank you for sharing at The Really Crafty Link Party. Pinned.
that’s awesome how things would come together over time so that you can finally have the sign you wanted in the first place. Thanks for linking this post with us at #OMHGWW
Love your sign, Sherry! I want one for my craft room too. Congrats! You’ve been featured this week at Celebrate Your Story!
Thank you so much for featuring my Create sign!!!
Sorry I am late! I have been running behind this making memories! Thank you for sharing at #OverTheMoon. Pinned and shared. Have a lovely week. I hope to see you at next week’s party too! Come party with us at Over The Moon! Catapult your content Over The Moon! @marilyn_lesniak @EclecticRedBarn