Add a touch of Valentine decor to your home with this quick and easy Valentine’s Day heart banner project!!
Hello friends! Valentine’s Day is quickly approaching. I don’t usually do a lot of decorating for this holiday. But this year I wanted to add a “touch” of valentine decor.
Something simple and inexpensive. Something quick and easy to make. And something that doesn’t require me to find storage space for it after the holiday.
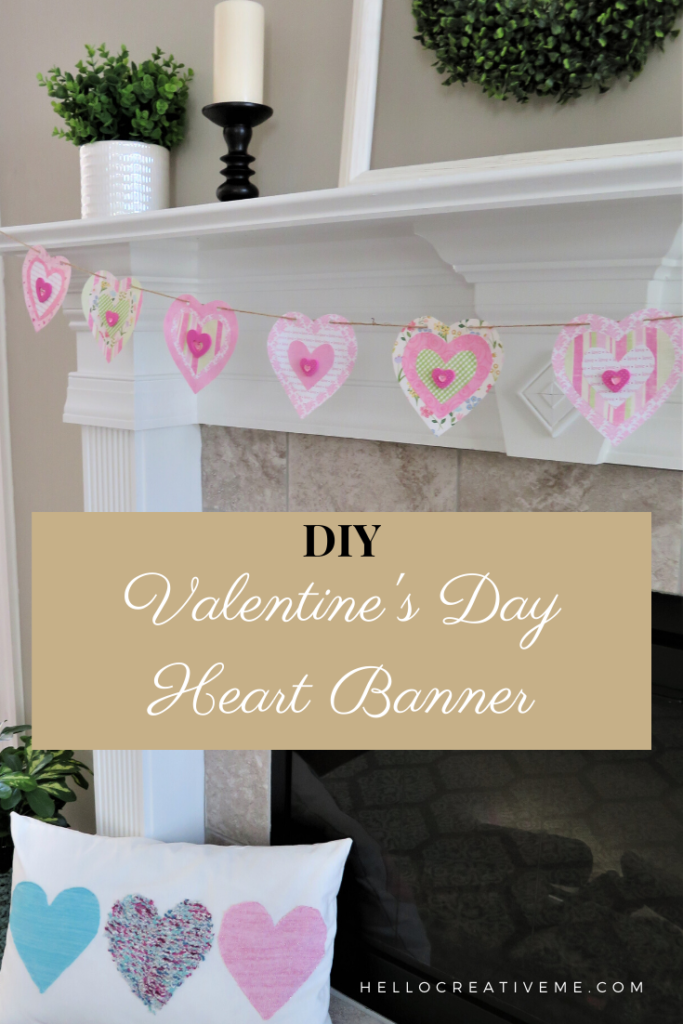
So today I’m sharing my creative inspiration with you… an easy DIY Valentine’s Day heart banner.
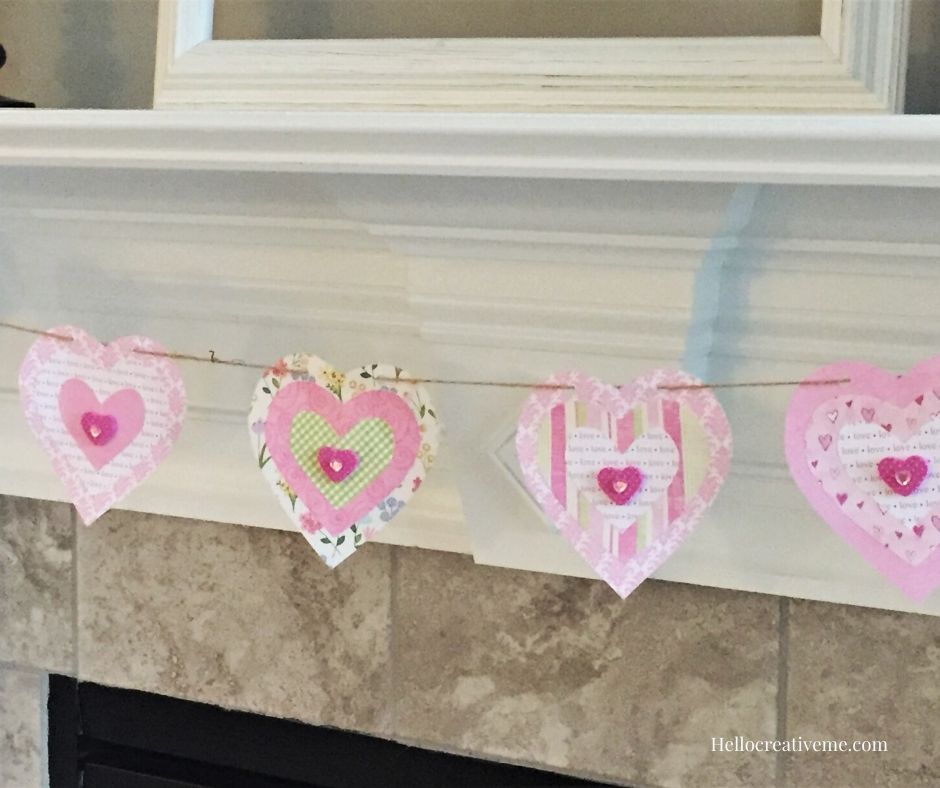
Heart banners for your mantel are quite popular. They are quick and easy to do. Inexpensive too. So a heart banner seemed like a perfect way to add a “touch” of valentine decor this year.
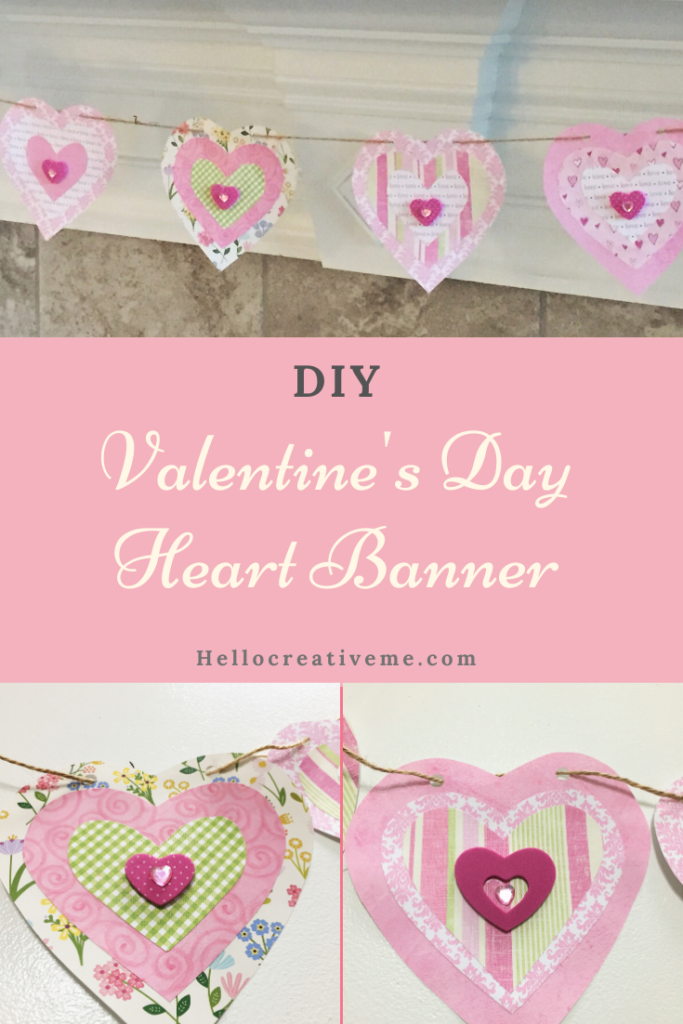
However, I wanted something a little fancier. Not the usual heart banners you see everywhere. So I decided to make my banner using layered hearts. And then I added some embellishments… for a little bling.
And it was so easy y’all!!! You probably have most of the supplies on hand already. I only needed a few items and spent less than $5 for them.
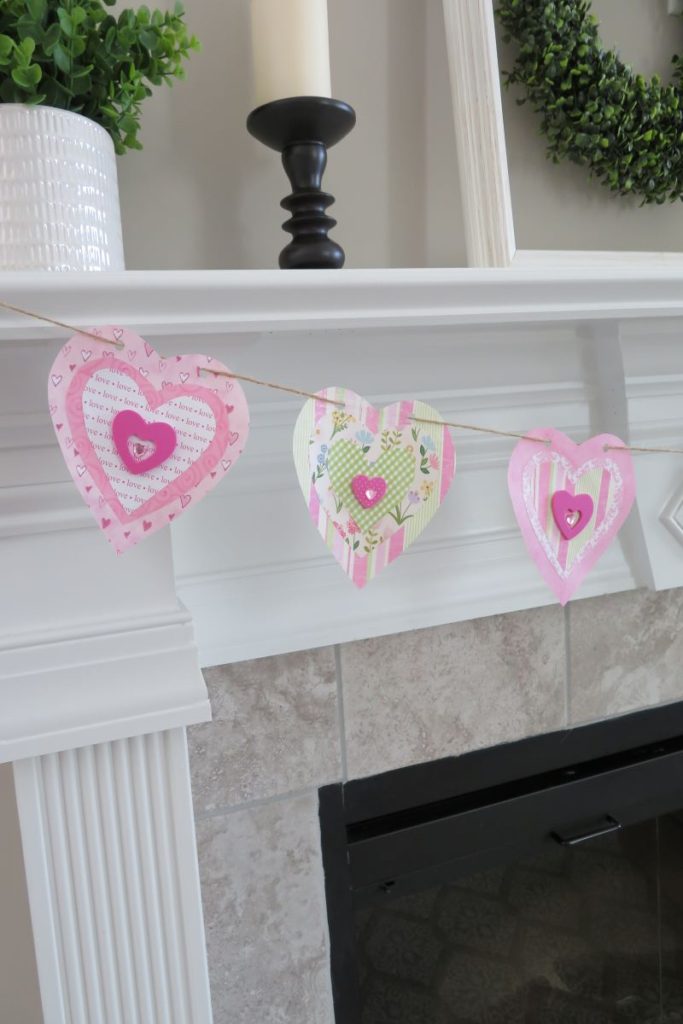
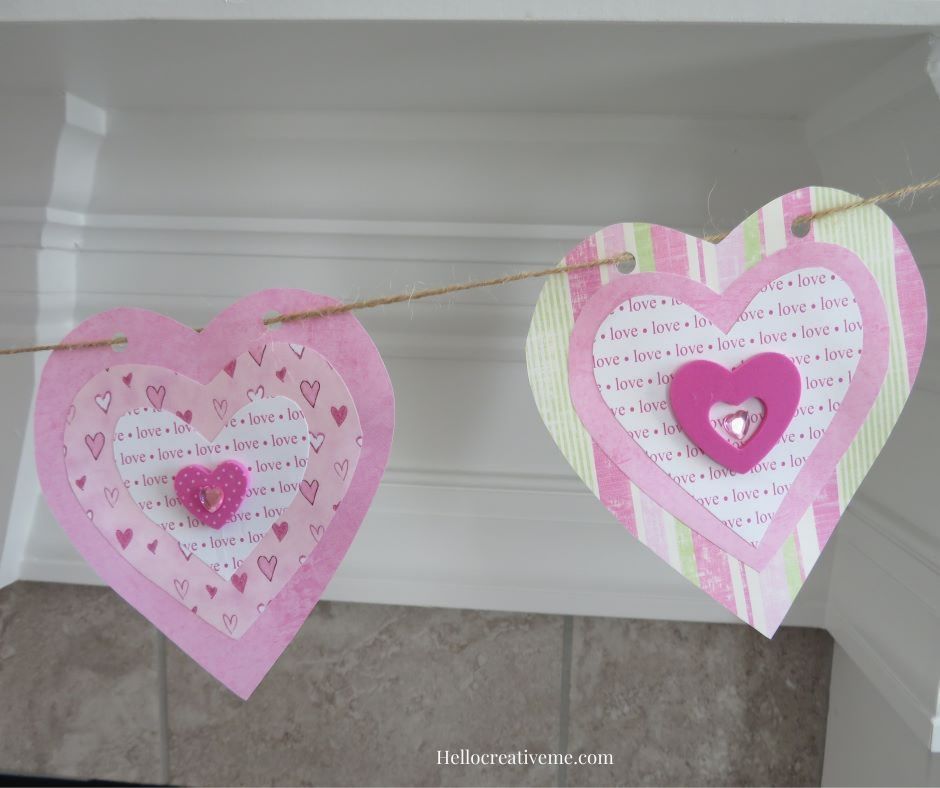
Each finished heart shape consists of 3 layered paper hearts. You could just layer the 3 hearts together and call it a day. But I wanted to make the hearts a little fancier. So I used foam heart shapes and heart jewel stickers I found at the dollar store.
Ready to make your own fancy DIY Valentine’s Day heart banner with layered hearts? Let’s get started!
You Will Need:
- Scrapbook paper in your choice of color and designs
- Card stock or paper for making heart templates
- Scissors
- Glue
- twine
- hole punch
- Foam heart stickers
- Heart jewel stickers
- Tweezers if needed to apply tiny stickers.
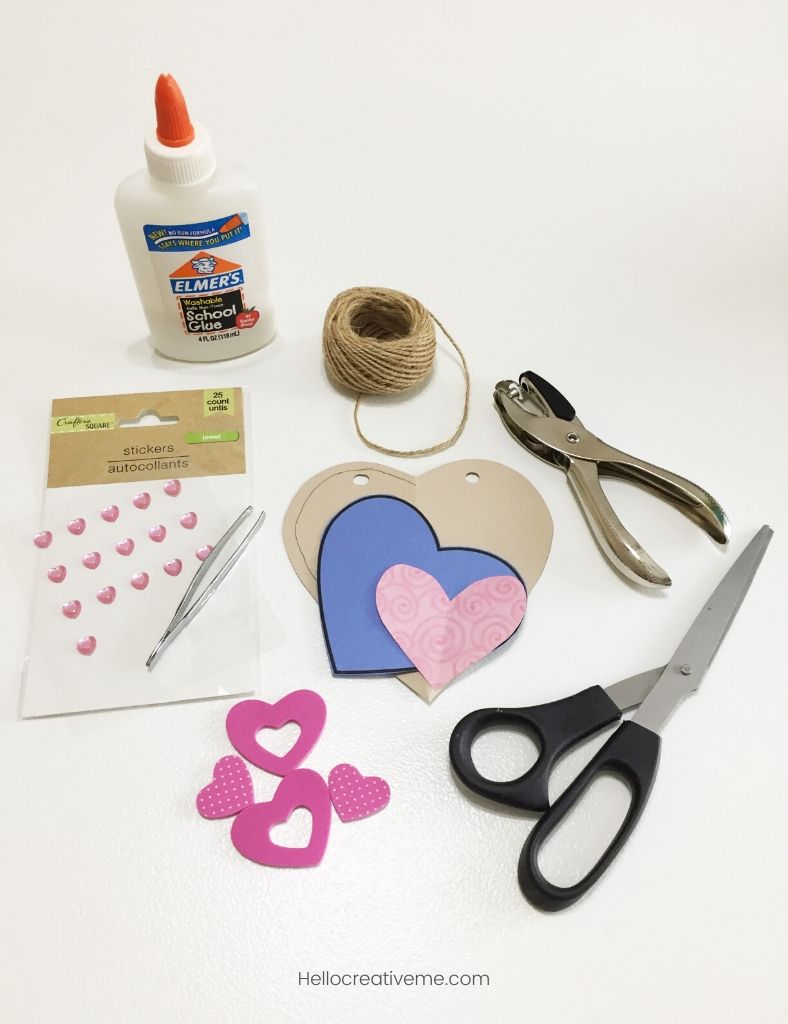
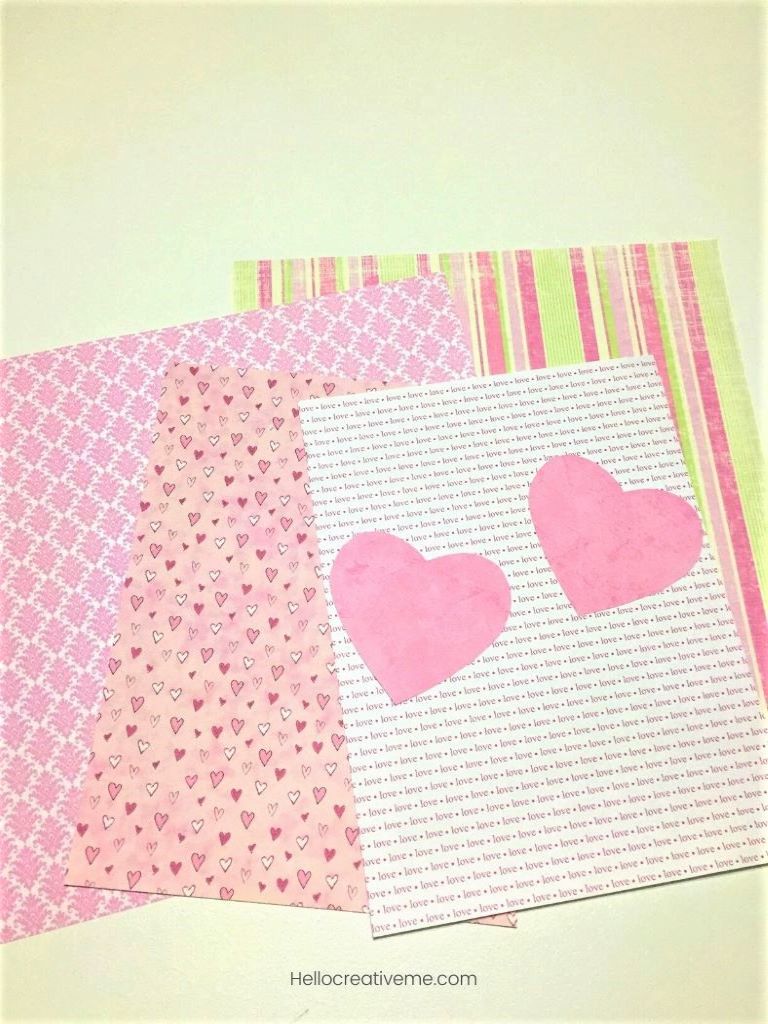
I’ve gradually been adding pops of pink to my decor so I chose to make my hearts in shades of pink. I purchased 4 sheets of scrapbook paper for $1 and used some from my stash.
How To Make A DIY Valentine’s Day Heart Banner
Step 1
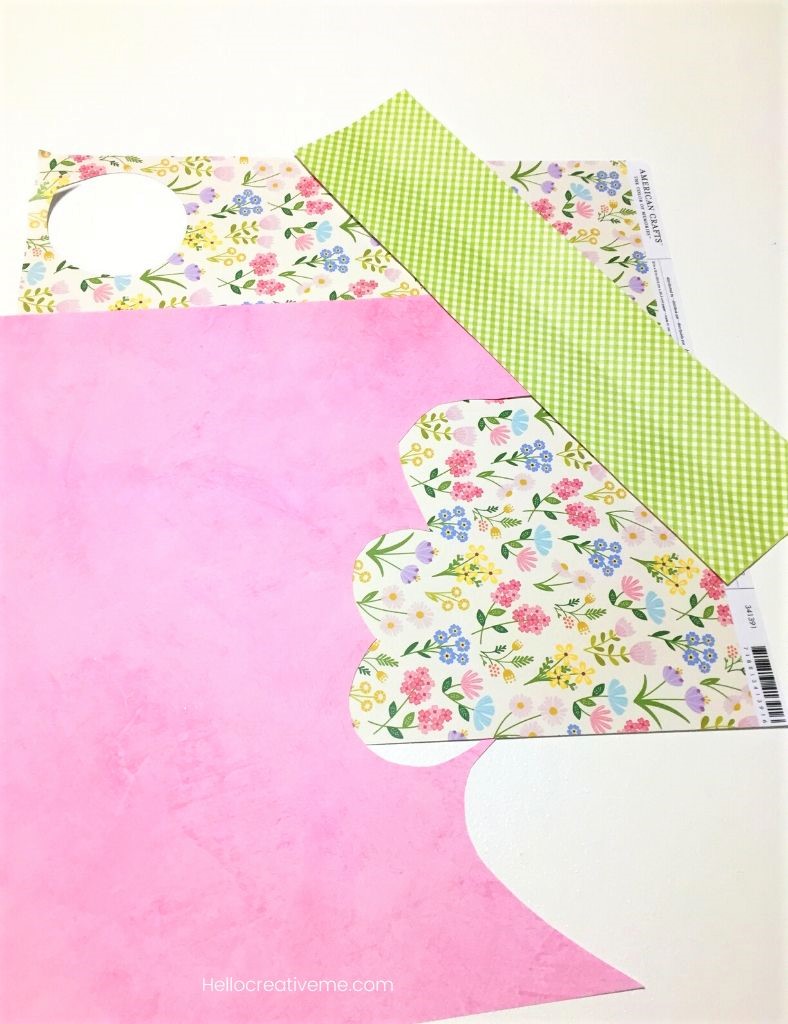
You need a large heart shape template for tracing. You could just fold paper and cut out a heart. Or you can find a printable heart template online. My favorite source for templates is firstpalette.com.
Then trace and cut out the large background hearts. I used 9 hearts for this banner. My large heart measures about 5″.
Next, trace and cutout the medium size hearts choosing colors/designs that look good with the larger hearts you just cut out. The medium hearts measure about 4″.
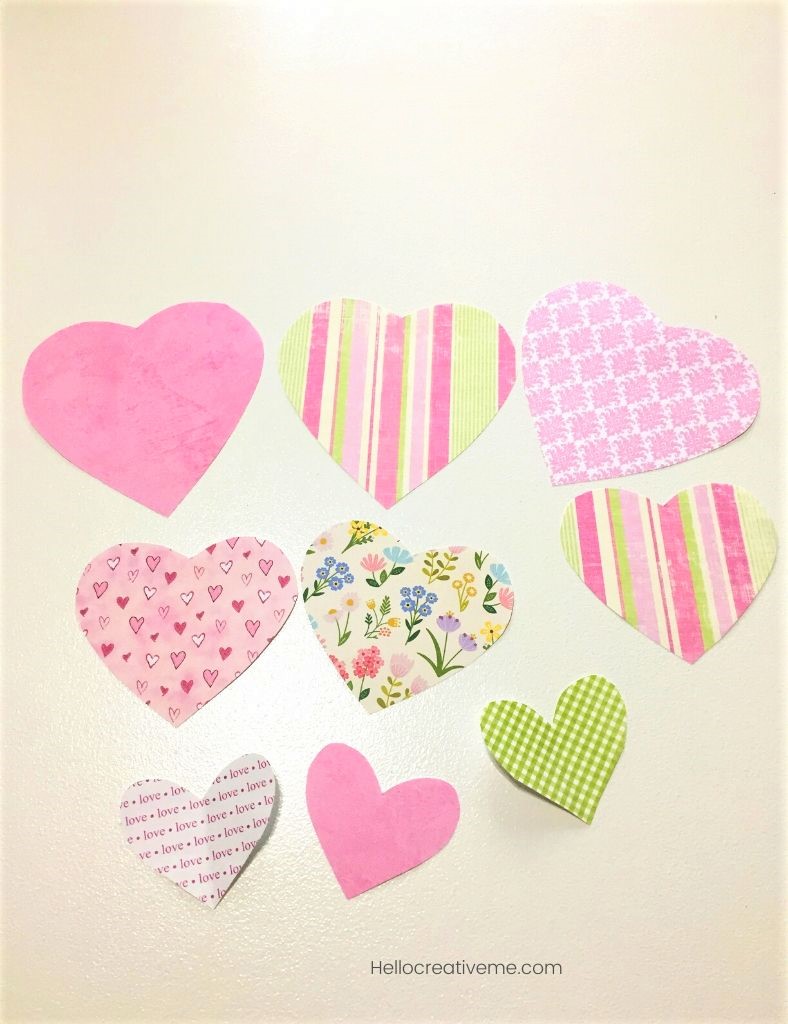
Then add some smaller heart shapes. I used two different sizes of the smaller hearts so more of the background color/pattern would be visible.
TIP: An easy way to make smaller heart shapes is to fold your medium heart paper in half and just trim to size.
Step 2
Arrange the heart shapes on top of each other to find a combination that’s pleasing to you. I lined my individual hearts up in a row just to be sure I didn’t have too many of one color or pattern.
Then it’s time to break out the glue. Use a thin layer of glue and glue the hearts together.
I then placed a heavy vase on the hearts to keep them from curling up as the glue dried.
Step 3
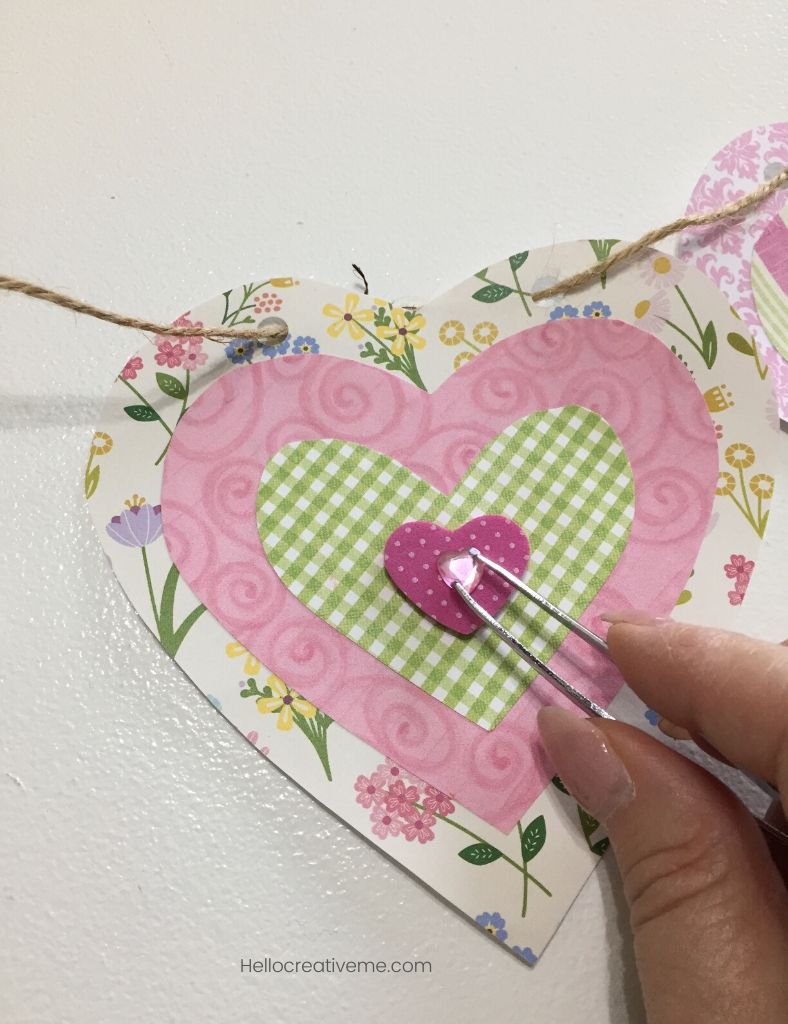
Now to add a little fancy. I put a foam heart sticker in the middle of my layered hearts. Then I placed the jewel heart sticker on.
The jewel heart stickers are tiny so you may need to use a pair of tweezers to place them on to the layered hearts.
Step 4
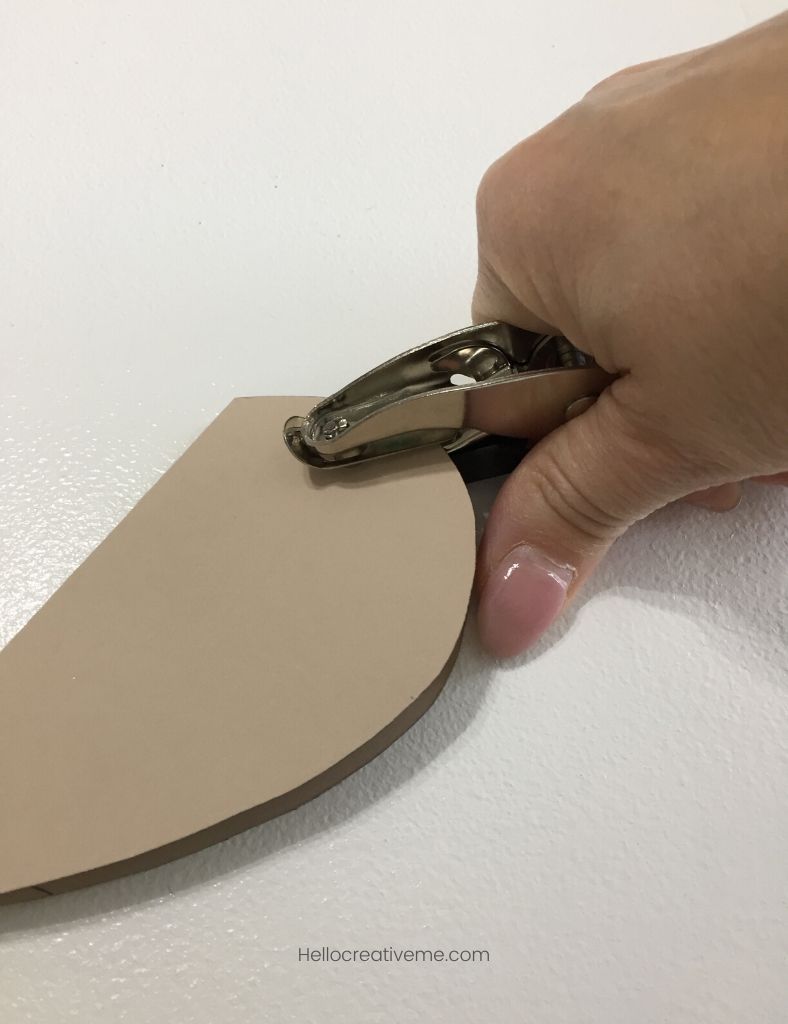
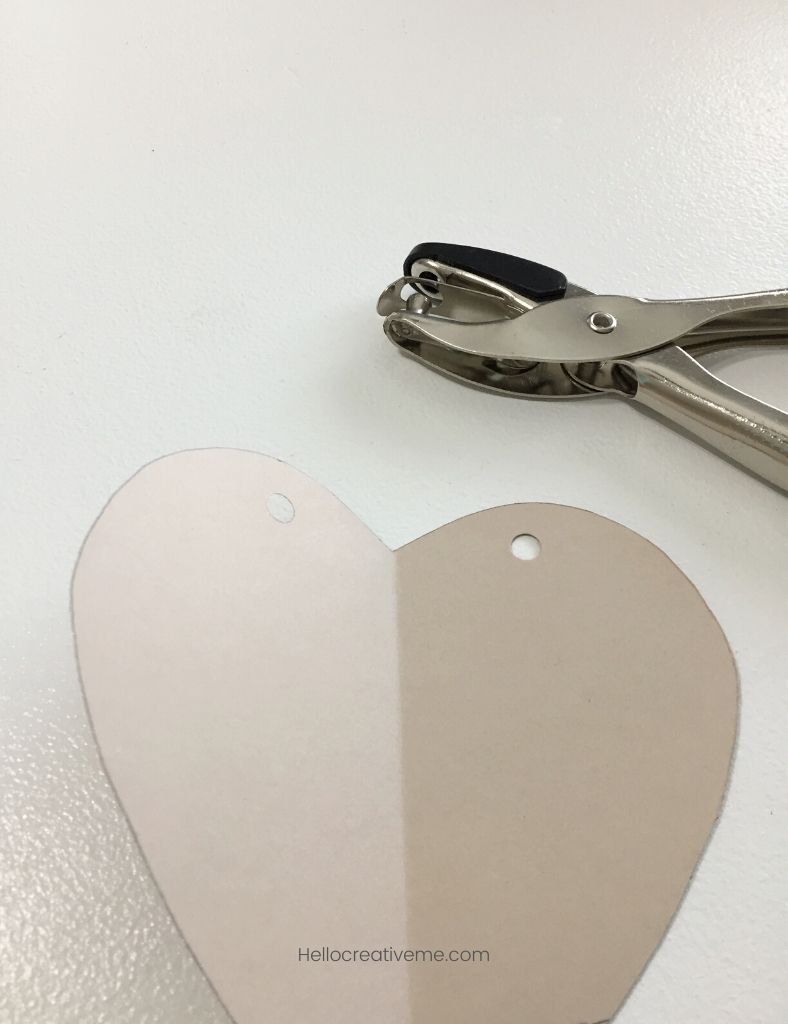
Once the hearts are are all set then it’s time to add holes for stringing on the jute twine.
To keep the holes uniform make a hole punching template. Simply fold the large heart template in half and punch a hole at the top. Voila! Two perfectly spaced holes!
Place the hole punched template behind the large heart, line up your hole puncher in the holes and press.
Decide the length of twine you need to hang your banner and ADD EXTRA inches!! (Better to be too long than too short… ask me how I know). Cut twine to desired length.
String the hearts on the twine. I chose to string my hearts so that the twine is behind the hearts.
Then hang on your mantel. I used clear command hooks on the top of my mantle to attach the string to.
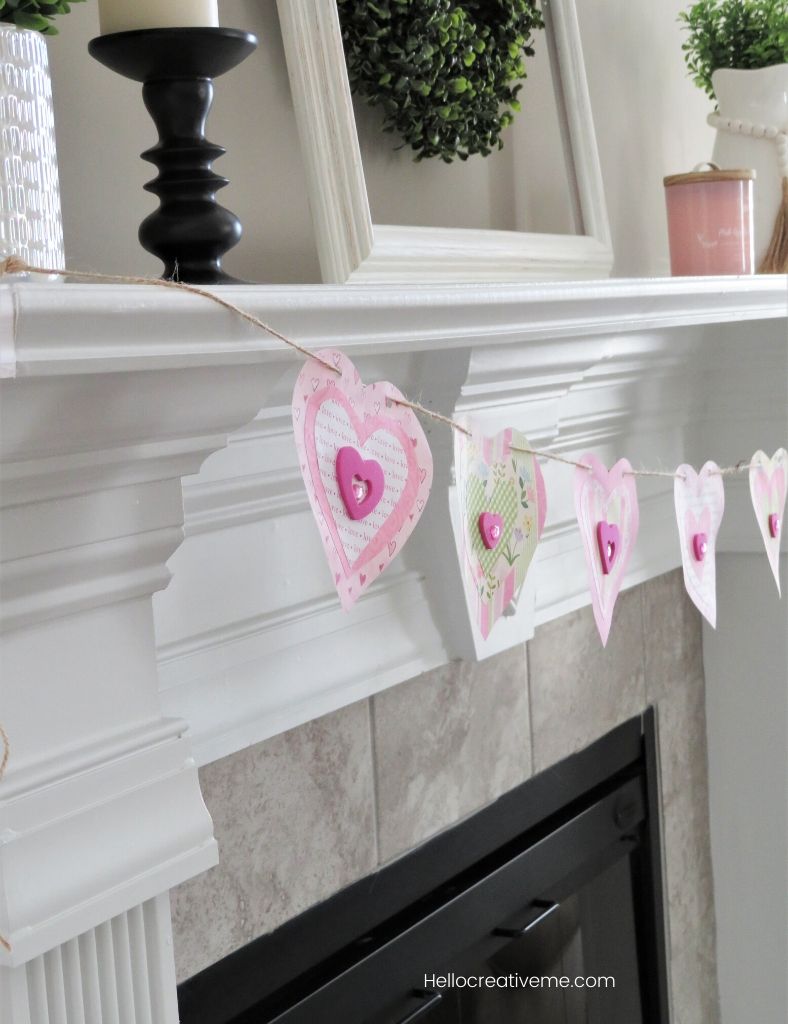
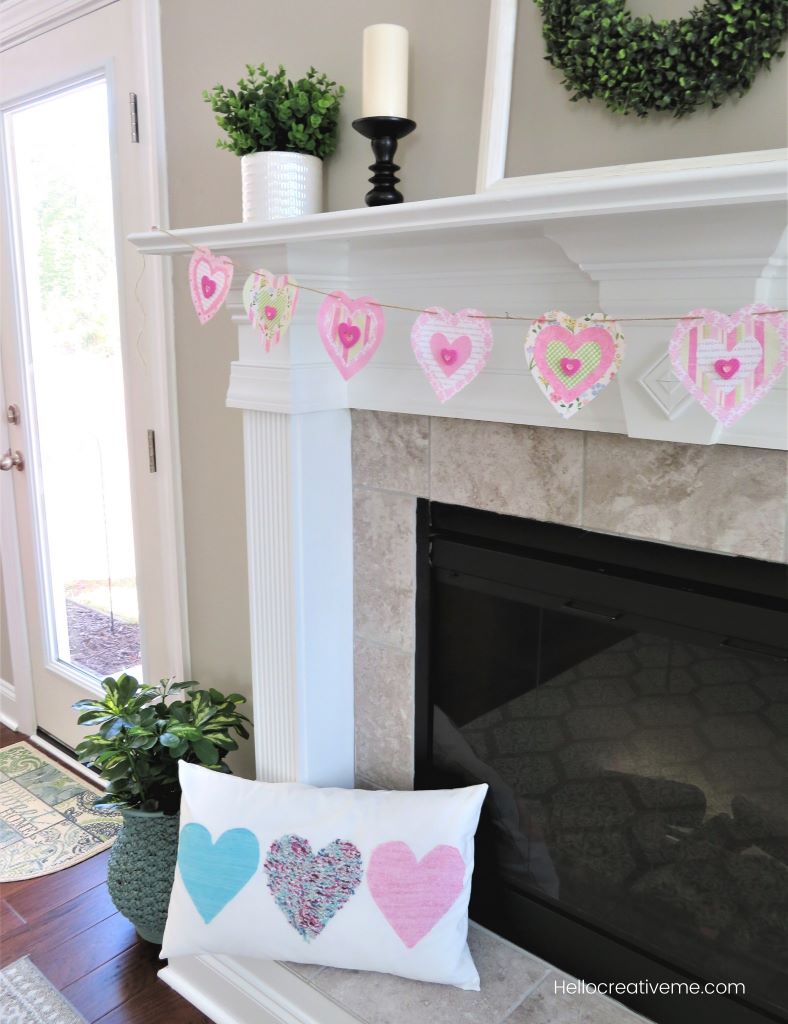
And enjoy!! Now wasn’t that fun?
Pin This For Later
~Sherry

These are SO PRETTY!! I love the color combos you used. So light and feminine.
Thanks Pamela! I found the colors to be a nice change of pace from everything so neutral.And they were fun to do!!
Very pretty colors! I like your layered look with the special touch of embellishments. Visiting from Over The Moon. Have a good week!
Thank you for sharing at #OverTheMoon. Pinned and shared. Have a lovely week. I hope to see you at next week’s party too!
Come party with us at Over The Moon! Catapult your content Over The Moon! @marilyn_lesniak @EclecticRedBarn
Congratulations! Your post was my feature pick at #OverTheMoon this week. Each Hostess displays their own features so be sure to visit me on Sunday evening and to see your feature! I invite you to leave more links to be shared and commented upon. Please don’t forget to add your link numbers or post title so we can be sure to visit!