It feels like I’ve been working on my craft room forrrevvver!! But it seems no craft room is complete without a pegboard. And I’m happy to report that my DIY framed pegboard is finally DONE!! Whoo hoo!!
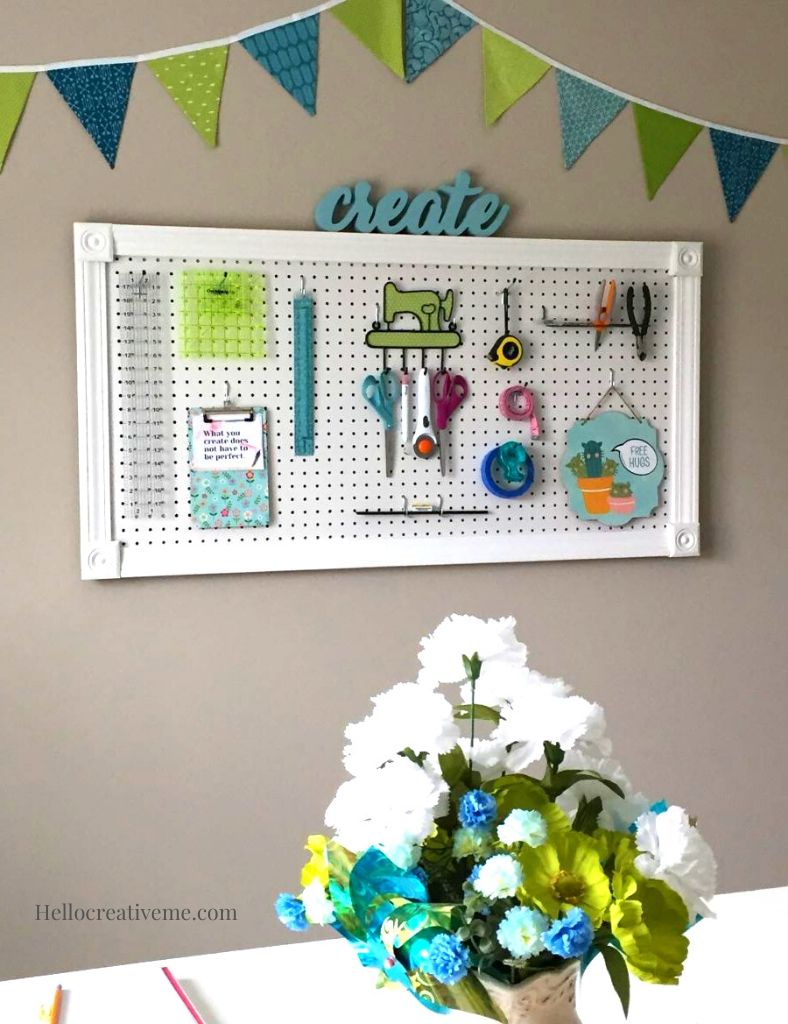
I really procrastinated on getting this done! So many decisions to make. How big? Framed or not? What color? Which wall? What to put on it? Yet the actual work of putting it together was quick and fairly easy. Not the daunting task I was afraid it would be.
I decided in the end to go with a small sized pegboard. Here’s why:
One, I have lots of storage space in my craft room closet as well as the shelves of my new craft table (which I will be sharing soon). So there was really no need for a large pegboard. I also prefer less “stuff” out in view.
Two, there would be no need to figure out how to get a huge pegboard home. That was challenging enough with my new craft room table top!! Definitely something to consider if you plan to make a DIY framed pegboard.
Three, a smaller pegboard just seemed easier for this beginning DIYer to handle. Which is a serious consideration if you are a beginner like me!! And I can always replace it with a larger board in the future.
Finally, a smaller pegboard gives me room on either side to display some of my projects. No sense in making beautiful creations that get stored away out of view.
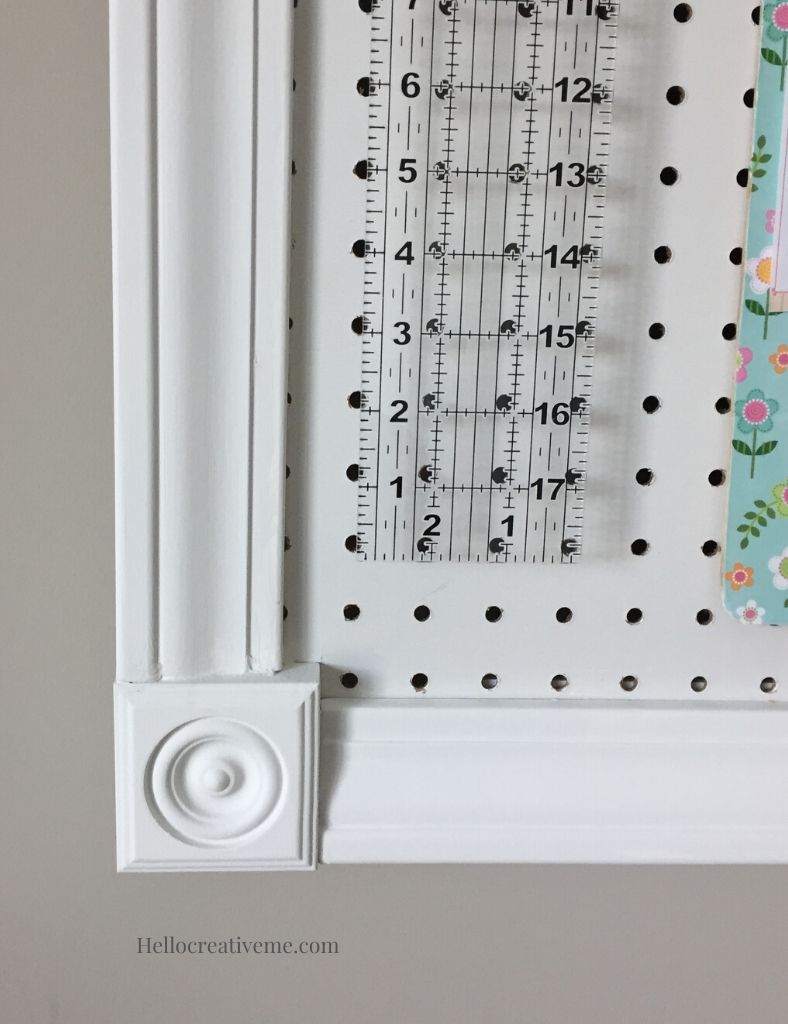
Anyhow, I really liked the framed pegboards. I think it just looks more finished that way. But I didn’t want to have to do any miter cuts at all!!! My solution? These cute little 2 3/4″ rosettes I found at Lowes. They were perfect! Just the right size for my smaller pegboard.
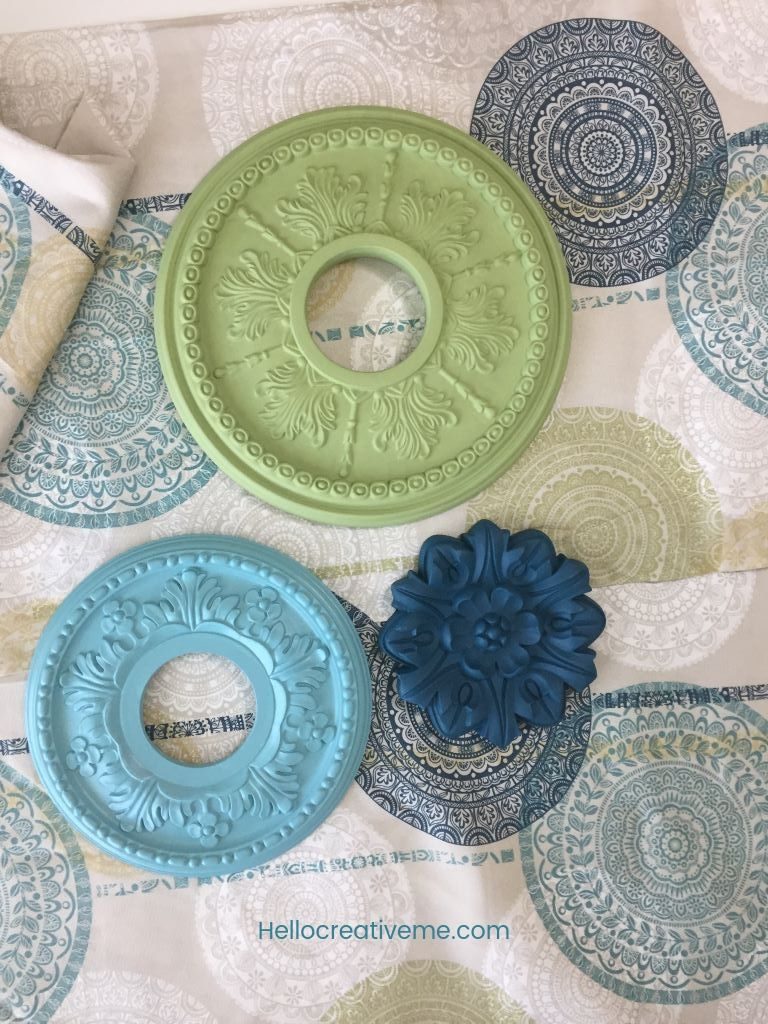
And they reflect both the suzani pattern found in my curtains and my DIY ceiling medallions wall art..
All I …uh I mean we (had lots of help from hubby) needed to do was to cut the molding to fit the length of the board and place it between the rosettes. No miter cuts needed!!!
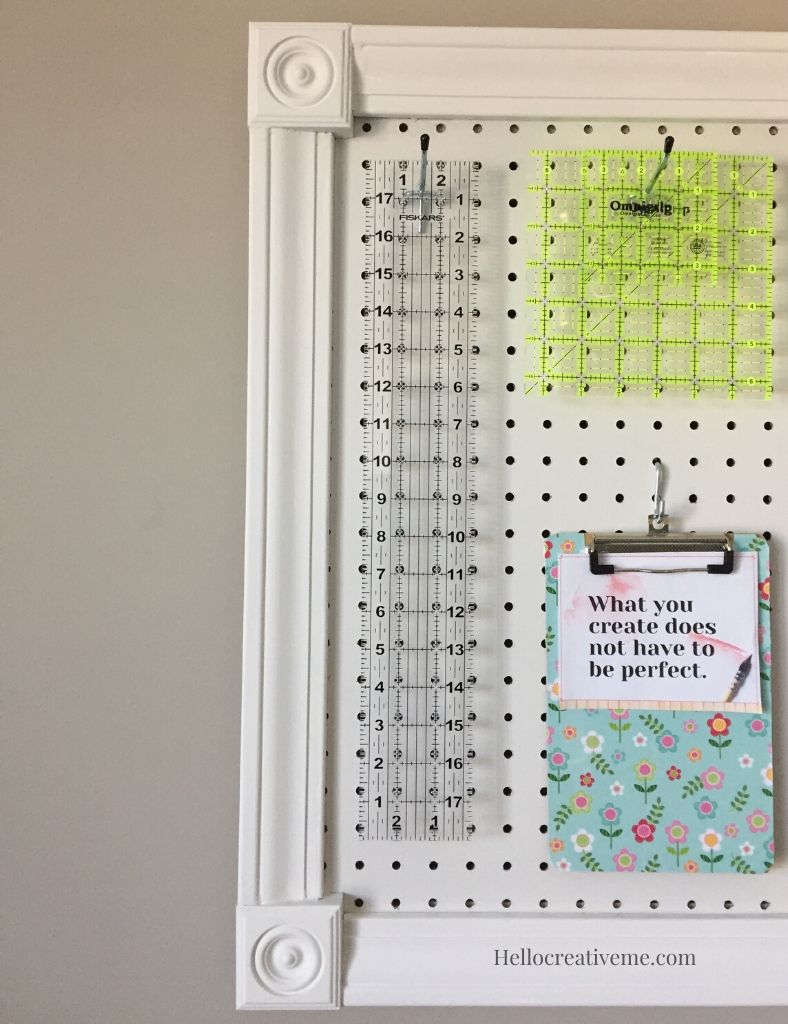
I attached the rosettes and the trim with glue leaving about 1/2″ overhang all around the pegboard. This way the edges of the pegboard were hidden giving it a clean, finished look and it gave me a little more surface area. My pegboard measures 51″ x 26″ from end to end. The inside measures about 46 x 22″…still plenty of room.
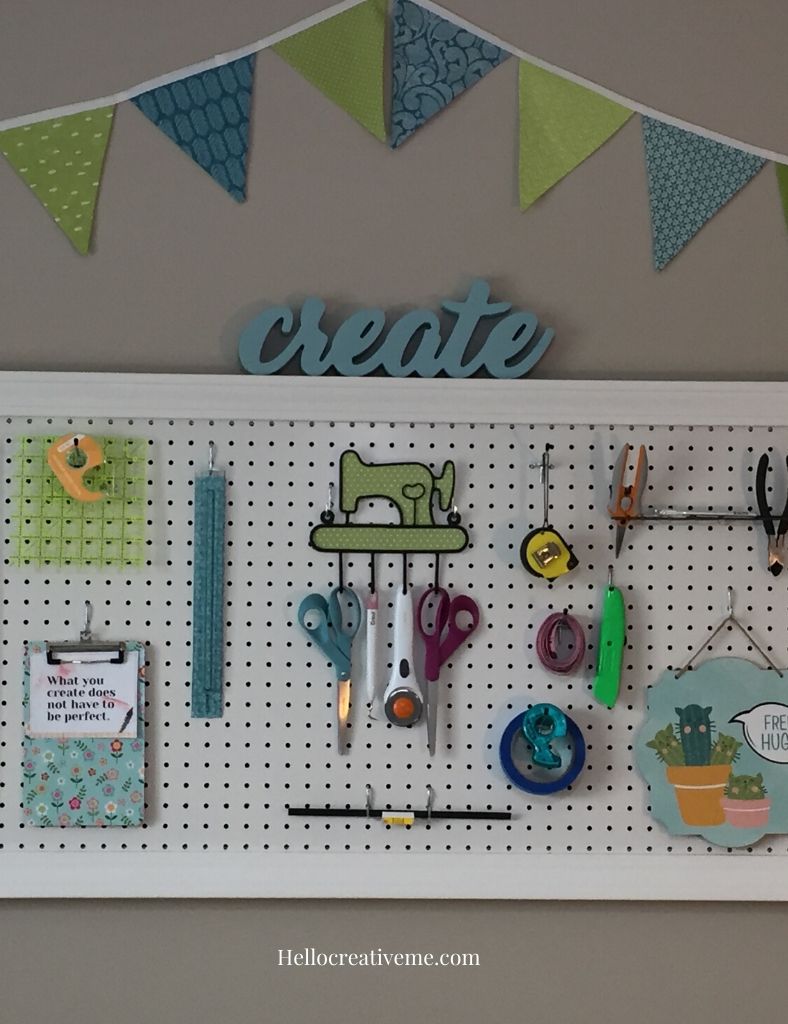
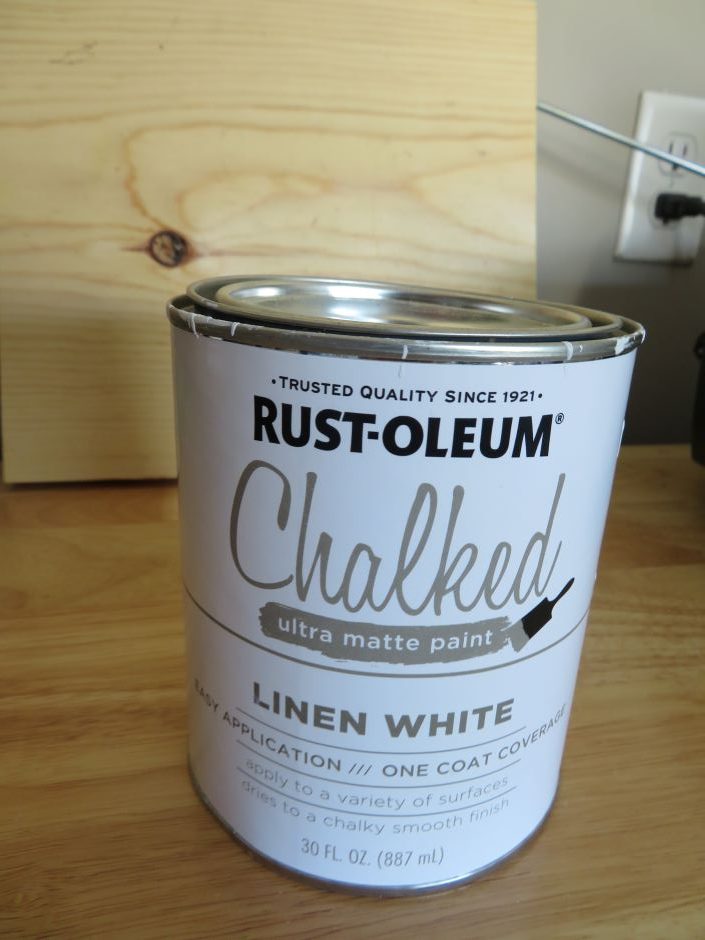
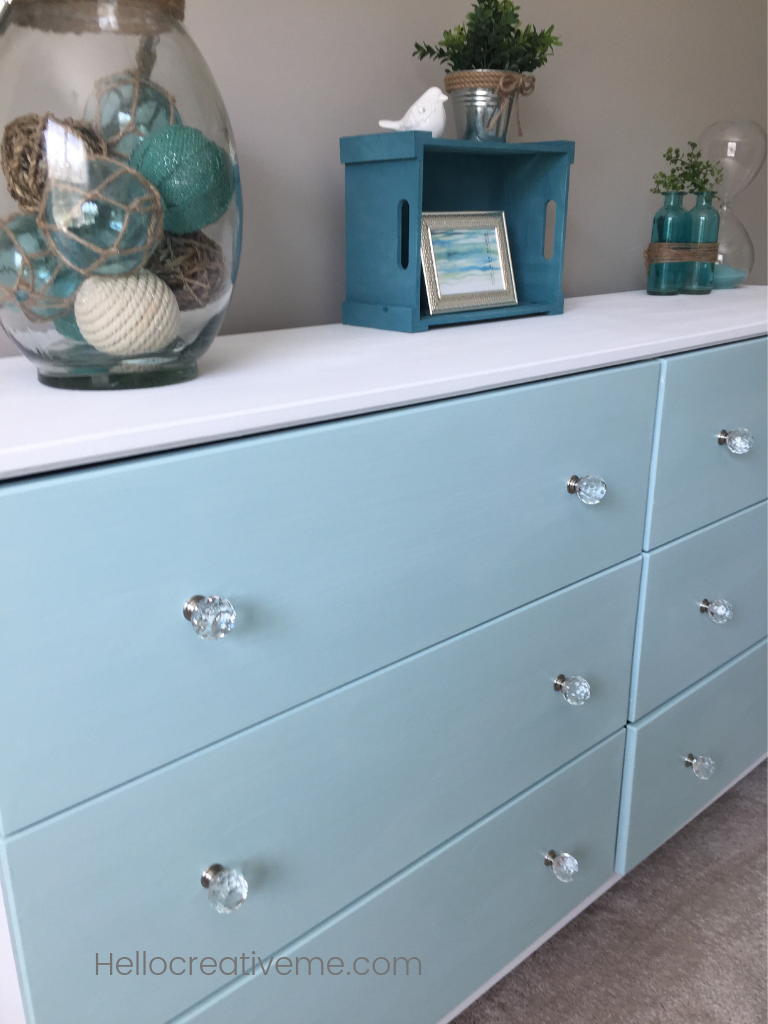
I decided to keep my pegboard white and just add pops of color with accessories. Even found a 48″x 24″ pegboard that was already white for about $10. So I only painted the rosettes and the molding trim pieces with a couple of coats of white paint. I used Rustoleum Chalk Paint in Linen White that I already had on hand. Have you ever tried this paint before? It has great coverage and is easy to apply. It has a matte finish as well. I used it on this DIY IKEA Tarva dresser project a while back.
As for organizing what goes on the pegboard….well I had so many ideas from all the Pinterest images I viewed in the planning stage. But since my pegboard is on the smaller size I decided that it was best for now to keep the items I use often readily available. And add some color with some decorative items. The great thing with a pegboard is I can easily switch things up when I want to.
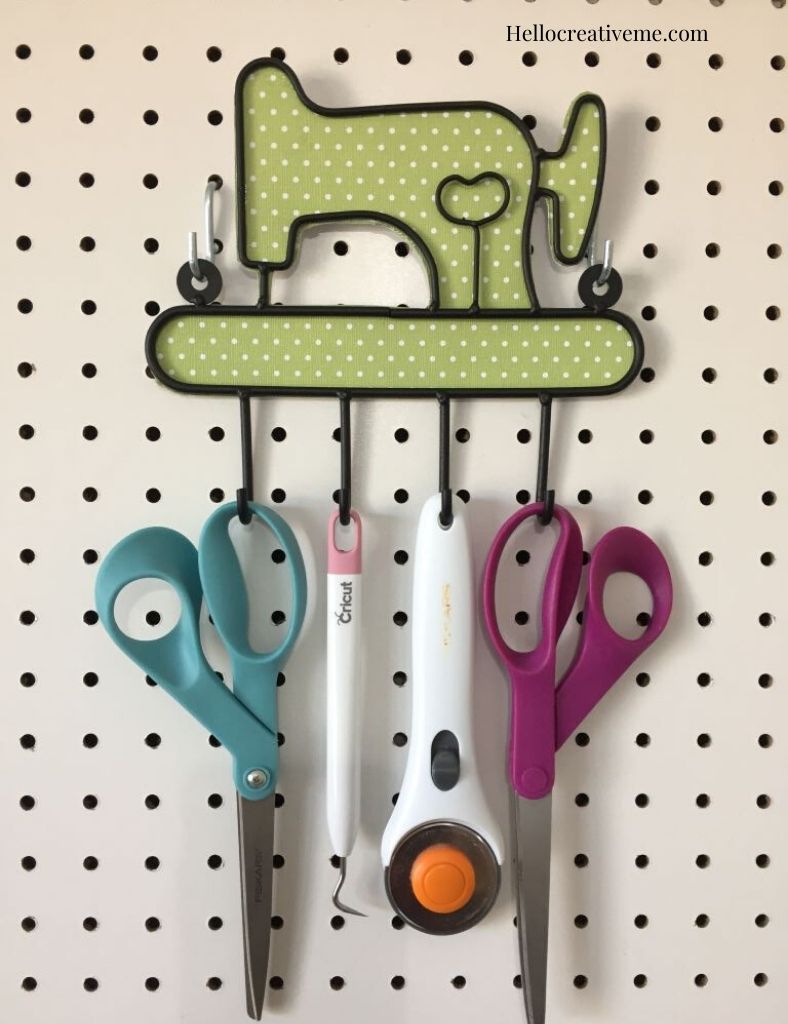
My favorite item so far is this little sewing machine tool holder. It looked a little blah on its own so I glued some heavier green scrapbook paper to the back. Now it stands out and adds a pop of color. It is absolutely wonderful having my scissors and rotary cutter within easy reach!! Just turn around and there they are. Makes it easier to put them away as soon as I’m done too. OK I’m still working on this… but I can glance up at the pegboard and SEE that they aren’t in their spot and that reminds me to put them away.
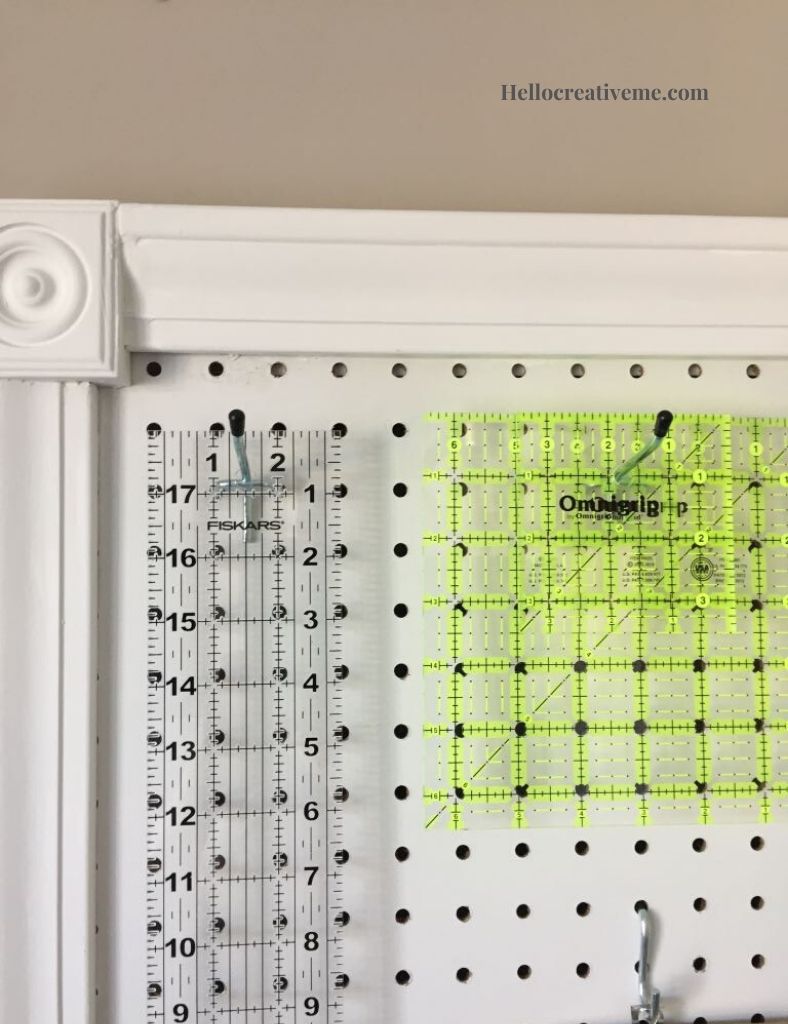
My clear ruler just blended in with the pegboard so I cut a piece of teal scrapbook paper and taped to the board behind the ruler. Another pop of color.
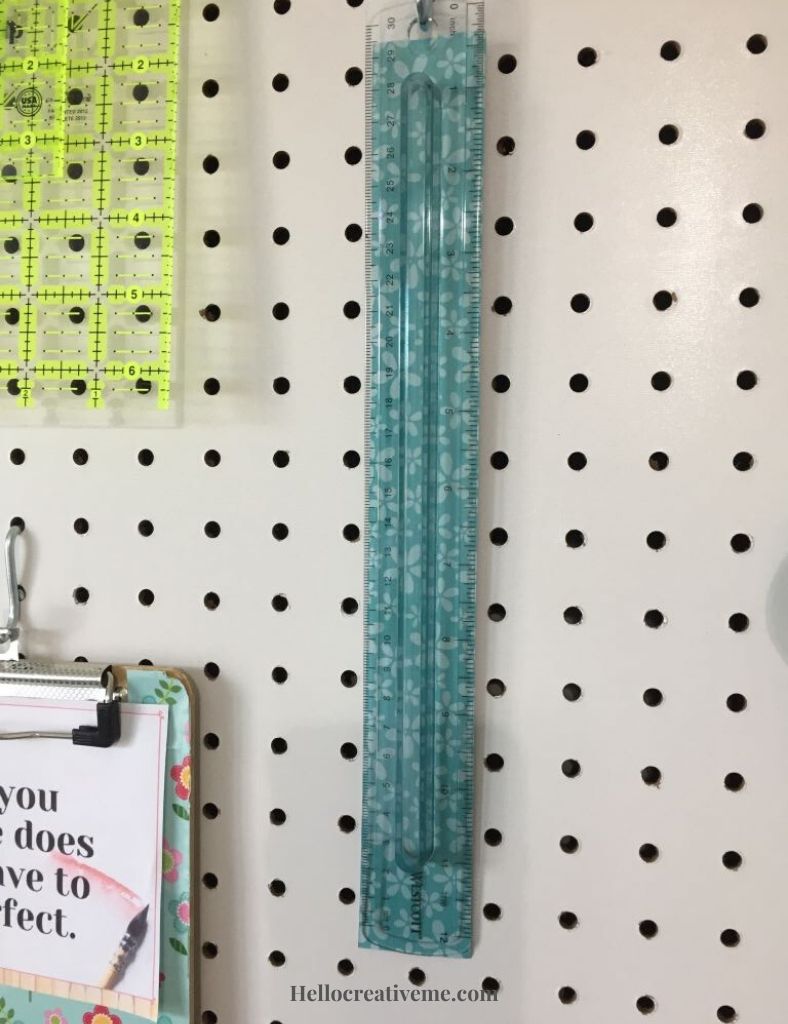
I added some of my grid rulers here too.
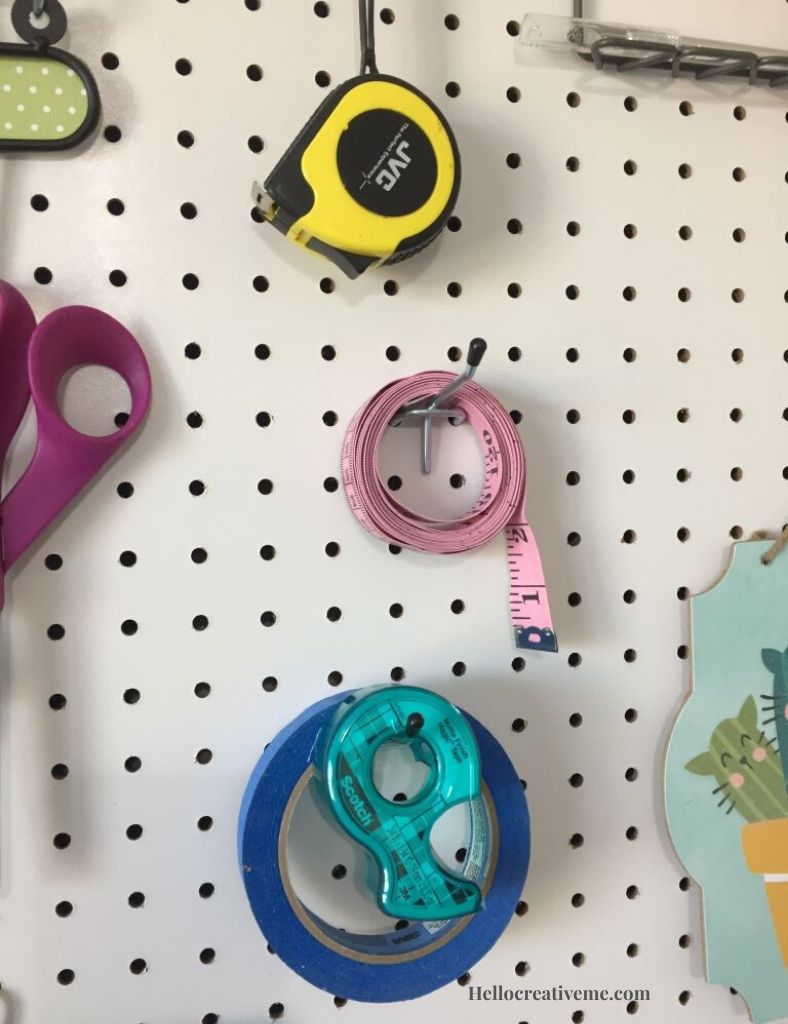
My measuring tapes and masking/Scotch tape fit here nicely…no more digging in a drawer or box for them.
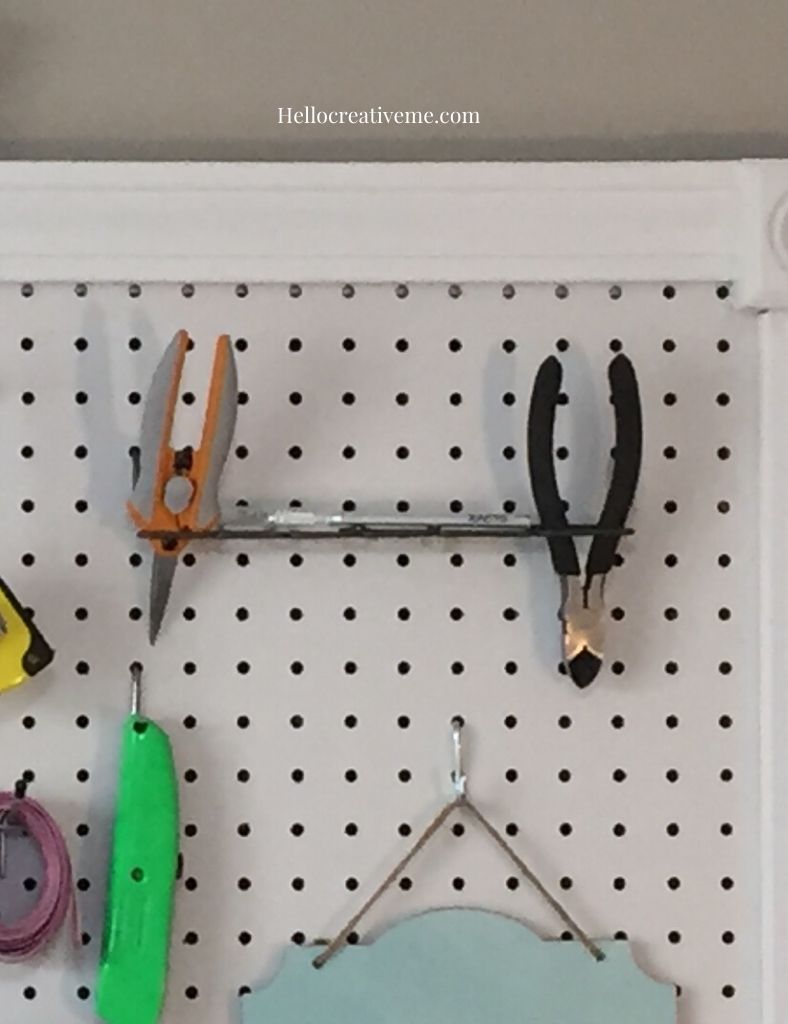
Another tool holder…with room to grow.
And some more pops of color with some decorative accessories.
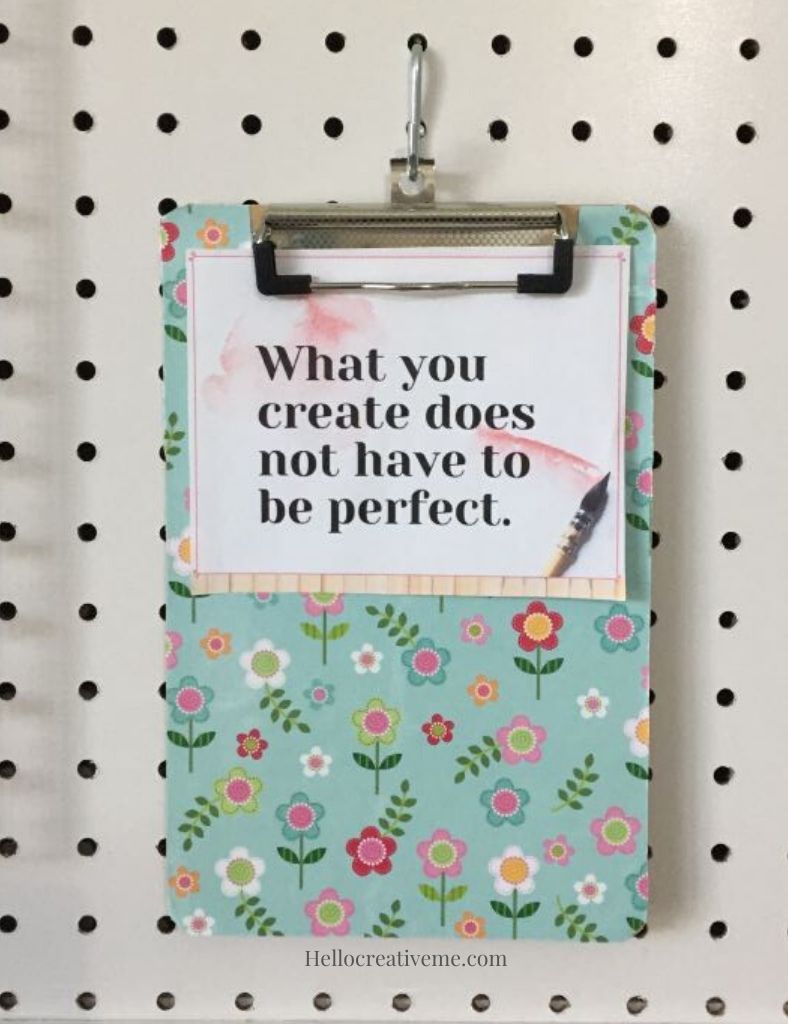
I had this tiny clipboard that was a boring brown. So I dug into my stash of scrapbook paper for a pretty floral print. I applied mod podge to it and now have a cute little mini clipboard that adds another pop of color. A place for little notes, lists, whatever. I currently have one of my favorite inspirational quotes for creativity on it. Want a free copy of this quote? Check this post for the link.
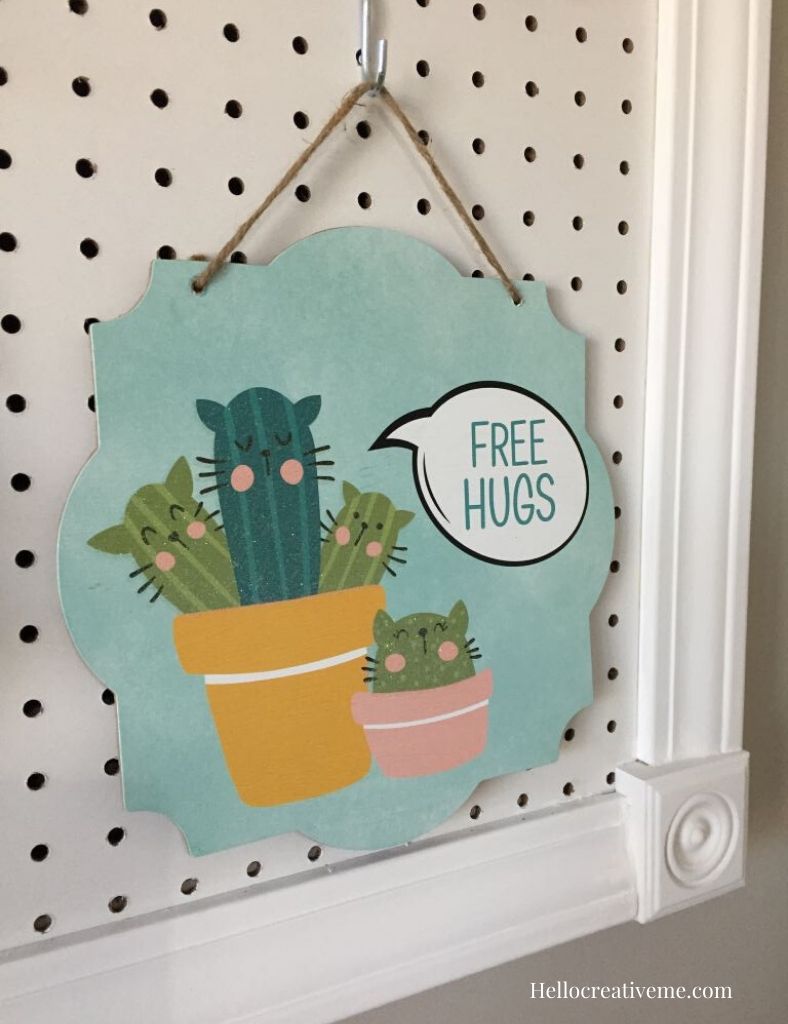
This little wall hanging I picked up at the Dollar Tree. I loved the shape of it and had planned to use it for another DIY project. But it found its way in here. And I liked the colors. Plus it is glittery. Everyone needs a little glitter in their life.
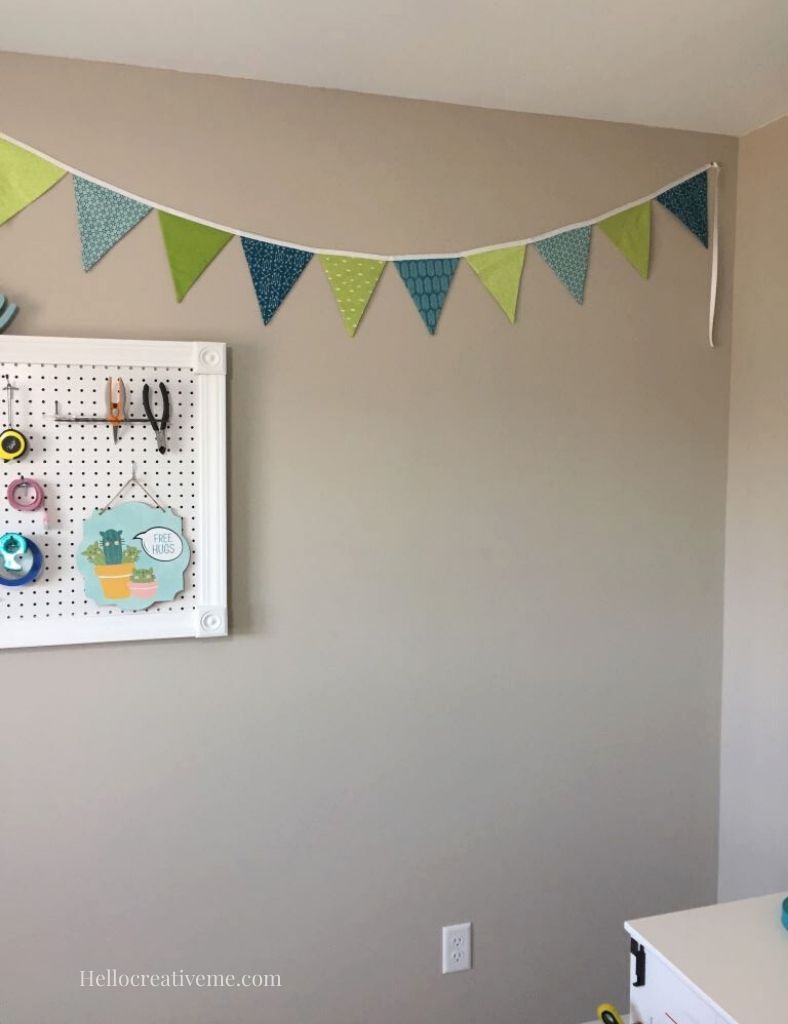
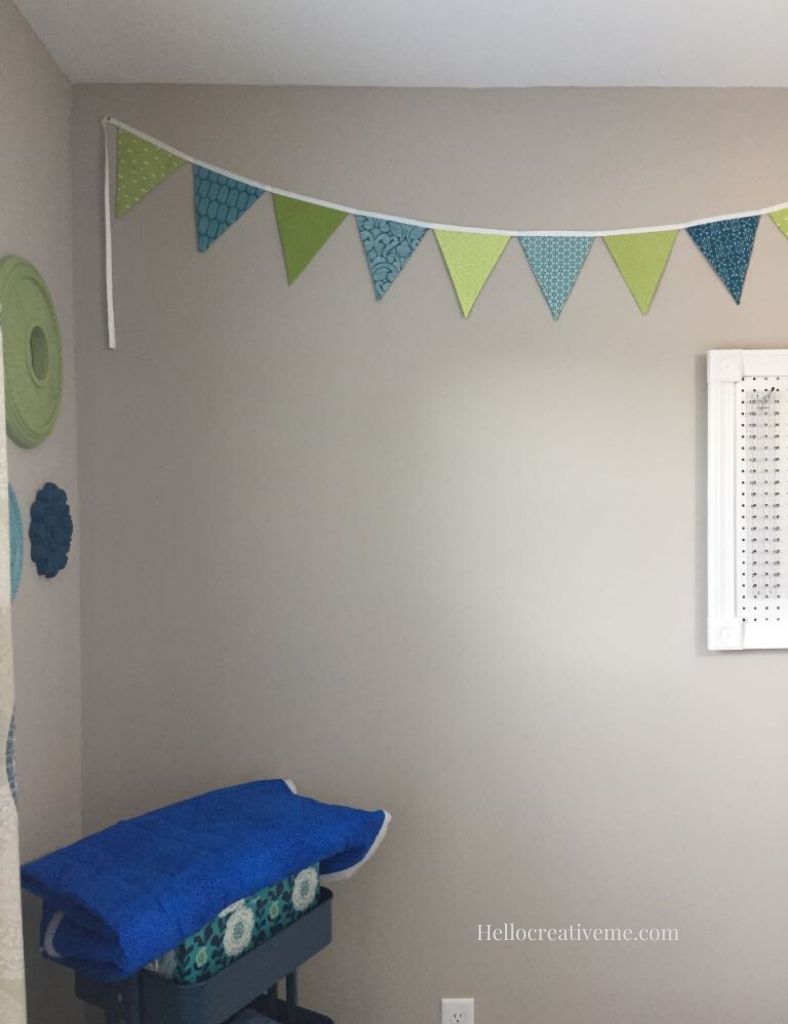
I centered my pegboard on the wall beneath my DIY fabric banner. Now I have room on either side to display some of my quilted wall hangings . Having a space to display some of my creations was important to me and one of the reasons I chose to use a smaller pegboard size. I plan to add another sewing table below the pegboard for my new embroidery machine.
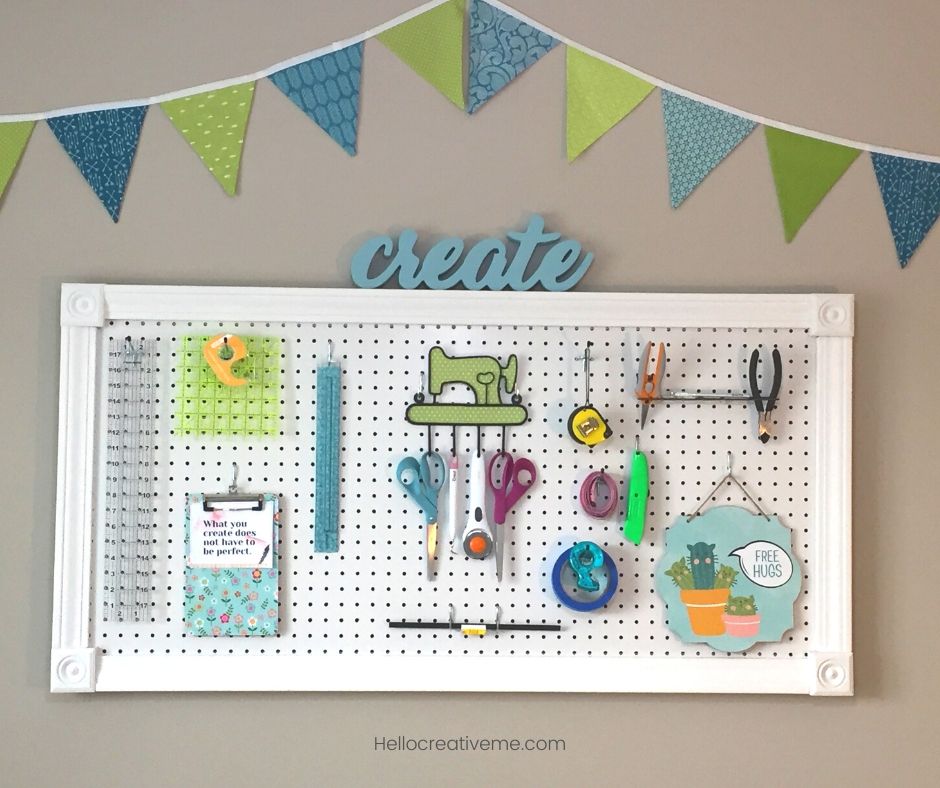
I LOVE my new DIY framed pegboard!! It gives me more storage options and the flexibility to easily switch things up as my needs change. And now my craft room is complete. Well, almost. Will be sharing it with you really soon.
Pin For Later
~ Sherry
Great idea adding trim to your pegboard! I’m loving the sewing machine holder and the Dollar Store decor is really cute. I’ve pinned your project to my Craft Room board (it’s not public until I build up more pins on the board.) I’m visiting from Tutorials & Tips party. 🙂
Thanks!! Ive always loved the look of a framed pegboard. And you named my two favorite items on my pegboard!! Thanks for visiting.
I just LOVE your craft room and all those wonderful ideas you post. We will be moving this spring to a new house and hope to have a craft -sewing room for me (of course won’t be as big as yours), But will be MY SPACE, and hope to create a nice space as yours…. will post pictures once it is done. Thanks for all your wonderful ideas.
Thanks Marilu!! You will enjoy having your own space for crafting and sewing. I would love to see pictures of it when done. I get a lot of inspiration and ideas from seeing the creative spaces of others!