Whether you are decorating for the 4th of July or just love patriotic stitching, this DIY Cross Stitch display idea is a great way to show off your work proudly without breaking the bank.

Cross stitching is such a relaxing and satisfying craft – especially when a project turns out just the way you imagined it. But finishing and displaying your work? Not so much. At least for me. That can be a little bit overwhelming… and expensive.
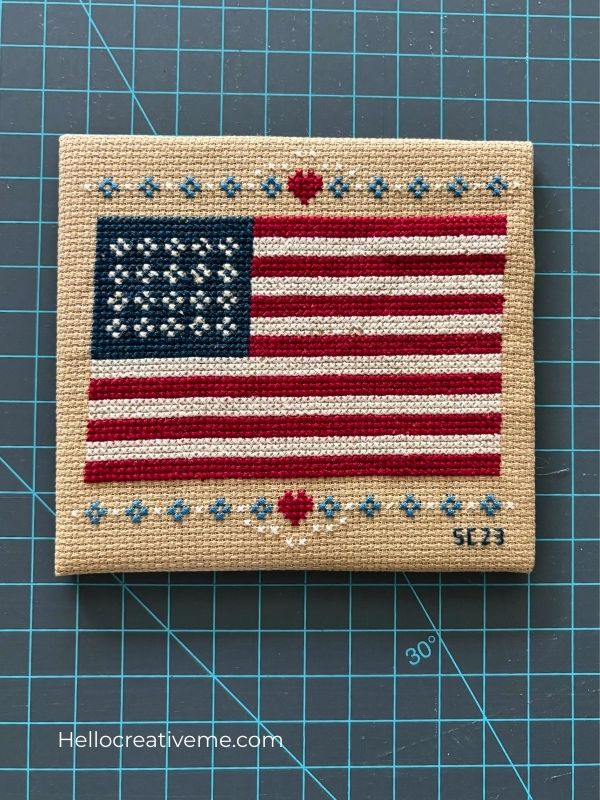
Today I’m sharing how I finished and framed my small American flag cross stitch project. A simple budget friendly method that anyone can do at home – no professional framing required.
These days I mostly enjoy stitching quick and easy cross stitch patterns for use in my home décor. So when I saw this American flag design, I knew it had to go on my must-stitch list. It’s a simple pattern that stitched up quickly and looks perfect with all my other patriotic decor.
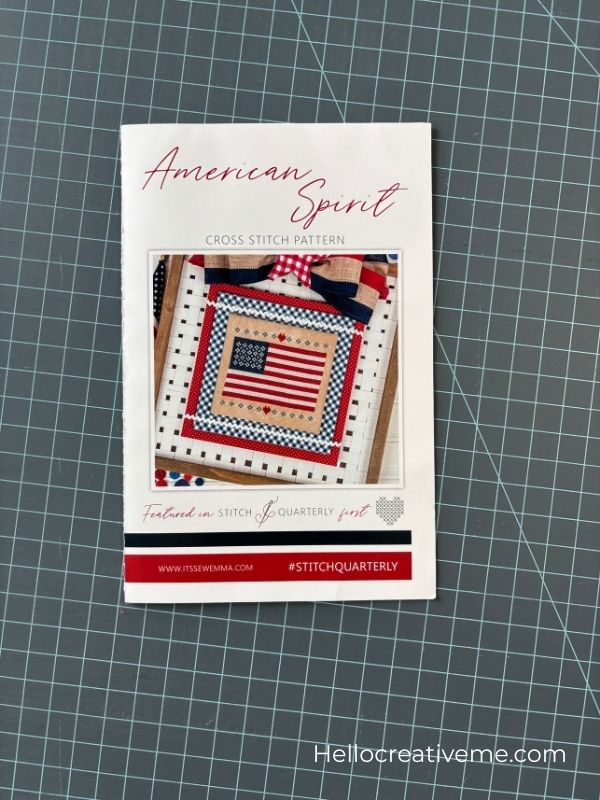
This pattern is from Fat Quarter Shop’s Stitch Quarterly called American Spirit. I stitched it on 14 count Aida using a leftover piece of Beautiful Beige by Wichelt – my favorite neutral background color.
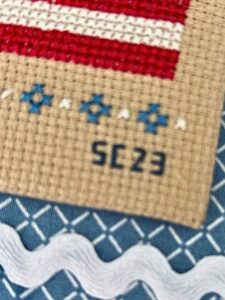
But here’s the thing… I actually finished stitching it back in 2023 –two years ago!! And then? I tucked it away for “someday” when I’d get around to fully finishing it. Out of sight, out of mind. Honestly, this seems to happen to me a lot. I stitch all these cute designs and then just feel a bit overwhelmed about how to finish them so they can be proudly displayed.
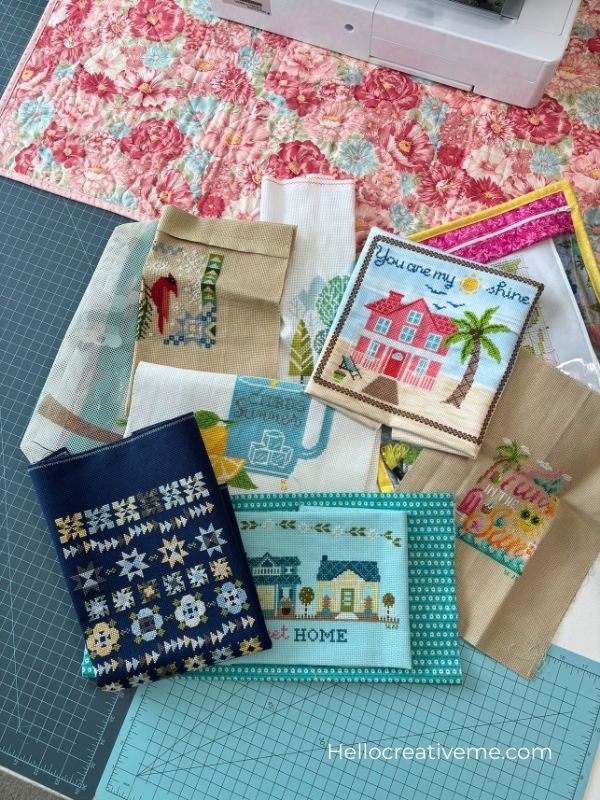
Y’all ready for this?? I have an entire pile of “unfinished” cross stitch projects stashed away for “someday”. Does this happen to you too? Please tell me I’m not the only one!
Well this year I was determined to get this American flag cross stitch piece fully finished AND displayed in my home by the 4th of July!!!! I’m happy to report – mission accomplished!
And I did it with a DIY cross stitch finish that was simple, pretty, and budget friendly. You’ll never guess what I used. Keep reading to find out!!
I really loved the finishing on the sample project shown on the cover of the pattern and I wanted mine to have a similar look. Most patterns from the Fat Quarter Shop will tell you what they used to finish a project piece. (But when you wait 2 years to finish it, well the items they used are long gone. )
Luckily I already had most of the supplies I needed in my stash. What I didn’t have was the cute little basket frame from the cover – or any frame that would fit my stitched piece. What to do? Hmm…
So, with measurements in hand, I headed to my local Hobby Lobby store for some inspiration and a firm determination to get this project done…And I discovered a surprising solution to my dilemma.
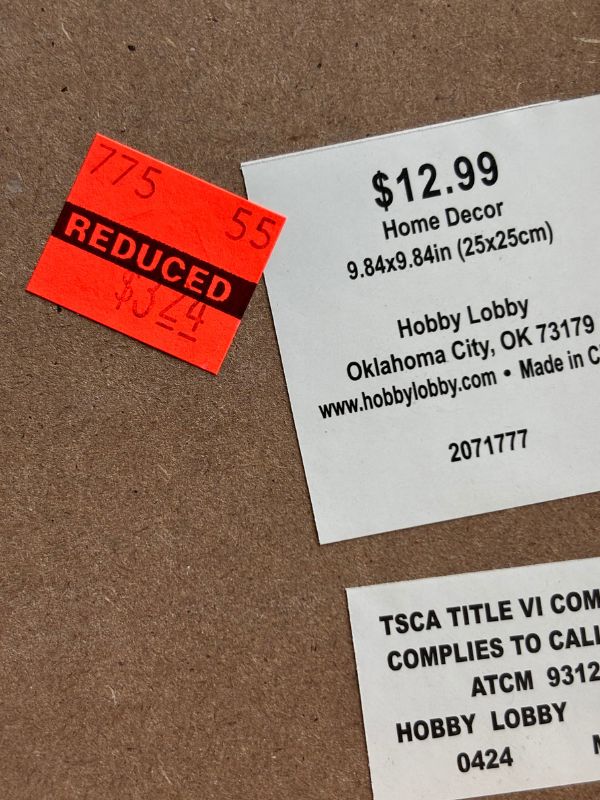
As I browsed the clearance section at Hobby Lobby, I stumbled across a framed dinosaur print meant for a child’s room. It was the perfect shape and size for my project- about 9 3/4″ x 9 3/4″.
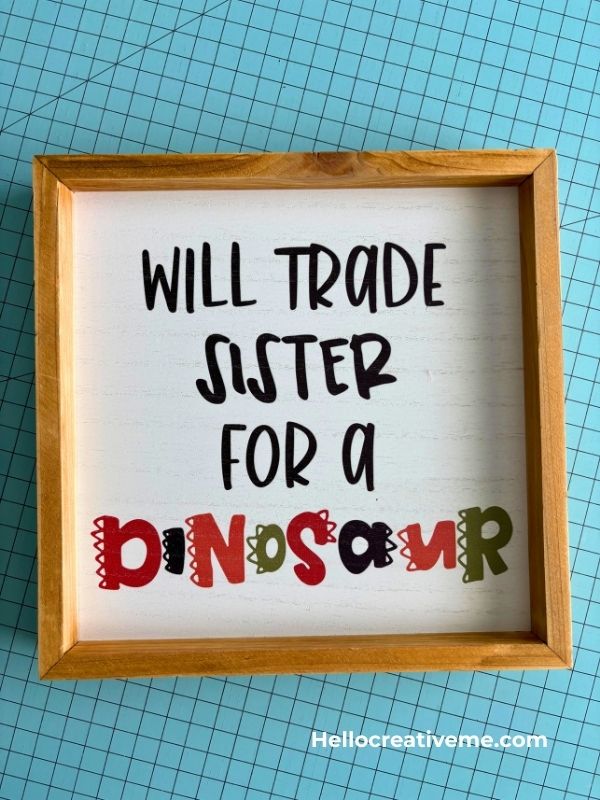
Even better it already had hardware for hanging on the wall and the frame could also stand on its own. And the best part? Marked down on clearance for only $3.24!
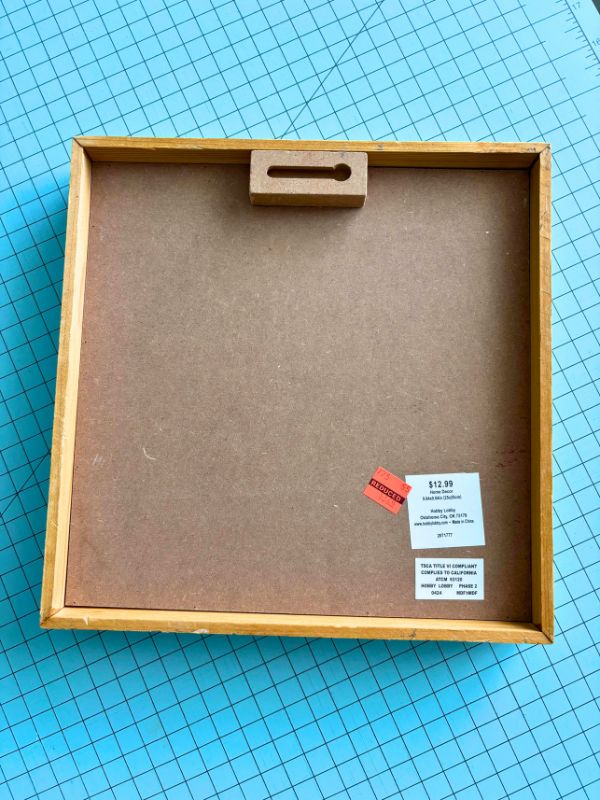
I could not believe my luck- perfect size, ready to hang, and a price to fit my budget. All it needed was a little makeover to transform it from “dinosaur décor” into the perfect frame for my patriotic cross stitch.
** Note to my sister if you’re reading – I would not trade YOU for a dinosaur! Just sayin.**
Here’s how I gave The Frame new life.
I wasted no time getting started on my project once I got home. I gave the tan wood frame a couple of coats of Rustoleum Chalk Paint in white – left over from a previous project so no extra cost there. While the paint dried I gathered the remaining supplies I’d need to bring my vision to life.
Supplies I Used For My DIY Cross Stitch Finish
Here’s a list of supplies I used:
- Frame
- Paint and a foam paint brush
- My completed cross stitch piece
- Sticky back board – leftover piece sized to fit my cross stitch piece
- Black Frixion pen
- Rotary cutter and mat
- Scrap piece of quilt batting larger than my sticky board
- Acid free double sided adhesive tape -I used It’s Sew Emma Finishing Tape from Fat Quarter Shop
- 2 10″ x 10″ white foam core board pieces for backing
- Red and blue fabric scraps about 11″ x 11″ each
- White rick rack trim
- Glue: hot glue and white Elmers glue
- Blue painter’s tape
Let’s Get Started
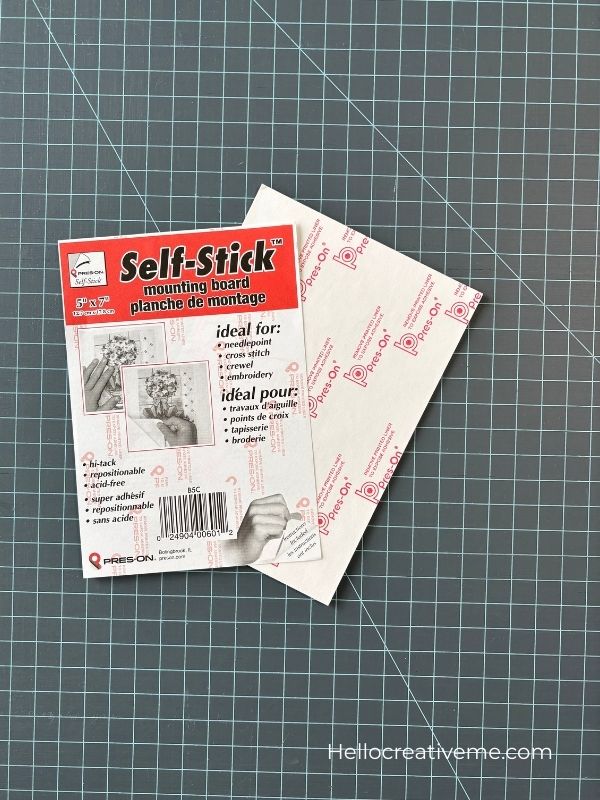
The first thing I had to do was to get my cross stitch piece centered and mounted on the sticky back board. After all, it’s the star of the show! For this I used a leftover piece of sticky back board I had purchased from the Fat Quarter Shop previously. I like this brand because it’s thicker and doesn’t bend or warp like some from the big box stores I’ve tried.
I measured my American flag project and decided that the ideal size was 5″ X 5 1/2″. That size gave the stitched flag a little “breathing room” on all sides while leaving space for the 2 fabric backed boards and still fit into the frame.
I like to add a little piece of quilt batting to my cross stitch pieces. So I cut a piece of leftover quilt batting just big enough to cover the sticky back board. After peeling off the adhesive paper, I pressed the batting onto the sticky side and trimmed it up nice and tidy. So far so good.
Then it was time to mount the actual cross stitch piece onto the prepared sticky board. Now this is the part where things can get a little nerve wracking – because yes you do have to trim away the extra Aida cloth. One wrong snip and… well let’s just say you don’t want to go there So take your time.
I highly recommend that you watch the Fat Quarter Shop’s YouTube channel for their cross stitch finishing tutorials before you do any cutting. They do a fantastic job of walking you through every step of measuring, cutting, and mounting your cross stitch piece. Go check it out.
After the cross stitch piece was mounted it was time to work on the two fabric covered boards. I used leftover pieces of foam core board for this part. Much more economical than using sticky back board for everything. Didn’t worry about acid free stuff because this is not an heirloom piece. Just for fun.
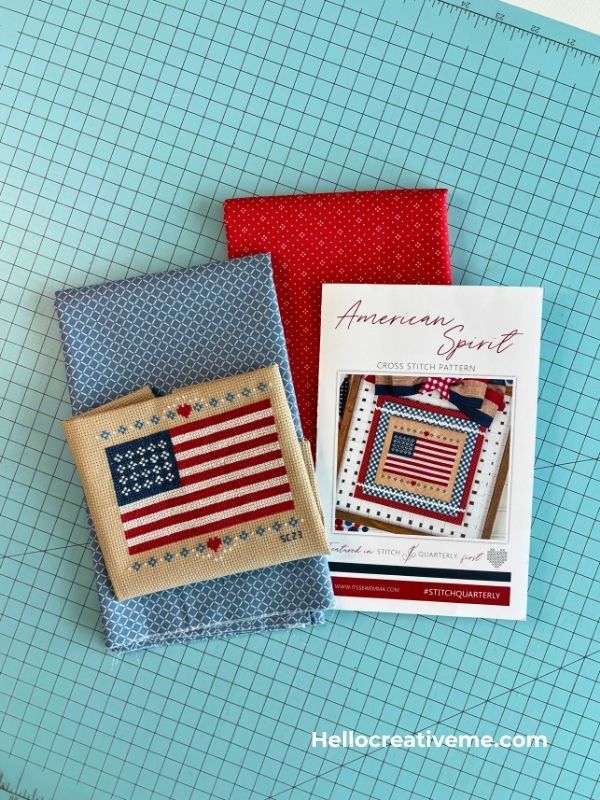
I did have to purchase a fat quarter of both the red and blue fabrics for this project. The colors I had in my small stash just weren’t the right shades. And I wanted them to match the tones in my current decor.
The trick for this part is to make sure that all the boards glued together look proportional and will fit into the frame when done.
I started with the largest fabric backed board first. Because this one had to fill the inside of the frame. I measured the inside of the frame and cut a piece of foam board to fit. Next I wrapped the red fabric neatly around the edges. Before gluing I checked to see that it still fit inside the frame since the added fabric can affect the size. I used glue and tape to secure the fabric in place.
For the middle board I decided to make it about an inch larger than the finished cross stitch piece on all sides. I repeated the process of wrapping the fabric around the edges and gluing.
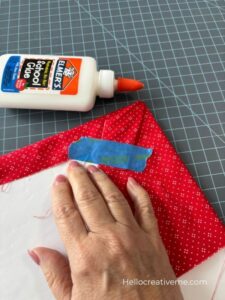
Once dry I added white rick rack trim from my stash along the top and bottom. I just eyeballed the placement, using Elmers glue to attach the rick rack trim to the front. I wrapped the ends of the trim around to the back of the board and glued them too.
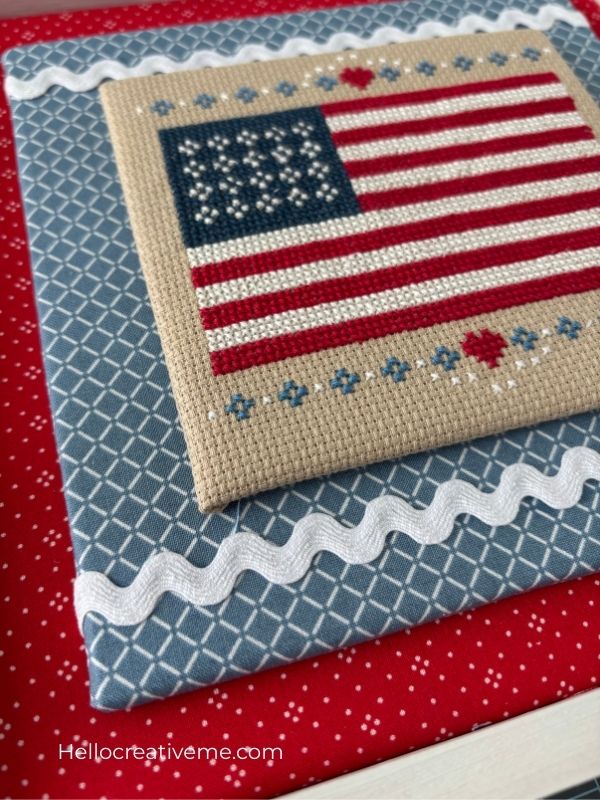
Finally, I glued all the pieces together with hot glue and secured them into the frame. Hot glue seems to work best for attaching the fabric covered boards and attaching securely to the inside of the frame.
And voila – a beautiful DIY cross stitch finish done! It fits perfectly with my patriotic decor and adds just the right touch of homemade charm.

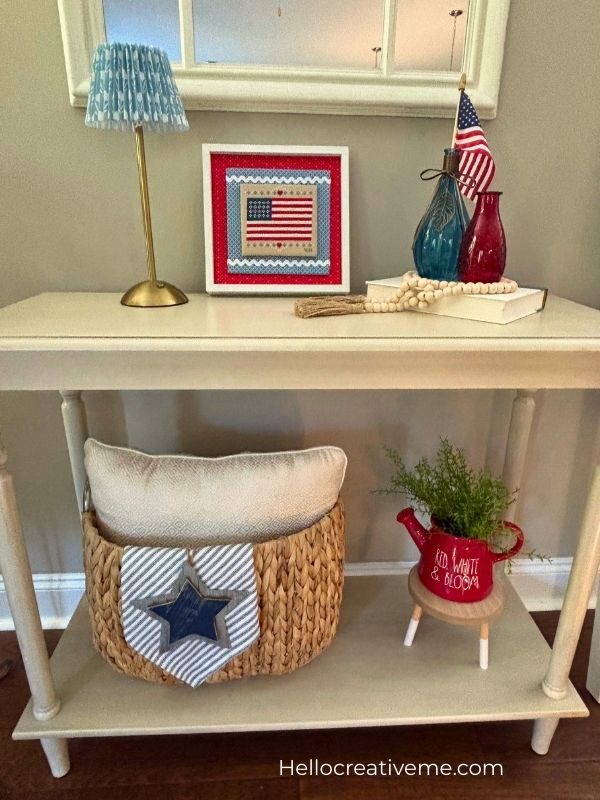
Sometimes the perfect finishing piece isn’t found in the frame aisle at all – you just have to get creative and see everyday items in a new light, imagining how they could be repurposed for your own DIY cross stitch finish.
Now, time to tackle that big old pile of UFO’s……
If you too have some unfinished cross stitch projects tucked away, I hope this simple finishing idea inspires you to get them done and proudly displayed. Because your handiwork deserves to be seen and enjoyed.
Until next time… reminding you to do something creative every day!

Leave a Reply