I’m so excited to share my DIY craft room table with you.
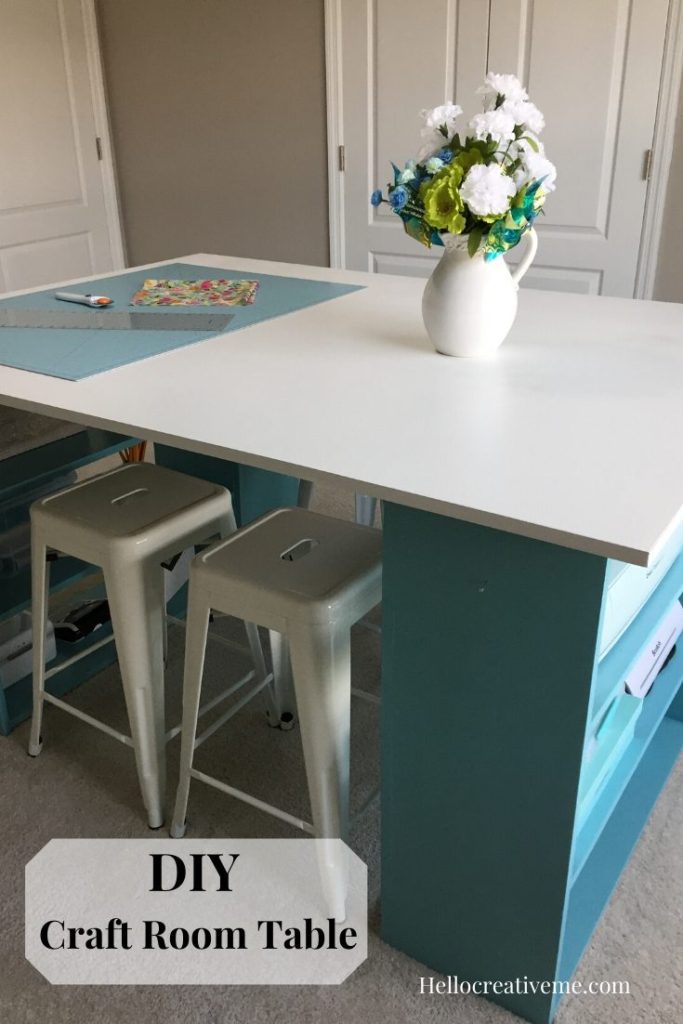
Tada!! It’s finally done! My new DIY craft room and sewing table. That we built ourselves! Quite a feat for this non-woodworking couple. I’m so happy with how it turned out!!
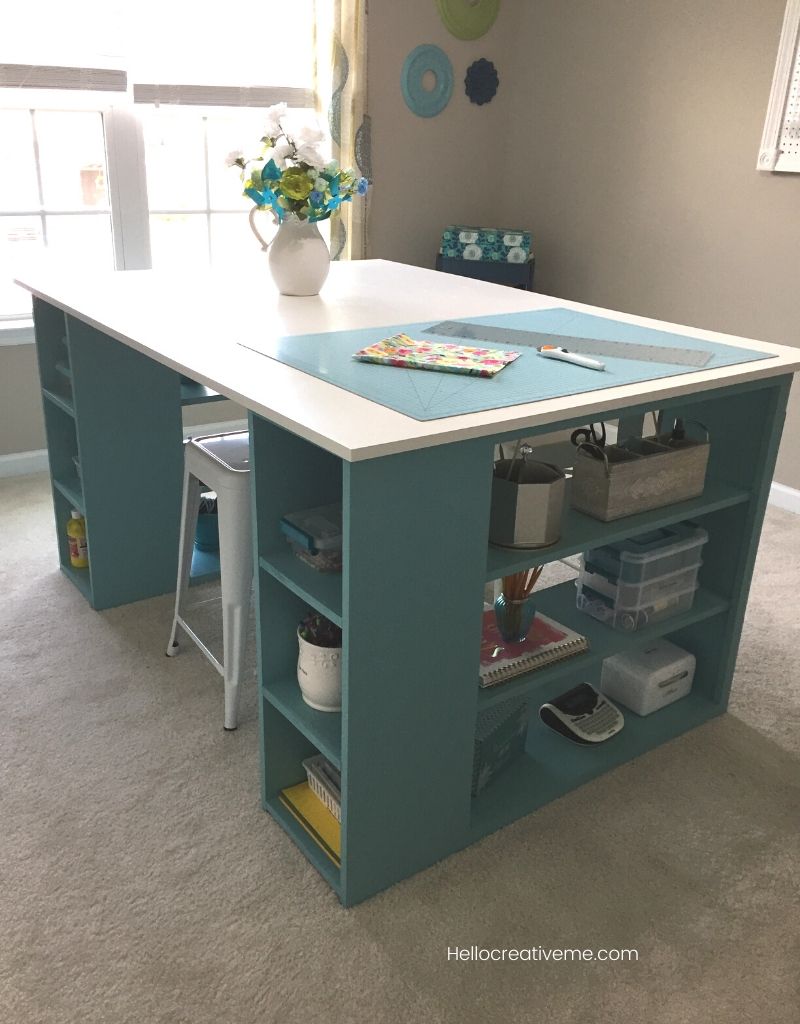
I spent a lot of time researching possible options for a craft table. And pinned all kinds of ideas to my Pinterest boards.
I wanted a table that was counter height…so I have the option to stand up or sit down to work… no more hunching over a kitchen table. It had to have a large enough surface to fit a width of fabric for my sewing and quilting projects, at least 45″. I needed a shelf wide enough to fit my Cricut machine with easy access to it. And I needed some storage.
In the end I decided to use Ana White’s Modern craft table plan… and tweaked it to fit my space and needs.
I downloaded the free plans from her website and studied them carefully for weeks. I discovered I really have limited knowledge of woodworking. And necessary tools. But my husband and I finally figured out a way to build the DIY craft table with very basic tools.
And we did it!!! Whew! And yes we are still speaking to each other too.
DIY Craft Table Shelf Unit Bases
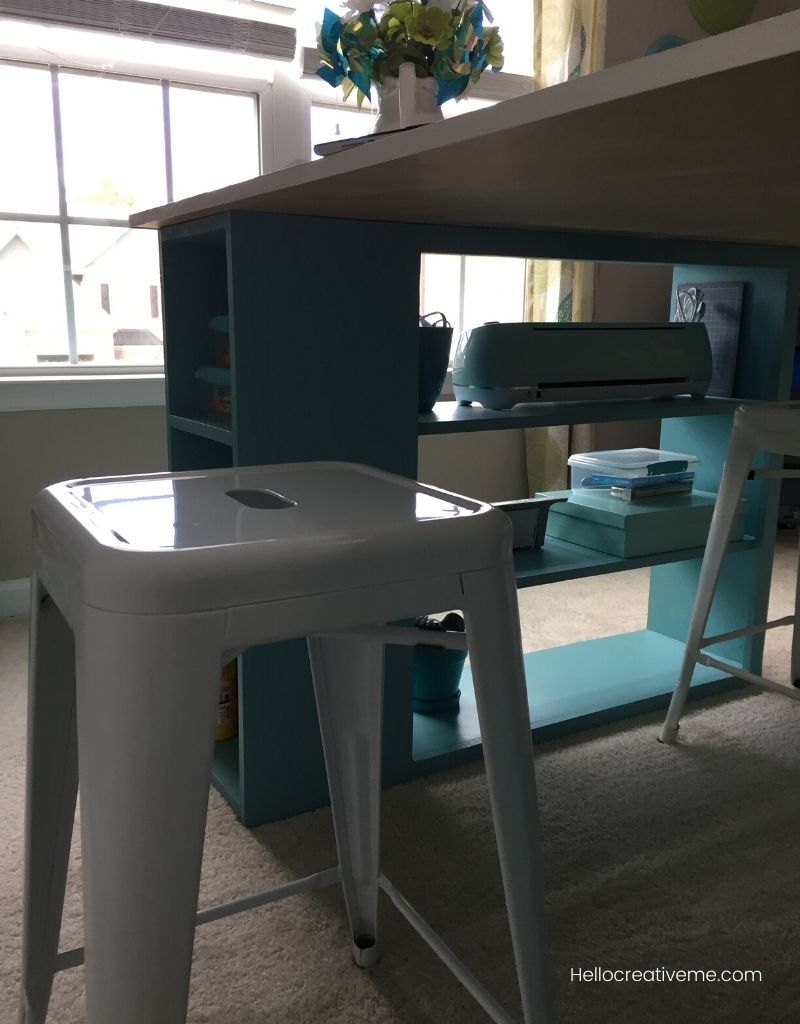
The original plans called for two shelf unit bases. I made my shelves longer to accommodate a 48″ wide table top. Since plywood comes in 4 feet by 8 feet sheets I would only need to cut the length down. My shelves are approximately 44″ wide, 34″ tall and 11 1/2″ deep. We used pine boards for building the shelf unit bases.
I primed the boards first and then I painted the shelf unit bases with Sherwin Williams Reflecting Pool – a nice light teal color. I also used this paint color on my DIY project board that hangs on the wall.
On this shelf unit base I store my Cricut machine and necessary cords and cable. This was one of my top considerations when deciding the length of the shelves…it had to fit my Cricut machine with easy access to it.
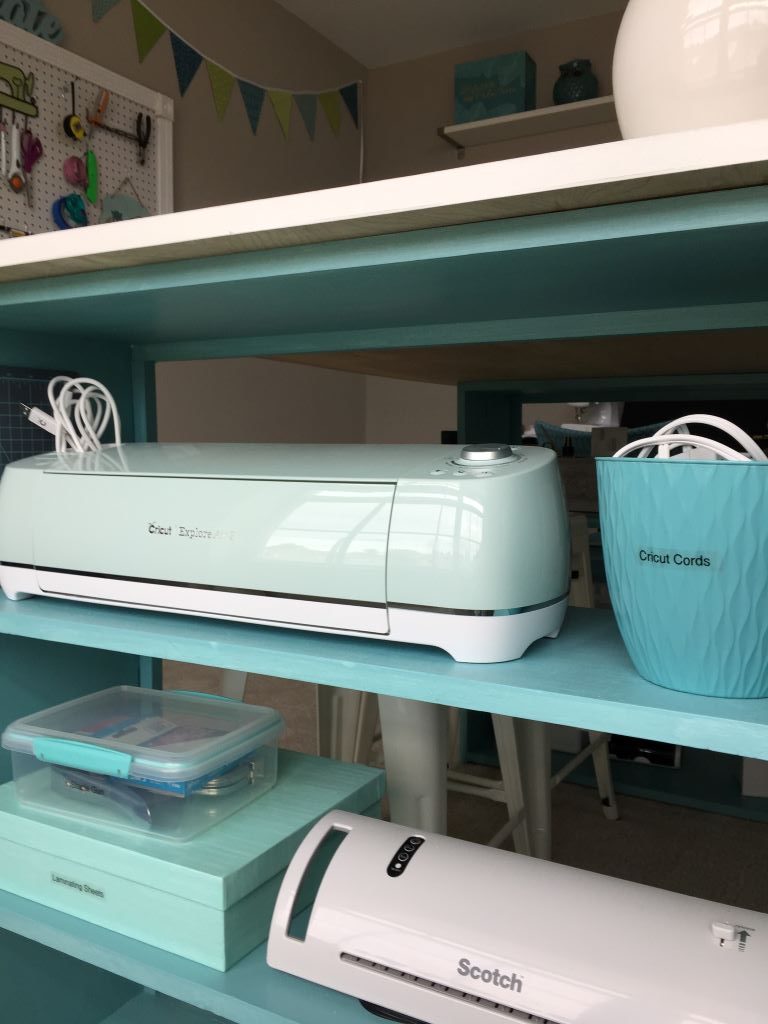
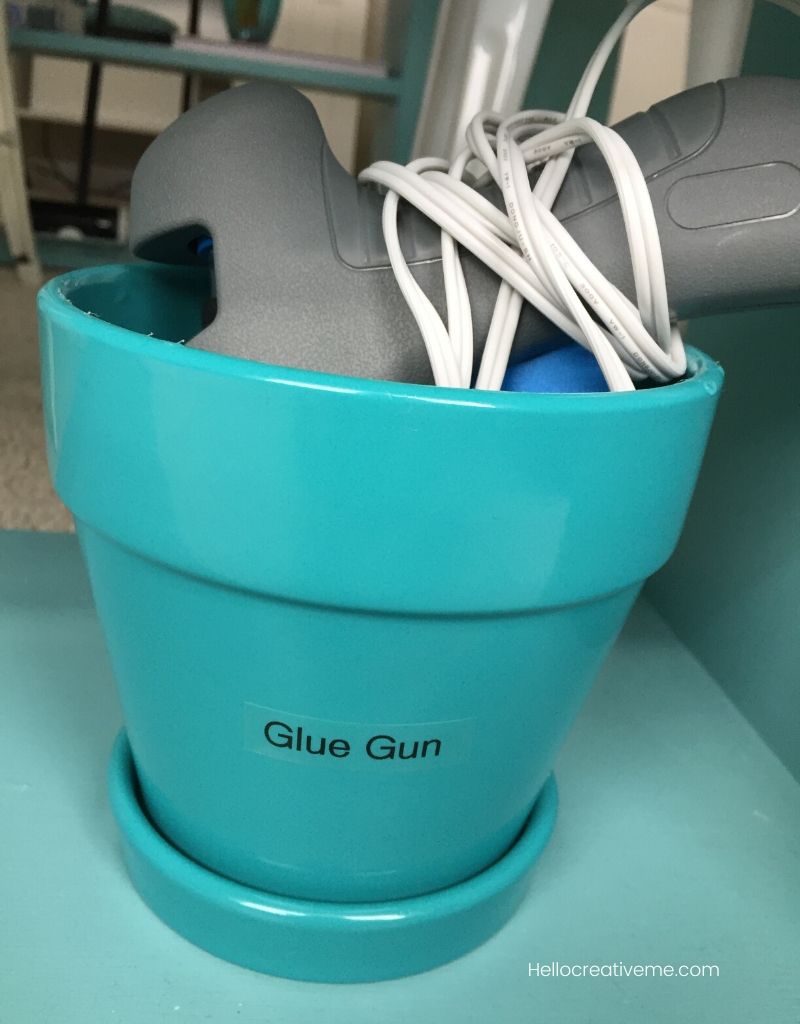
I also keep my laminating machine and laminating sheets here too. I store my glue gun in a ceramic planter along with some glue sticks. There is an outlet opposite the shelf which is close and quite convenient.
On the other long shelf unit base I store some sewing supplies, my label maker, and tools for my embroidery machine. I also have a couple of desk caddies for pens, scissors for cutting paper, post it notes and other odds and ends.
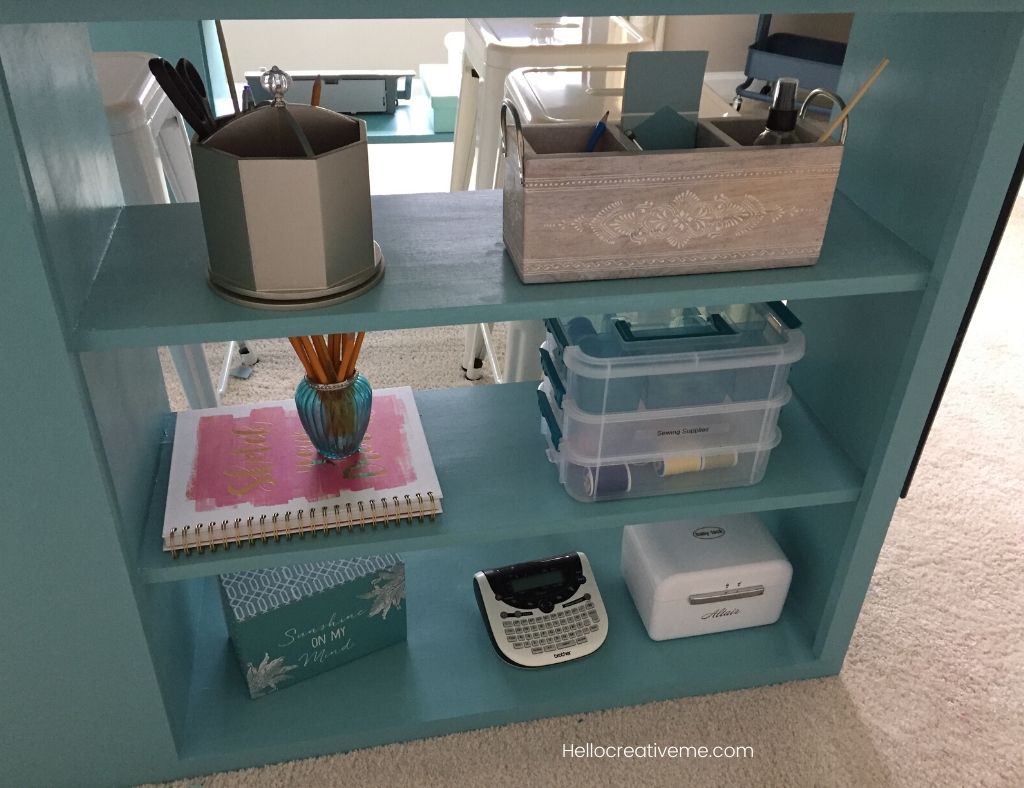
I LOVE freshly sharpened pencils!! (probably a result of 31 years of teaching). I keep them in this adorable glass jar I got at the thrift store for 49 cents. They sit on top of my sketchbook that I use for designing and planning all kinds of projects.
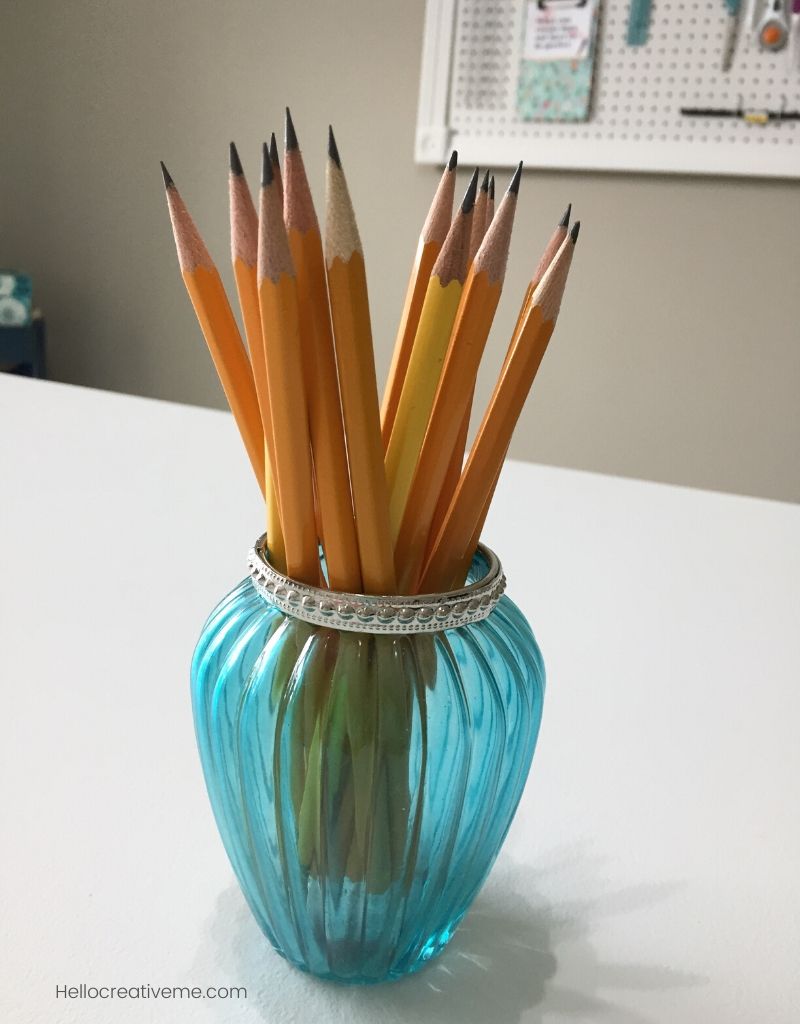
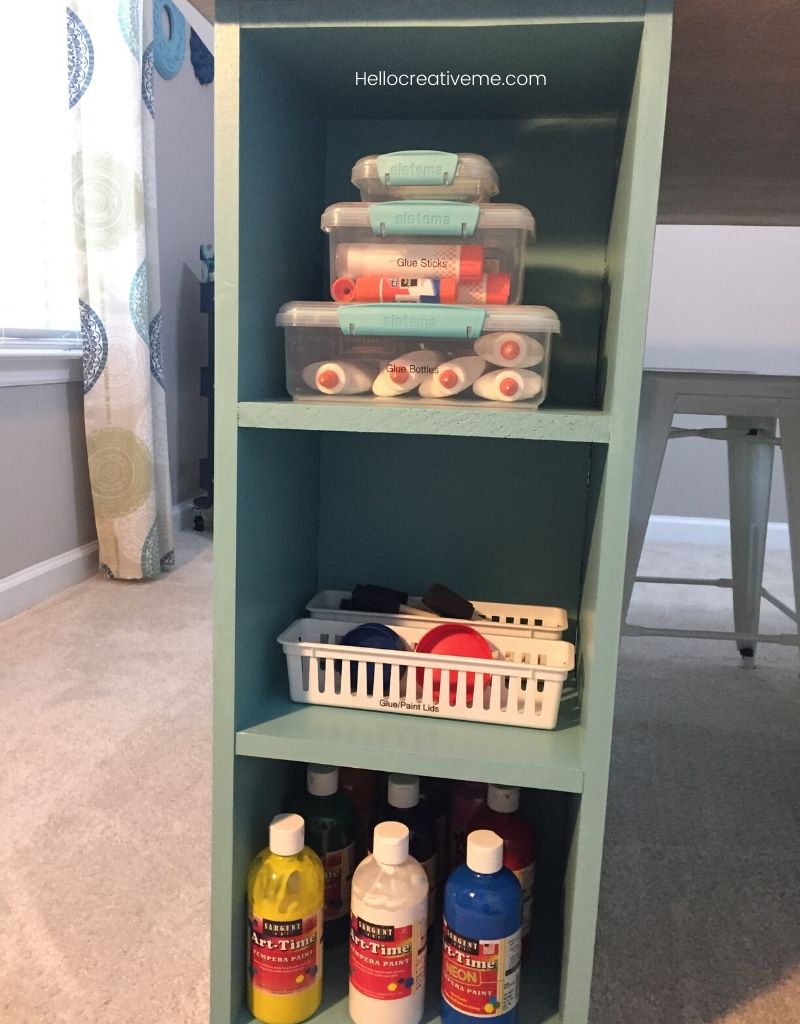
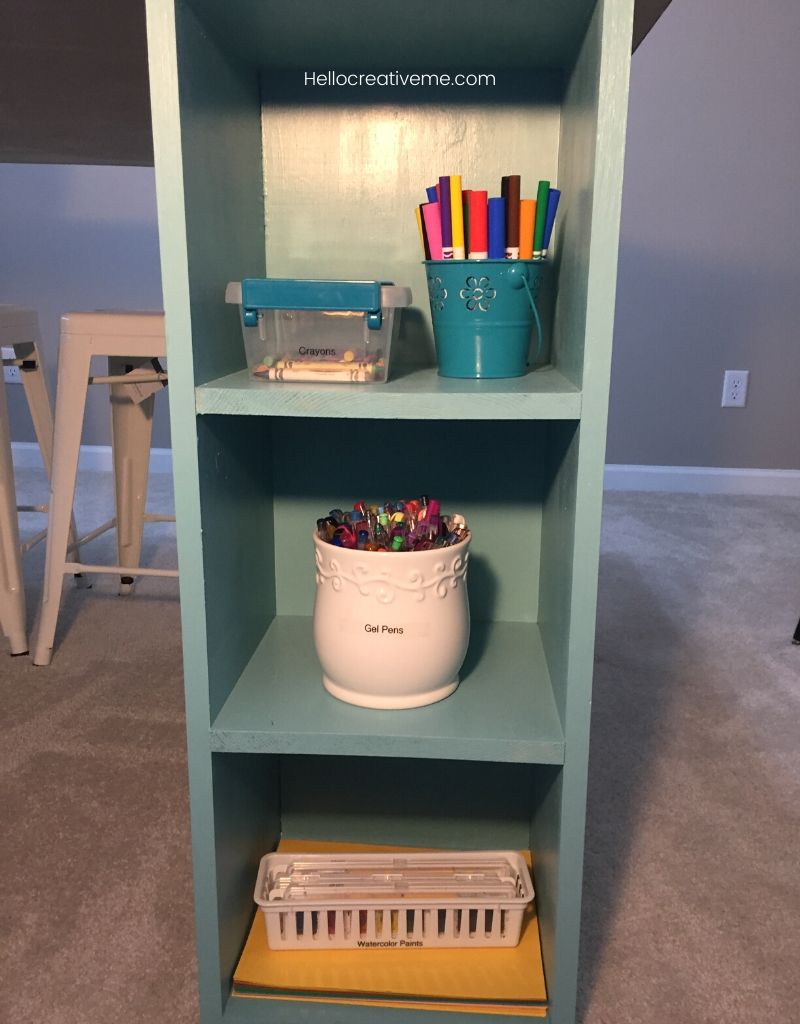
Like the original plans for the Modern Craft Table, I have 3 little storage cubbies on the end of my shelf units. This is where I keep some of my art supplies for the grandkids.
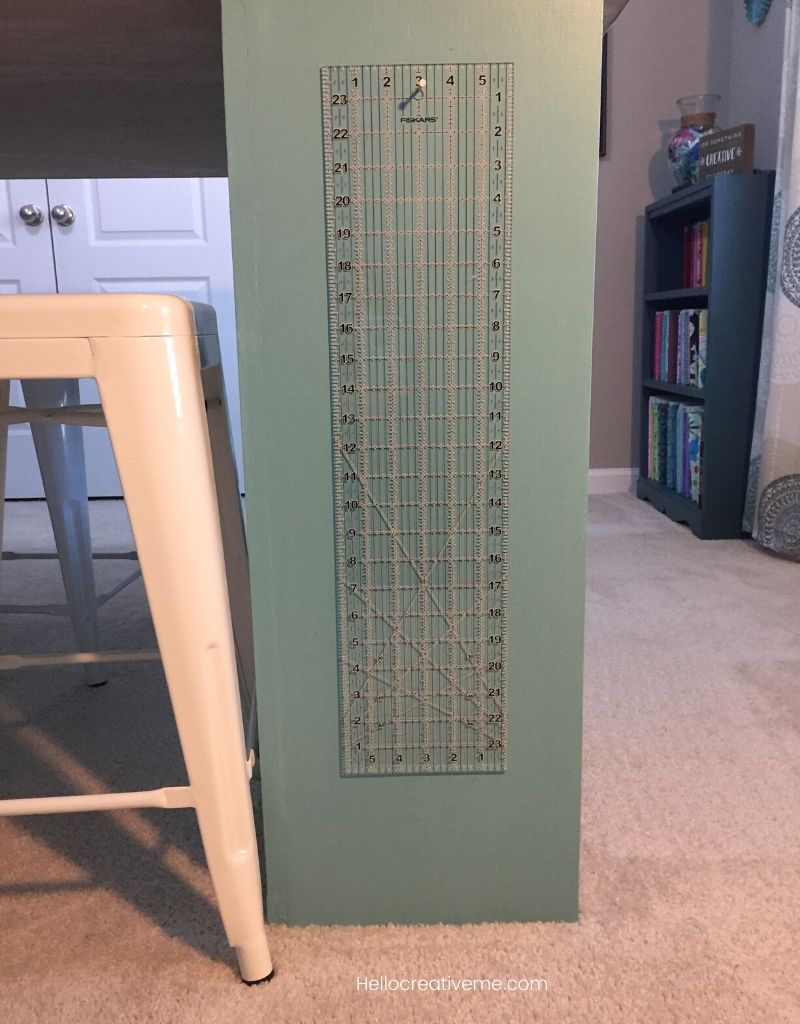
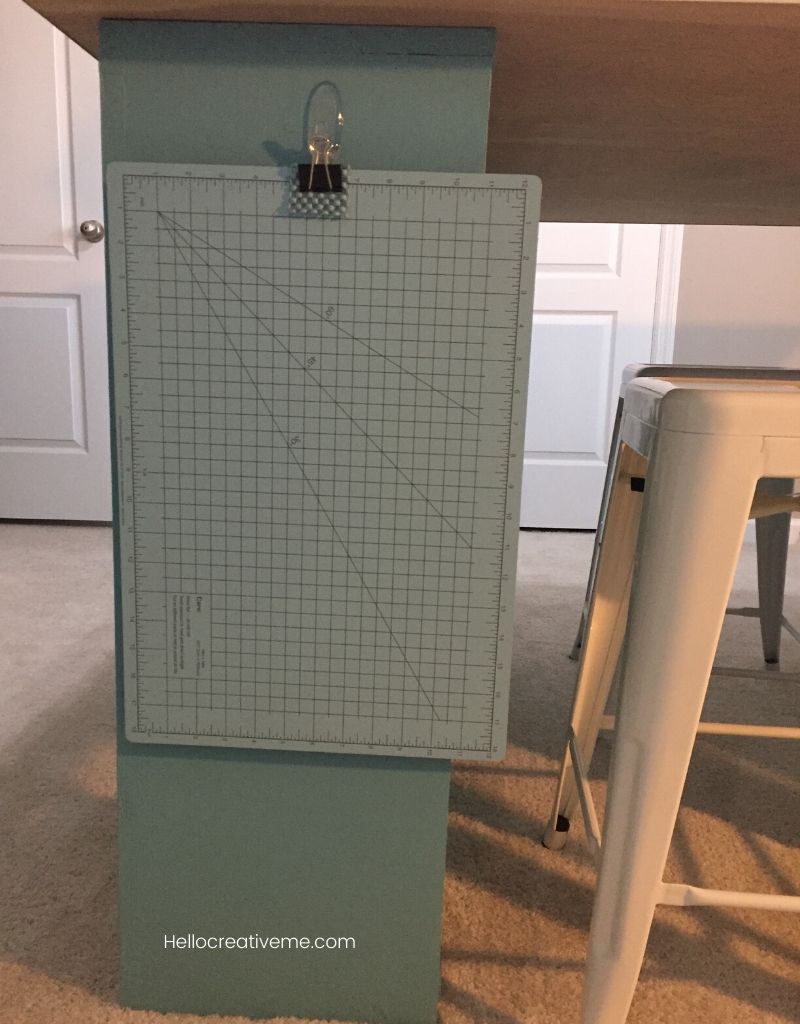
On the opposite side of the shelf units is where I store my longer quilting ruler and a smaller mat.
As you can see I have lots of room for storage of my most frequently used items. And I love that I have the flexibility to change things around easily when I want to.
DIY Craft Table Top
My DIY craft table top measures 48″ by 66″. We opted to use birch plywood because it had a smoother surface…necessary if I’m placing fabric on it. Lowe’s cut the board for us…just one cut was needed. (The leftover piece will someday be a table for my new embroidery machine!)
The birch plywood is very heavy. Its size made getting it home a little challenging. Something you will need to consider if you do a similar project. And trying to get it up the stairs was rather comical. In hindsight. But not at the time! Yet we did it!!
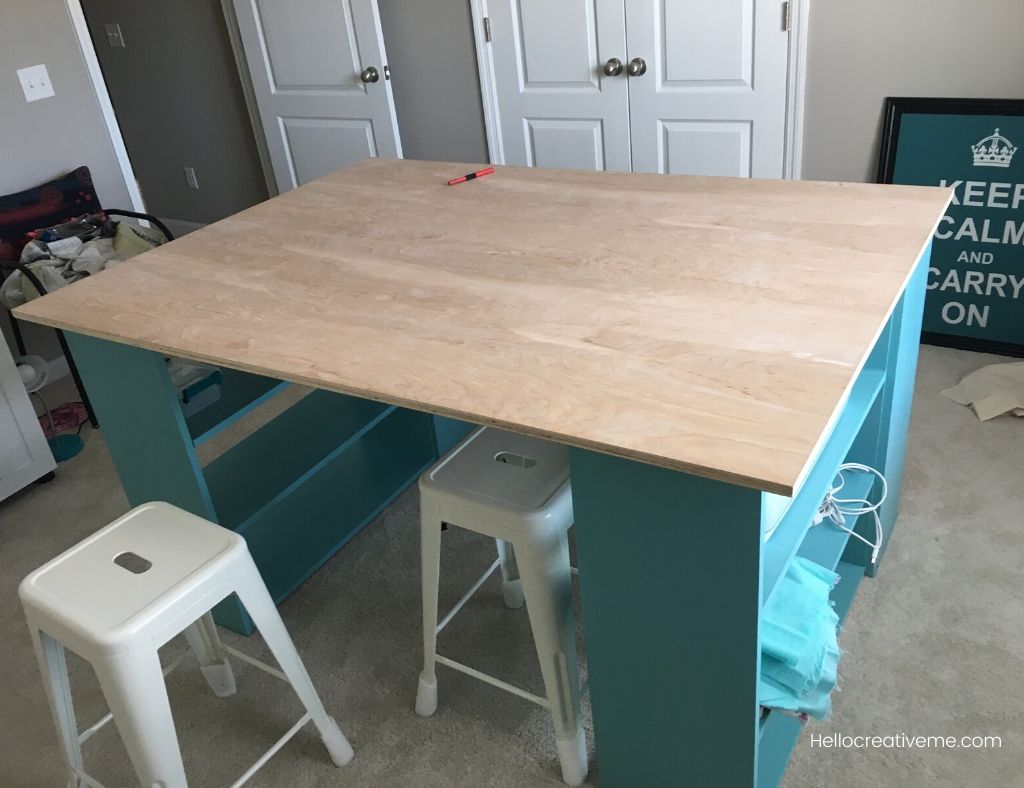
Since this tabletop was so heavy we just placed it on top of the two shelf unit bases. We did not use a floating top like in the original plans. And we didn’t attach it either. So far it has not moved at all!
The edges of the birch plywood are rough. Since I plan to be leaning against and across the table with my sewing and quilting projects, the rough edges presented a problem. I did not want my clothing to be constantly snagged. So I browsed the aisles at Lowe’s and I found a terrific easy to use solution to this problem.
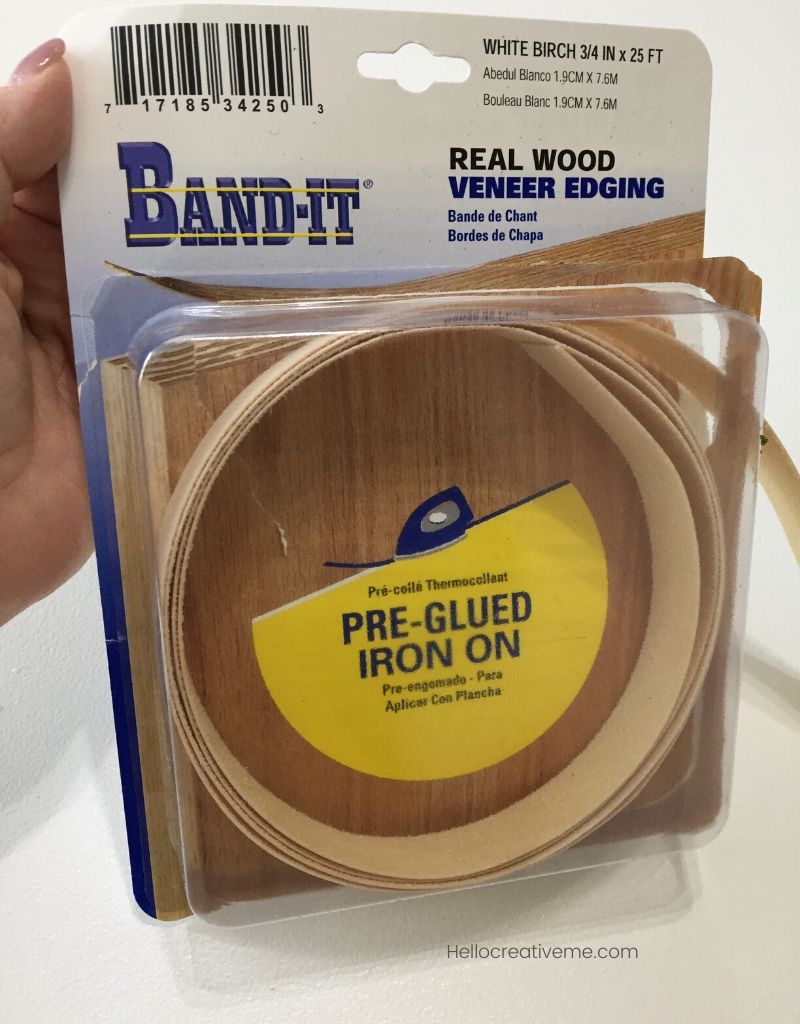
This birch tape was sooo easy to apply. You just use an iron and iron it on the edge. How simple! It does require two people to apply however. Let it cool, lightly sand edges and paint. The paint adhered easily to it. Now my edges have a nice finished look to them and I can lean across the edges with no snagging!
I then painted the top with white paint to keep everything nice and bright in the room. It’s a perfect size to fit my large cutting mat too.
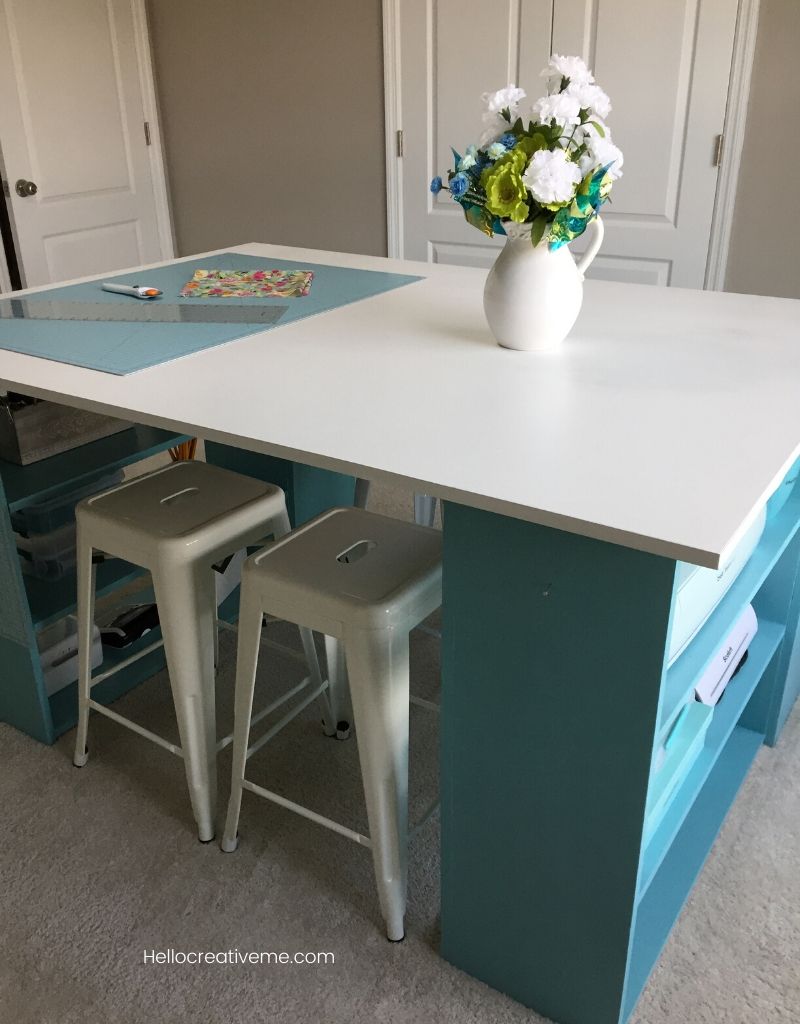
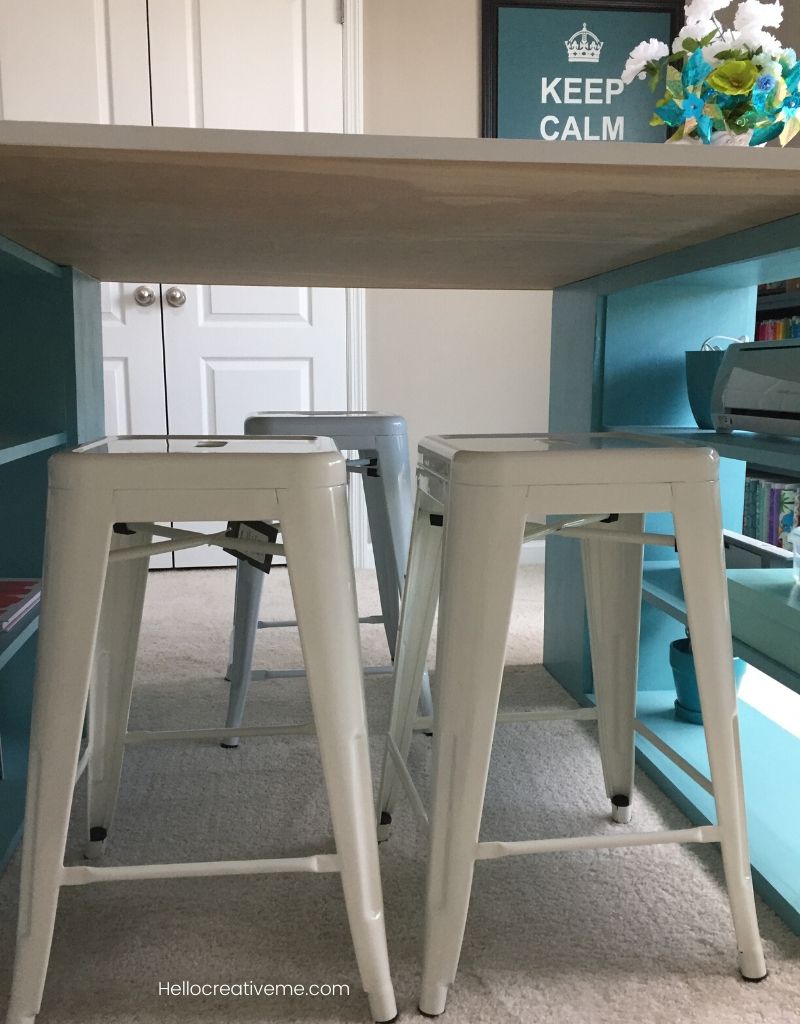
For seating I chose to go with white metal counter-height stools. I like that I can tuck them underneath the table when not in use.
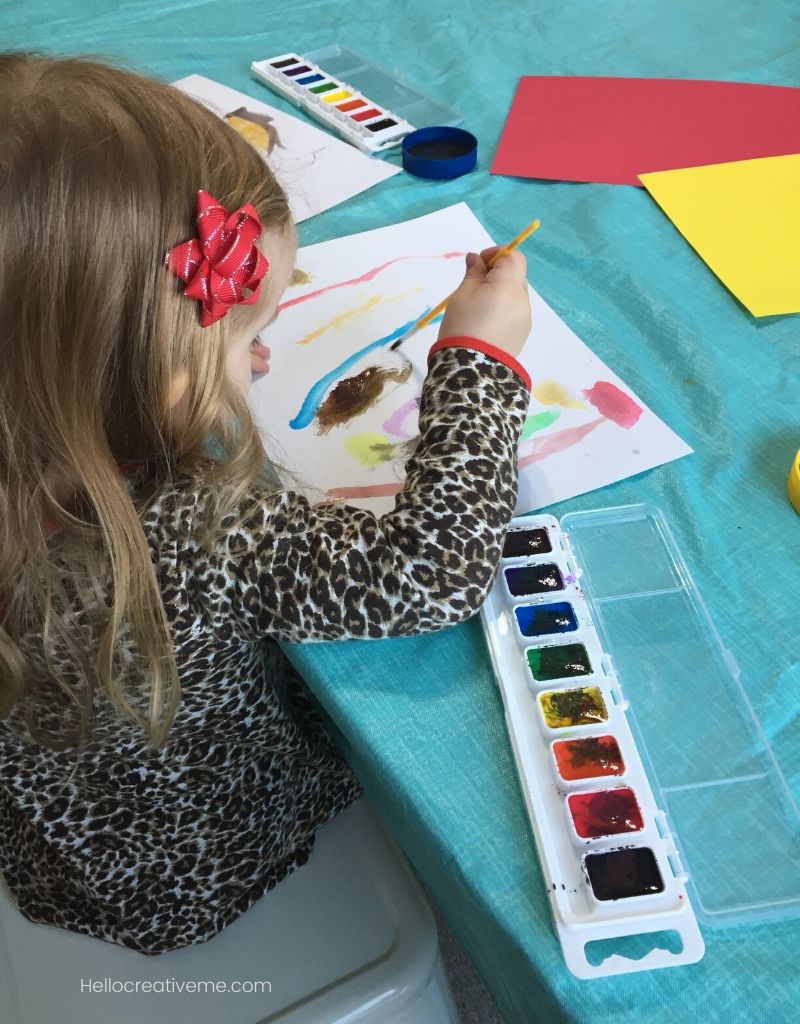
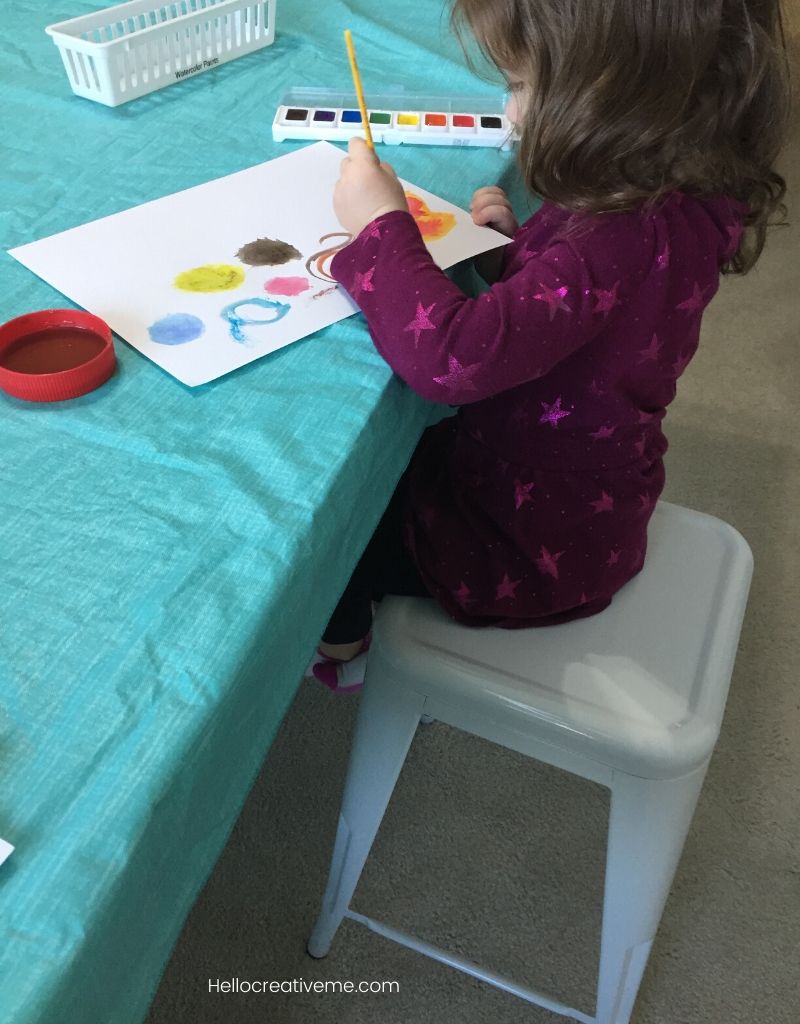
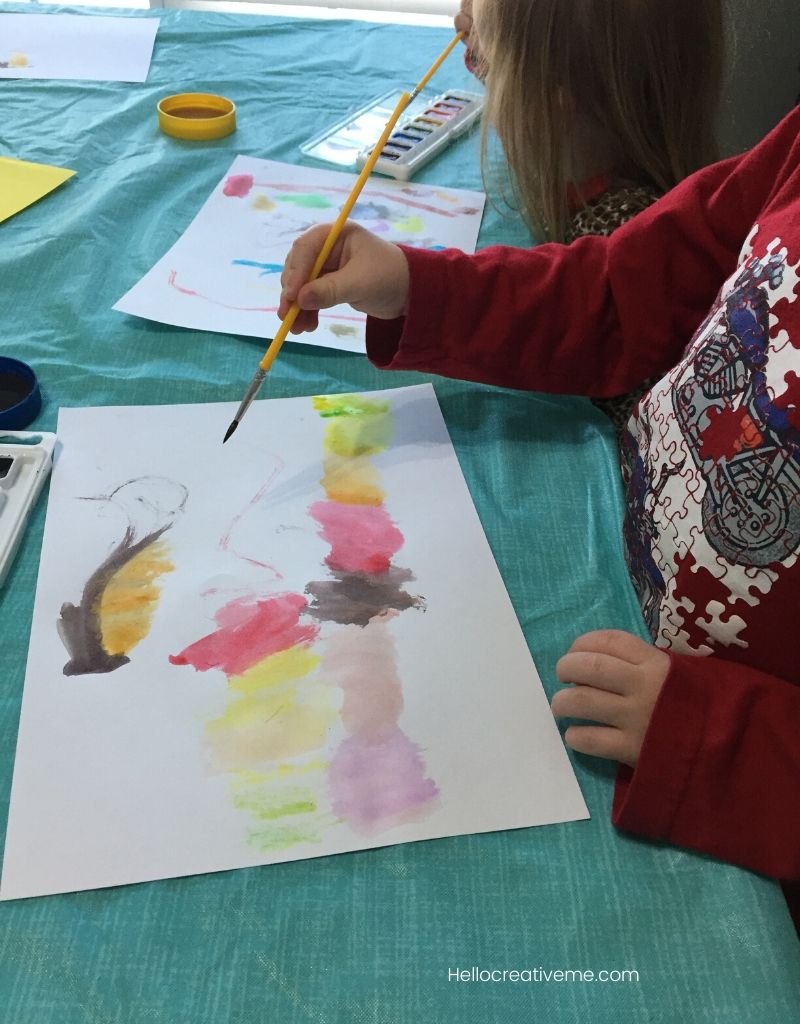
I purchased three so that each grandkid has a place to sit and create when they come over. They LOVE to do projects at the table. Amazing how just a little glue and bits of paper, sequins, and foam shapes can keep them busy for quite awhile. I have a vinyl tablecloth I cover the table to with so no worries about paint, glue, or markers when they create.
Sharing my love of all things DIY with the grandkids is very important to me. And now we have an awesome place to create together!
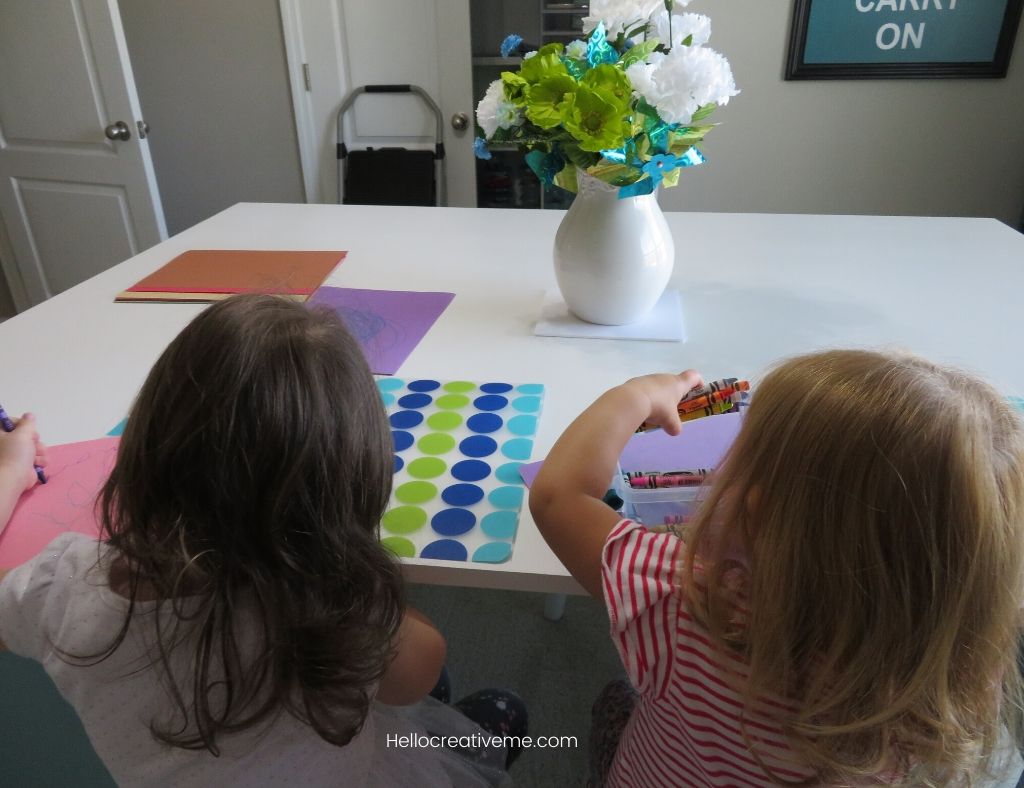
My DIY craft table is definitely the star attraction in my craft room!! It sits proudly right smack dab in the middle. I LOVE it! And I still can’t believe we built it ourselves!!! So if you are looking for a craft table consider building your own. If I can do it so can you!
Happy crafting!!
Pin This For Later
~Sherry

Wow…..you guys did a great job !! Congrats !! I love this work station and the color is wonderful too…….love the size of the top….
I made my own work center table with a store bought table that is 60″ long by 30″ wide. Put the legs up on 4 heavy plastic bed risers to a height of 34″. Then put plastic drawer units under it to hold supplies and a 3 shelf bookcase unit at each end. Not as pretty as yours but it works very well and is sturdy, my large cutting mat fits perfectly and I have a garden box to hold pins, scissors, tape and such….. My sewing machine sits on a table that I ordered from a catalog and assembled myself……had to finally call my nephew for help !! it has 2 small drawers and is a great table/desk. Happy crafting….
Thanks Cleo! Sounds like you figured out a creative way to make your OWN table that works for you. Isn’t it wonderful to have a large surface to work on? And one that fits a large cutting mat? Curious about your “garden box”…seems like a unique way to store supplies and wondering what it looks like. Thanks for stopping by and sharing!
Wowza, it looks amazing. What a fabulous space to work in 🙂
Thanks Julie! I love working at my craft table!! Check back soon for my craft room tour where I share the rest of my space. Thanks for visiting!
Wow! I love your new craftroom table. The color and style are just beautiful and so wonderfully functional. Pinned.
Thanks Joanne!! I agree. It’s beautiful and functional. Still can’t believe we built it ourselves!!! Thanks for stopping by.
This looks great! Love the color you chose.
Thanks Pamela!! That seems to be my color this year lol. Thanks for visiting.
I love this! I really love the colors you used to paint it, too. Hanging items from the sides work so well!
Thanks Michelle!! The color is so soothing. Need to place those cutting mats somewhere and that seemed the best place. Thanks for stopping by.
I love it! Thanks for sharing with us at the To Grandma’s house we go link party – I’ll be featuring you next week on my blog, Facebook and Instagram!
Wow!! That’s so awesome!! Thank you for featuring my DIY craft table. I’m so honored. I love it too and I hope perhaps I can inspire someone to build their own. Thanks again.
Thank you for sharing at #OverTheMoon. Pinned and shared. Have a lovely week. I hope to see you at next week’s party too! Come party with us at Over The Moon! Catapult your content Over The Moon! @marilyn_lesniak @EclecticRedBarn
What amazing table with lots of storage. I love the chosen color. I am happy to feature your project at Love Your Creativity. Happy March!
Aww thanks Linda. I am honored that you are featuring my DIY craft table.
What color did you paint your walls? Love the color combination.
The wall color is Sherwin Williams Anew Gray. It’s a great neutral color!!
Hi Sherry, where did you buy the shelves for this table! I LOVE this idea!
Hi Chanda. My husband and I built the shelves ourselves. We modified plans from Ana White’s modern craft table to fit our space.
I am in the market for a crafting table for my new craft room. I stumbled across your gorgeous table and I’m so impressed that you and your husband made it yourselves. I think it’s terrific and I adore the colors in your room! Thanks for the inspiration. At this point I don’t know where it will lead me, but hey, you never know. 😍😍
Thank you for your kind words!
I absolutely love what you have built. You put a lot of thought into it and it really works. I love the color too. With the white top t
I keep your room bright. At my age I need everything bright so I can see it. But the teal(?) color at the bottom is perfect. Love that color. It’s so user friendly and with the tools stored underneath it keeps your room neat and spacious. Fantastic job.