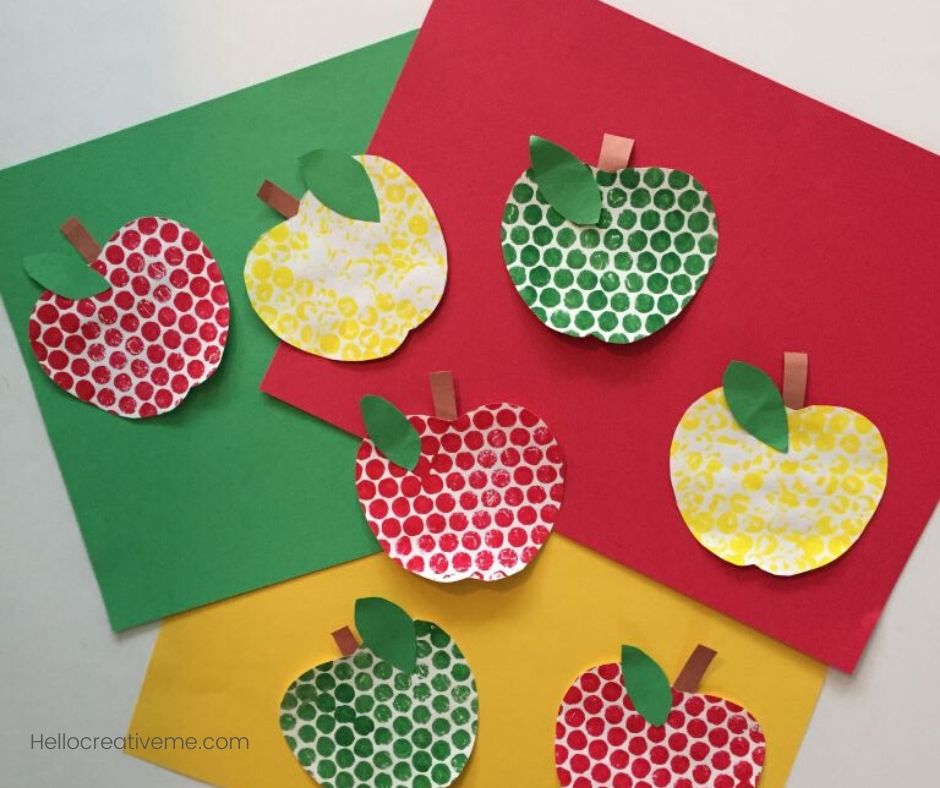
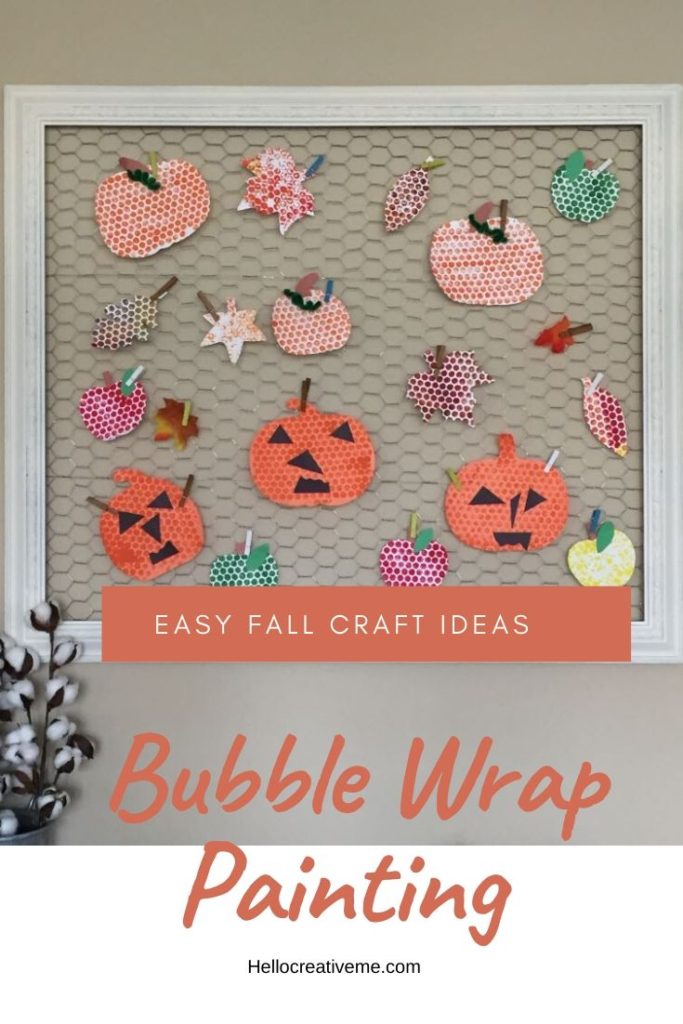
Hello all! This post is an introduction to a new feature on the blog…Hello Creative Kids. Today I’m sharing our bubble wrap painting projects we created for fall.
Why crafts for kids you ask?
Well, one of my goals is to create memories with my grandkids. I am a grandma to three adorable little children; four year old twins and a 2 year old. What better way to create memories…and leave a legacy…than to share my love of DIY crafts with them. To provide them with lots of opportunities to explore all things creative. As a former teacher I know how vital that is to their development. And in the process I strengthen that all important grandchild/grandparent relationship. A win-win for all!
So I will be sharing our creative adventures with you… DIY craft ideas and projects that are easy and fun to do.
Perhaps you and the little ones in your life may be inspired to try a new project and have some creative fun.
No little ones? Then please share the project posts with someone you think may enjoy them. Let’s spread some creative joy!!
Bubble wrap. Not just for packing or popping (a great stress reliever by the way). But for painting too!!
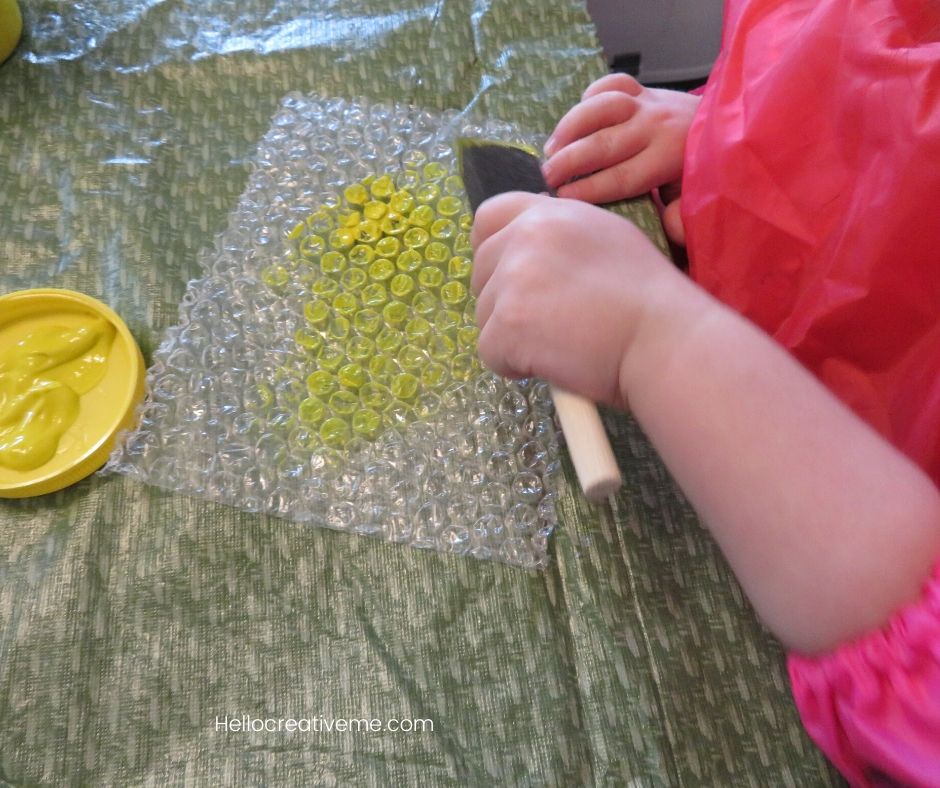
I love this project for several reasons. I like it because of the sensory aspects of painting on bubble wrap. It uses simple materials yet can produce amazing results. It also gives kids a chance to experiment with mixing different colors, practice their fine motor skills, and its just plain fun!!
Give it a try!
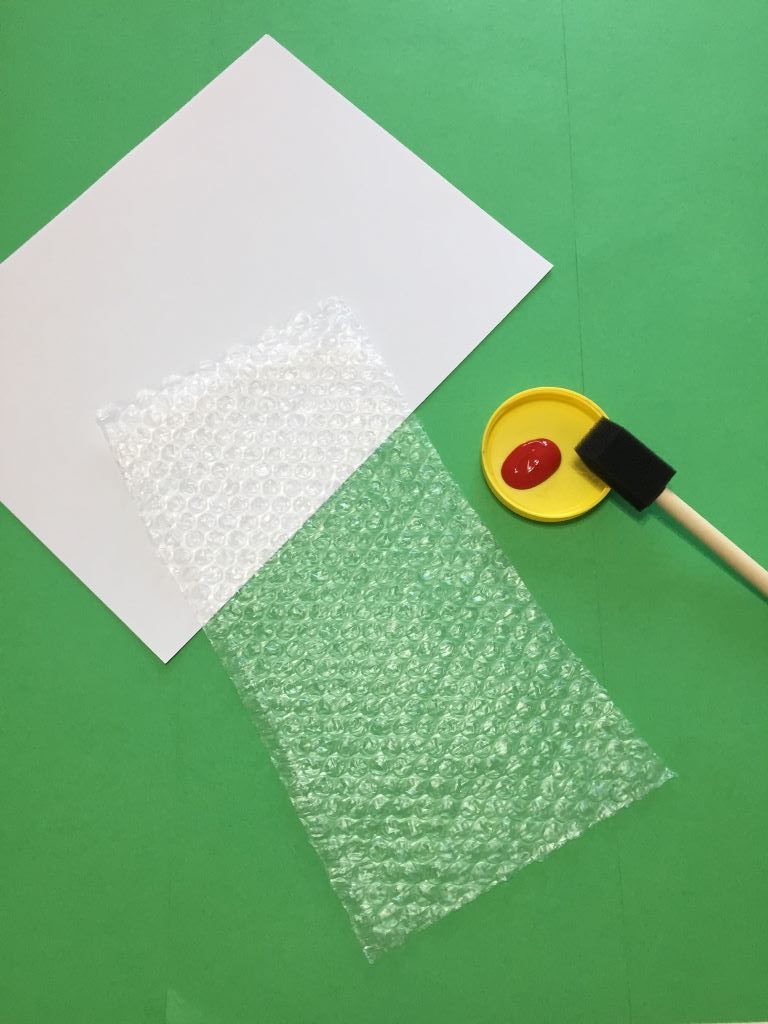
What You Need
- Bubble wrap
- Washable tempera paint
- Paint brushes or foam brushes
- Container to put paint in…I use peanut butter jar lids
- Construction paper
- Wet wipes or paper towels to clean up little “accidents”
- Something to protect your table surface…a vinyl tablecloth or large kraft paper
Directions
Cut bubble wrap into pieces smaller than your paper. Smaller pieces are also easier for little ones to work with.
Apply paint to the bumpy side of the bubble wrap.
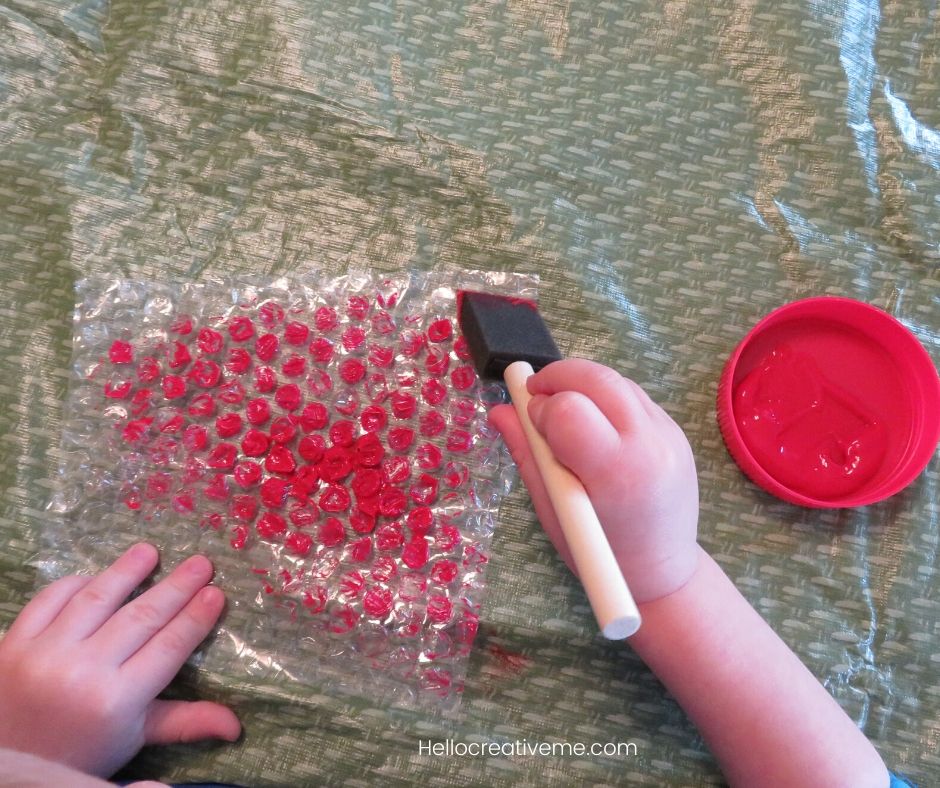
When done painting, place your paper on top of the bubble wrap and smooth gently with your hands.
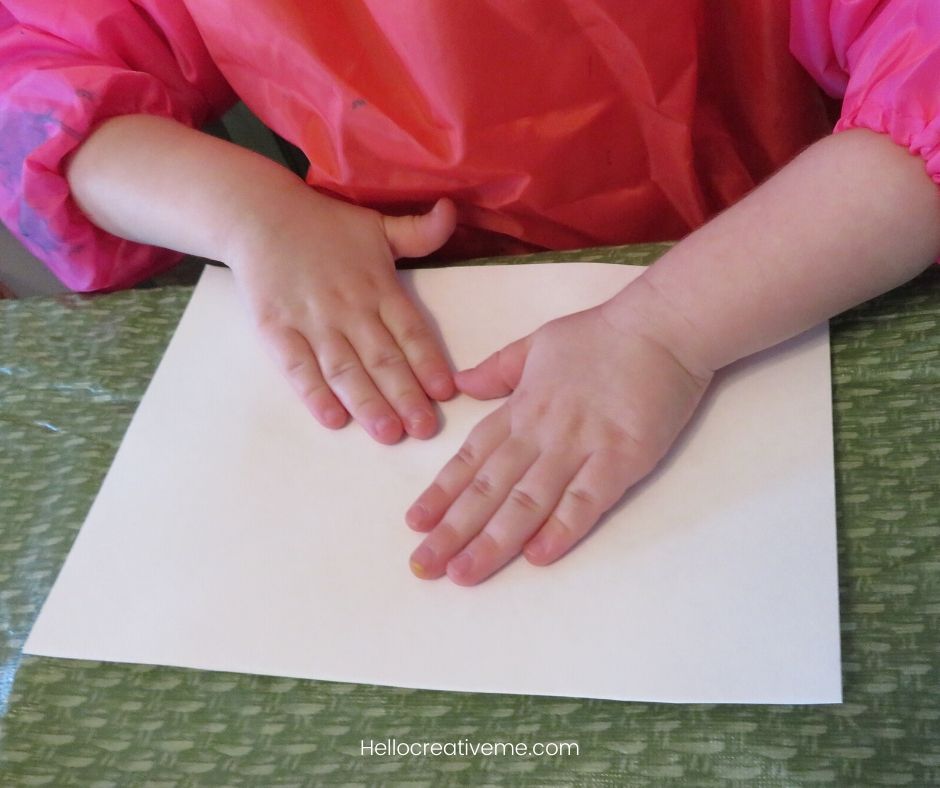
Carefully lift paper and set aside to dry. Then repeat.
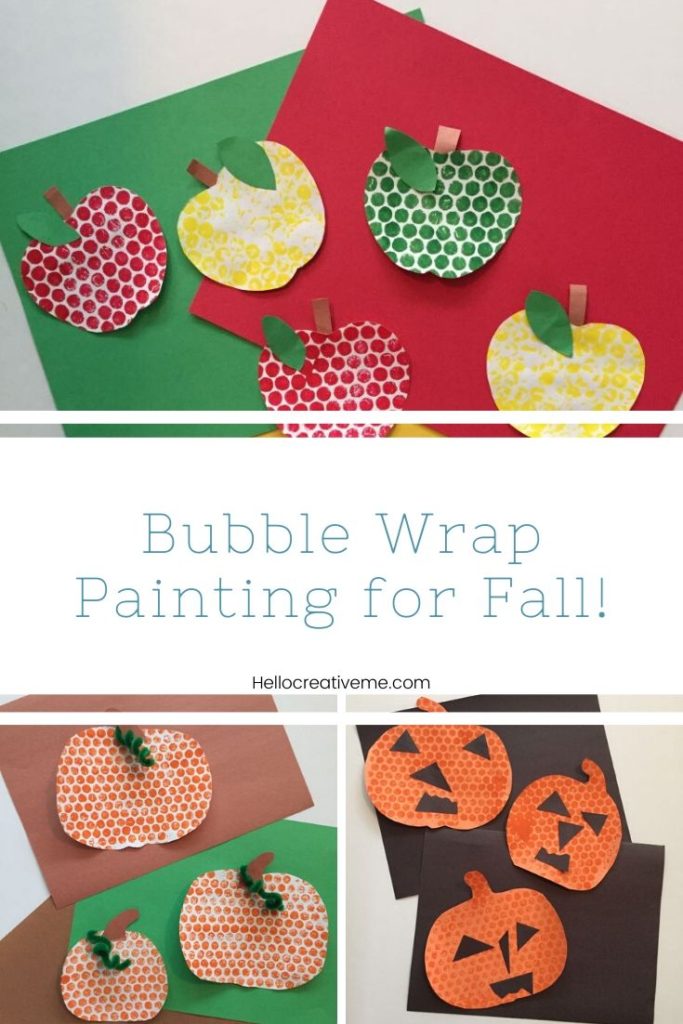
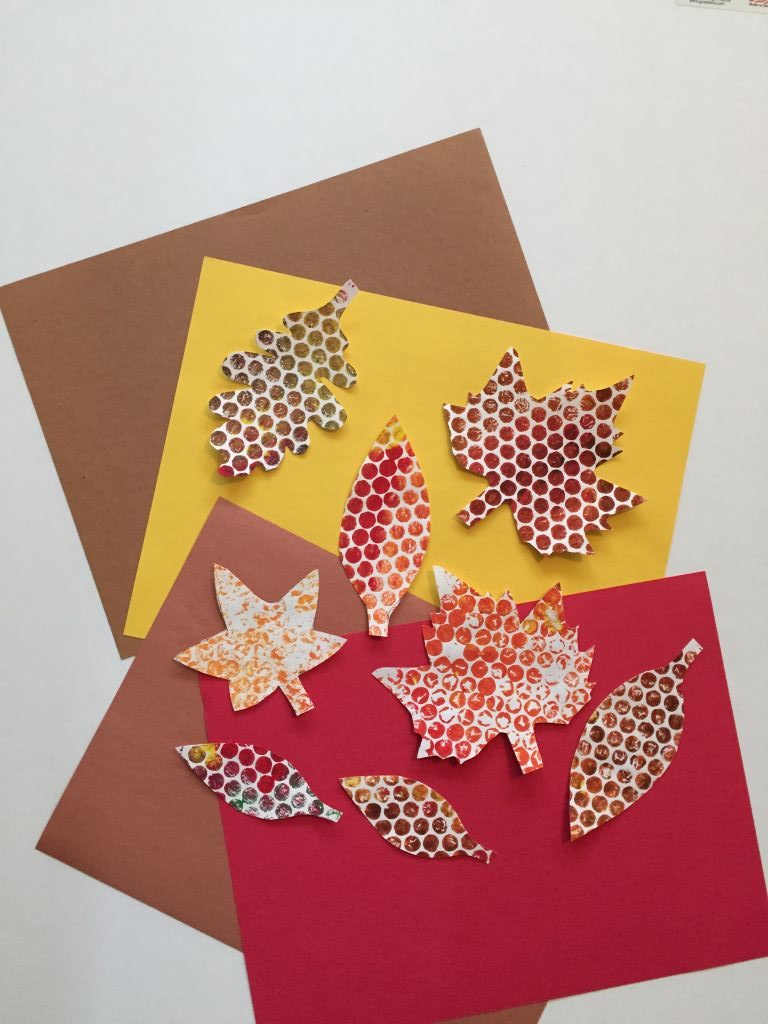
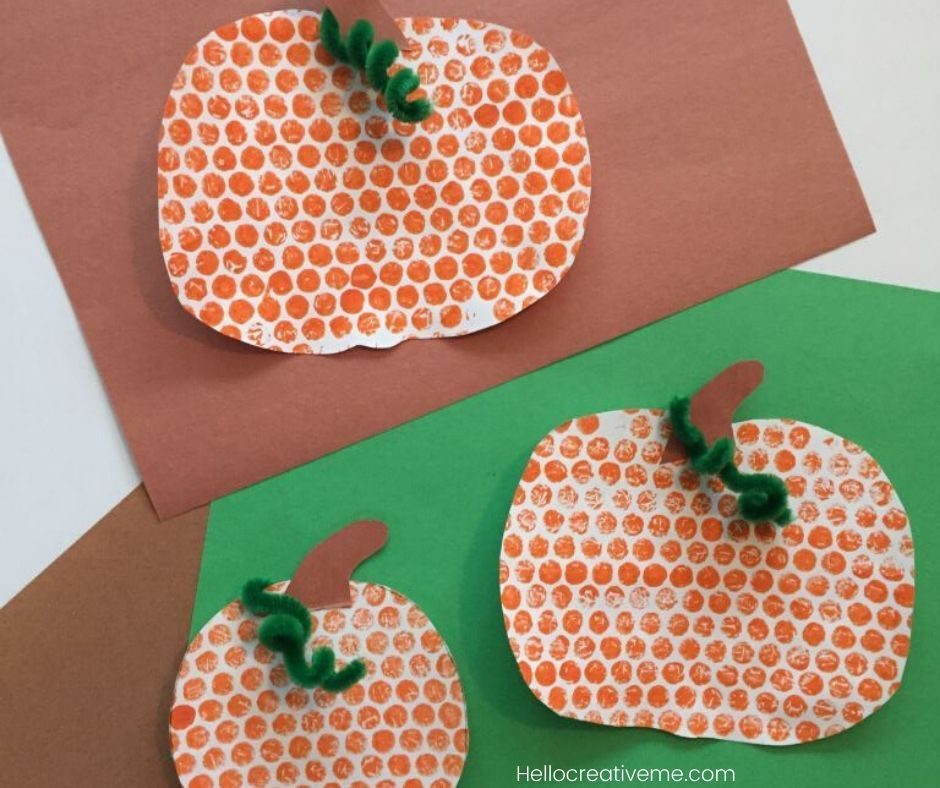
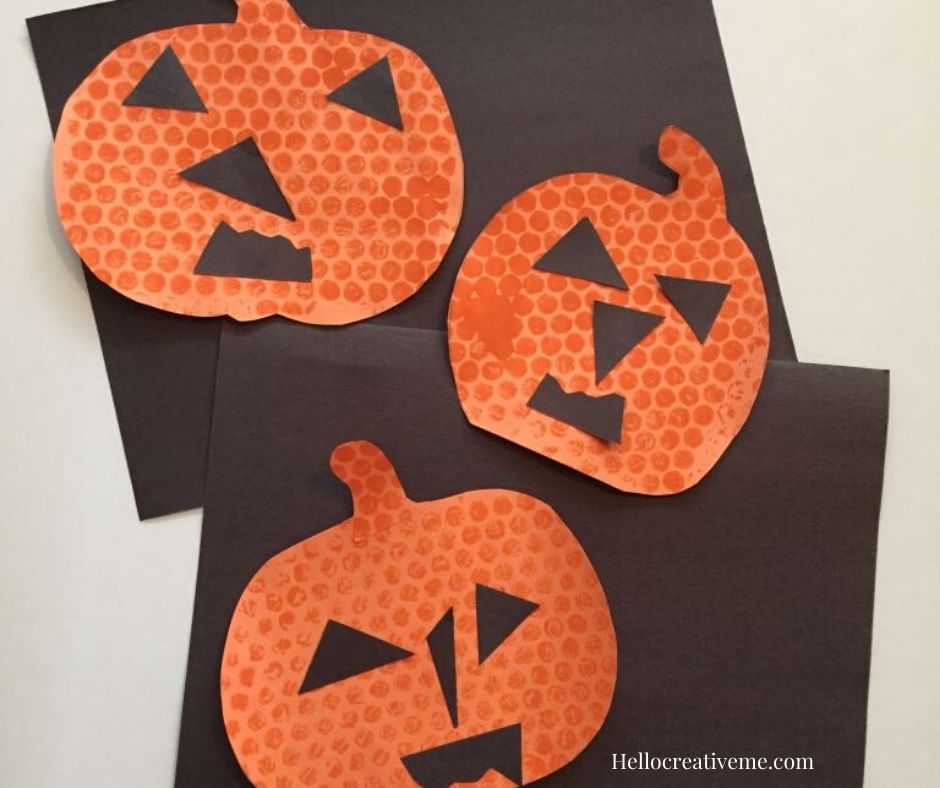
Once your paper dries you can cut out seasonal shapes: apples, leaves, pumpkins, and jack-o-lanterns like we did here.
Need some templates for tracing and cutting? Check out this amazing site FirstPalette.com. Lots of templates in various sizes and shapes. Free to download and print. This site has lots of creative craft ideas too.
We had so much fun with the bubble wrap painting that I’m sure we will do it again soon. Grandma even bought some new paint colors too. Hmmm… what could we do for Christmas?
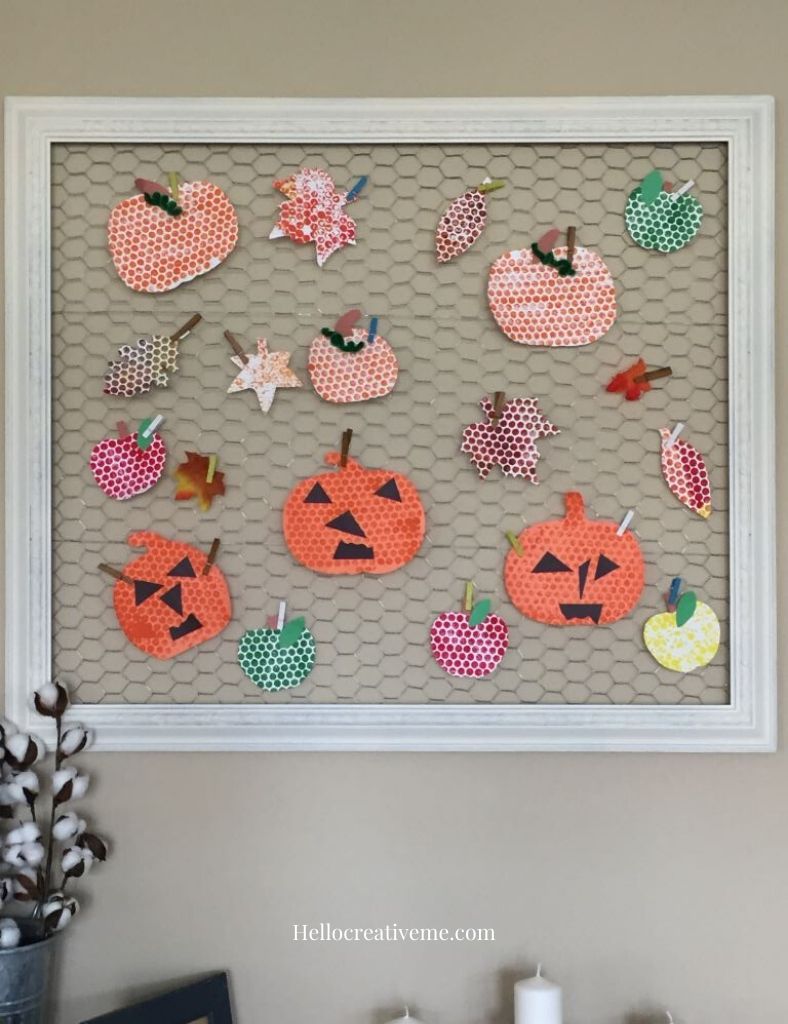
Ready to try this quick and easy project? If you do then please share pictures in the comments. I would love to see what creative ideas you and your little ones come up with!
Pin For Later
~Sherry
Leave a Reply