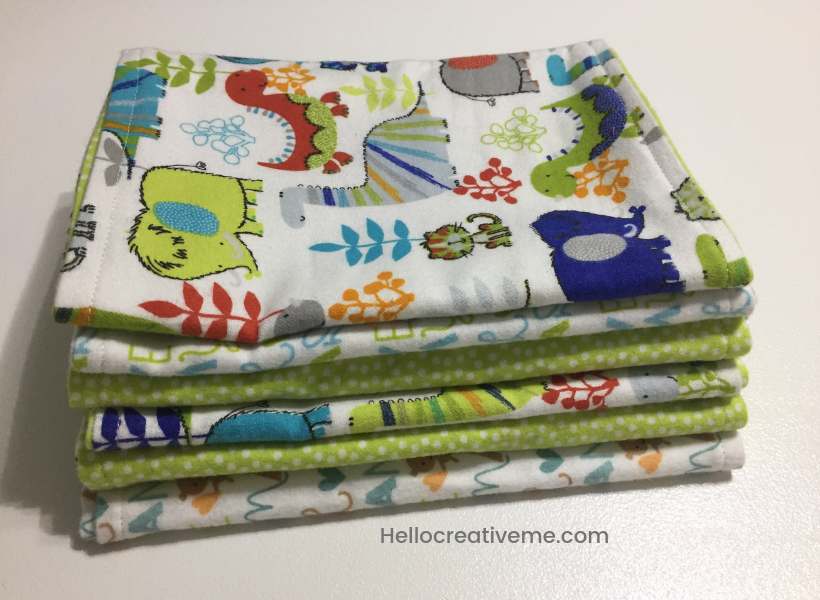

Hello all! It was a very rainy weekend here so I had a chance to work on a fun sewing project…baby burp cloths!!! A family member and a neighbor are both expecting little bundles of joy soon. So I made these adorable VERY EASY to do burp cloths for their new little ones.
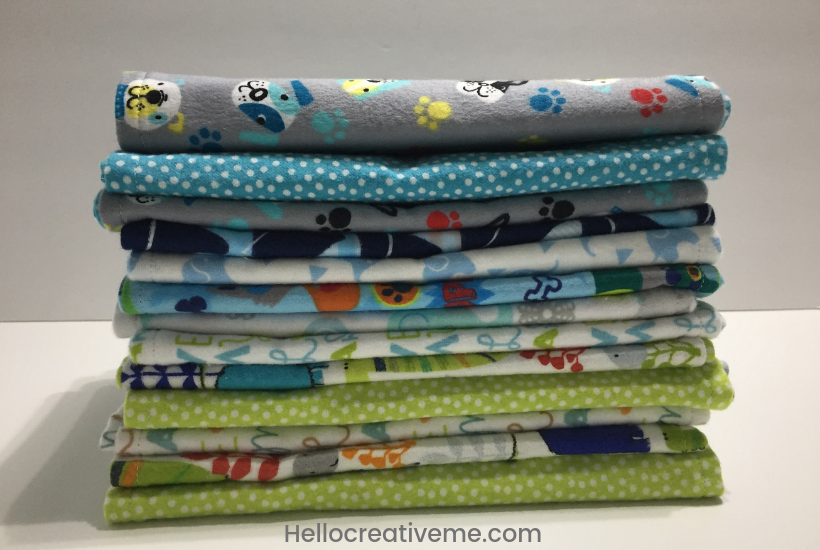
When my daughter was pregnant with the twins I wanted to try sewing burp cloths for my new grandbabies. I tried different methods, patterns and fabrics but kept coming back to this one. Because it was So EASY!!!! And fun!
These burp cloths are made from flannel fabric which you can find in sooo many adorable prints and patterns. They are soft and they absorb little messes well. FYI! JoAnn Fabrics often has great sales on their Snuggle flannel… as much as 60-70% off at times! Makes it hard to resist. And this Grandma didn’t. I made TONS for those grandbabies!!! So these burp cloths are kid tested and mother approved. And so very easy to make. I promise!
So lets’ get to it.
Easiest Ever Burp Cloth Tutorial
A 1/4 yard of fabric is all you need to make one burp cloth. You can choose to use only one print if you’d like.
Or my favorite way is to use 2 coordinating prints like the sample . You still need 1/4 of a yard of EACH fabric but you will end up with two burp cloths instead of 1.
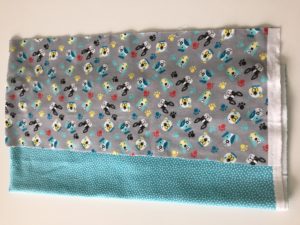
Supplies needed
- A rotary cutter, mat, and a ruler (or you could use scissors…the rotary cutter gives a much cleaner cut)
- Fabric
- Pins
- Sewing machine
- Thread and a FULL bobbin (I just use white thread)
- Iron
Step 1: Cut
(Note: A 1/4 yard of fabric is equal to 9″ and most times you will get more than that when they cut fabric at the cutting counter. If not anywhere from 8-9″ will do.)
- Cut 2 pieces of fabric approximately 9″ x 21″
- Place right sides of fabric together and pin. Be sure to leave an opening about 3″ to allow for turning fabric inside out. Mark the opening with pins.
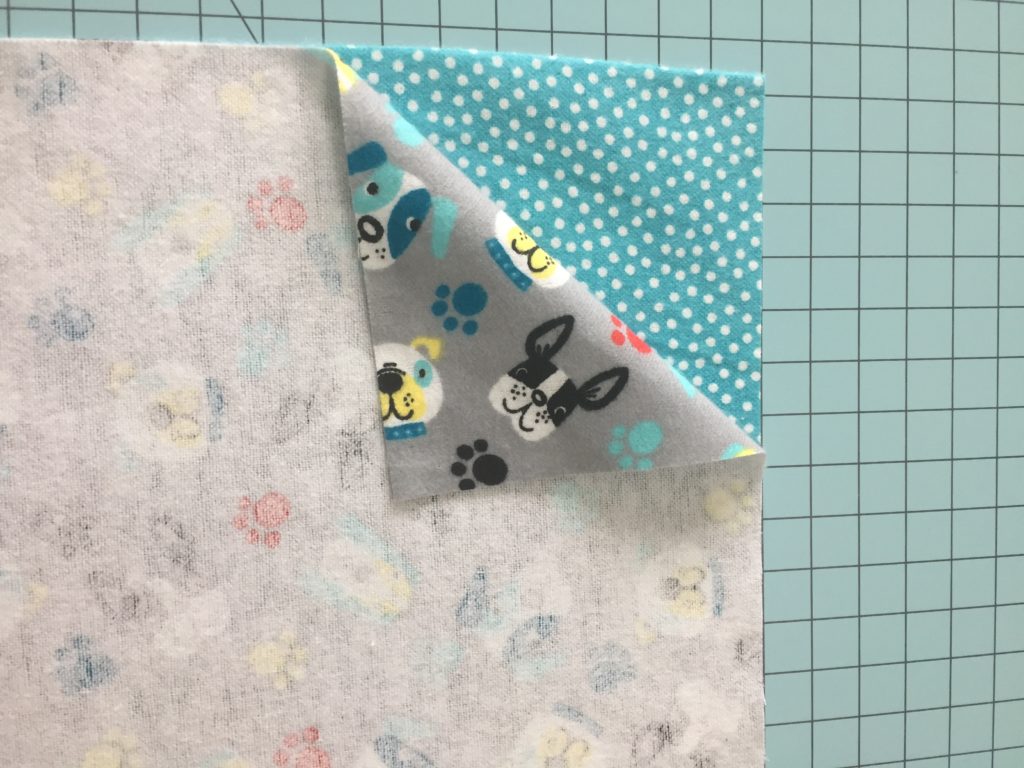
Pin right sides together 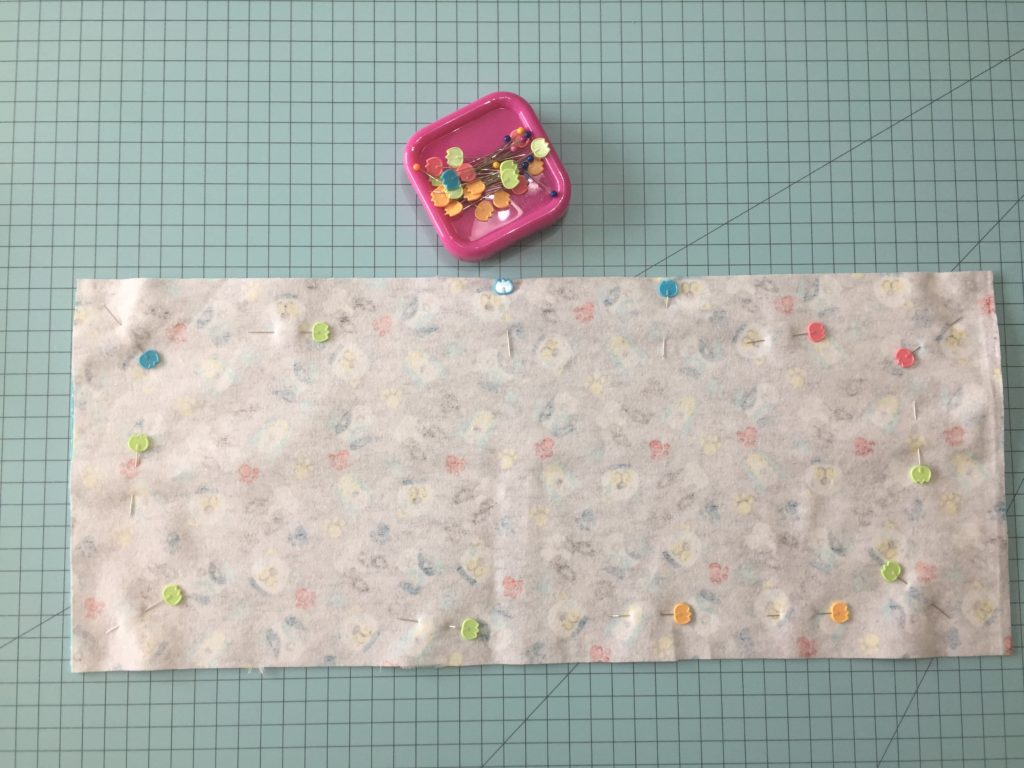
Pin around sides leaving opening for turning
Step 2: Sew
Be sure that you have a FULL bobbin! There is nothing more frustrating than having to stop midway through sewing to wind a new bobbin. Ask me how I know this. Grrr…
- Begin sewing at the pin you placed for the opening using 1/4″ seam allowance. Sew all around the burp cloth until you reach the second pin. Remove pins.
- Cut the corners on the diagonal being careful not to cut through your stitching. Trim any loose threads.
- Turn fabric inside out at the opening. Push out corners using an unsharpened pencil, or chopstick.
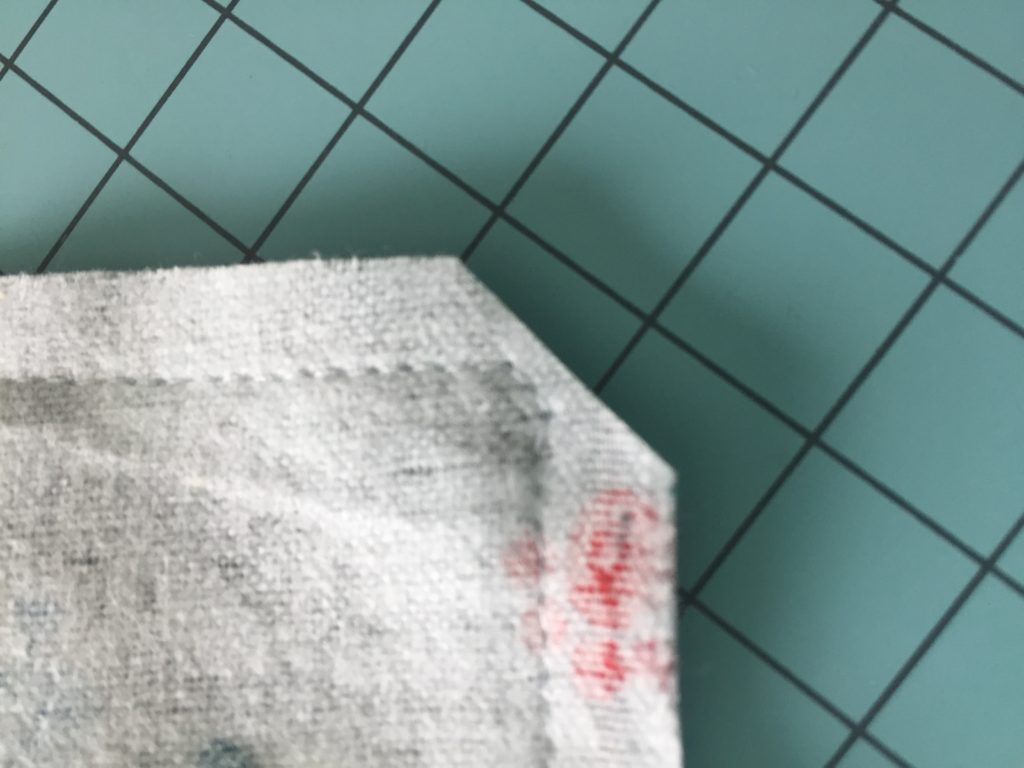
Clip corners of burp cloth 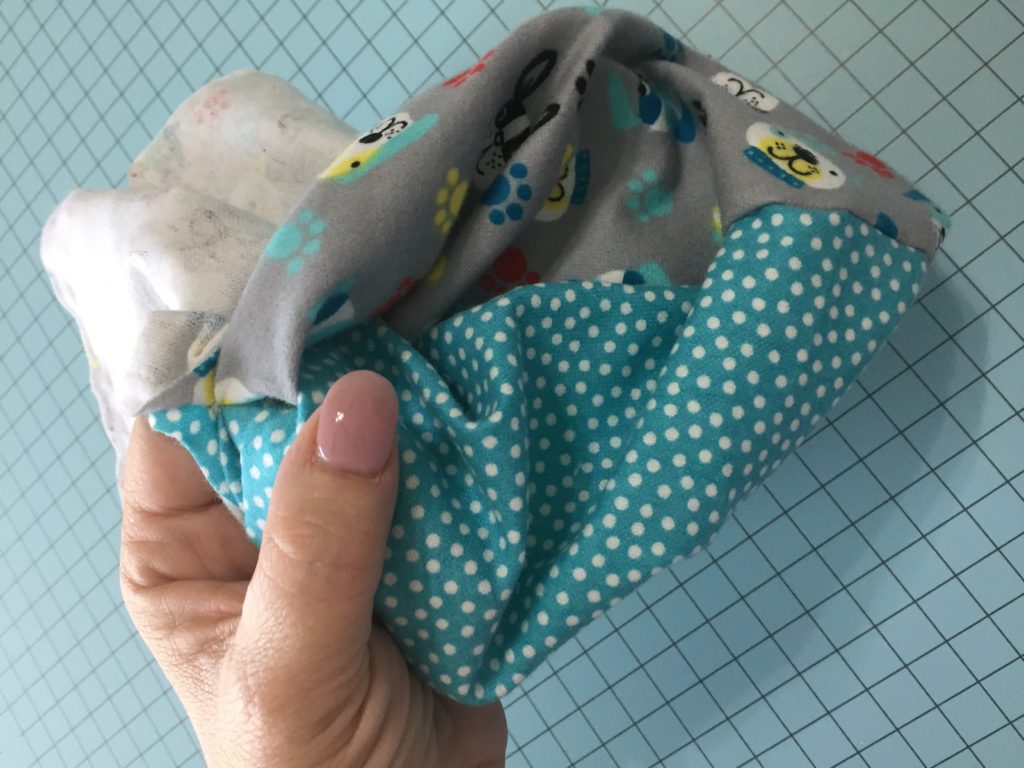
Turn the burp cloth inside out
Step 3: Press
- Press the burp cloth to make it flat and smooth for top stitching.
- Find the seam opening and fold inward and then press.
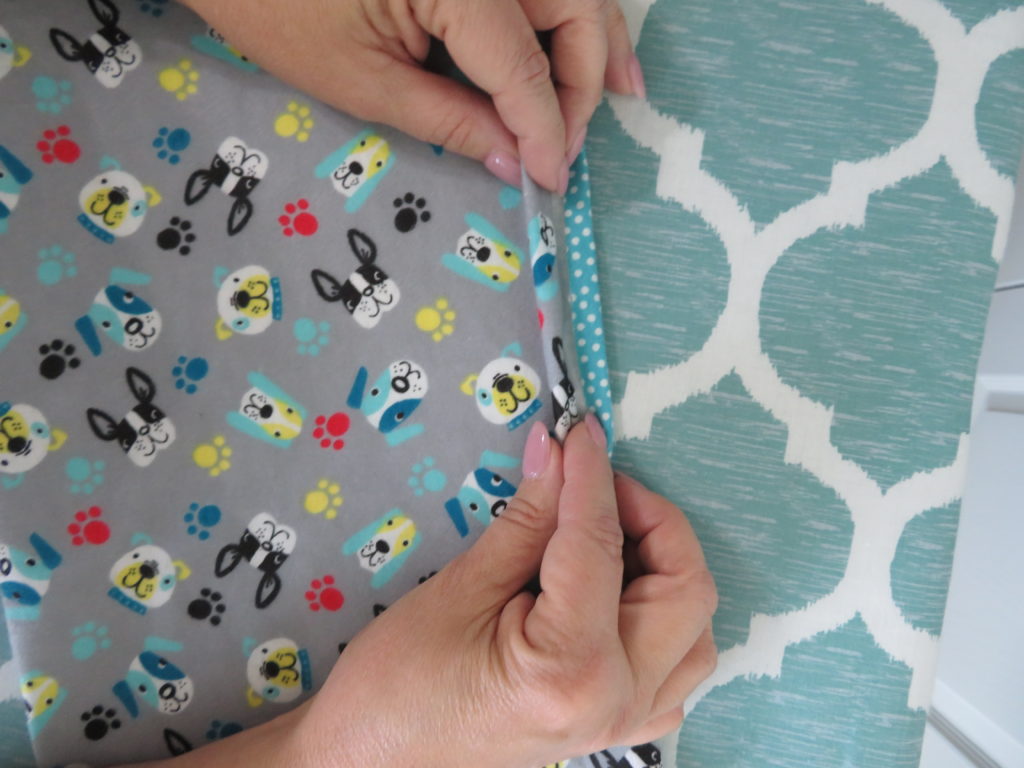
Fold seam inward 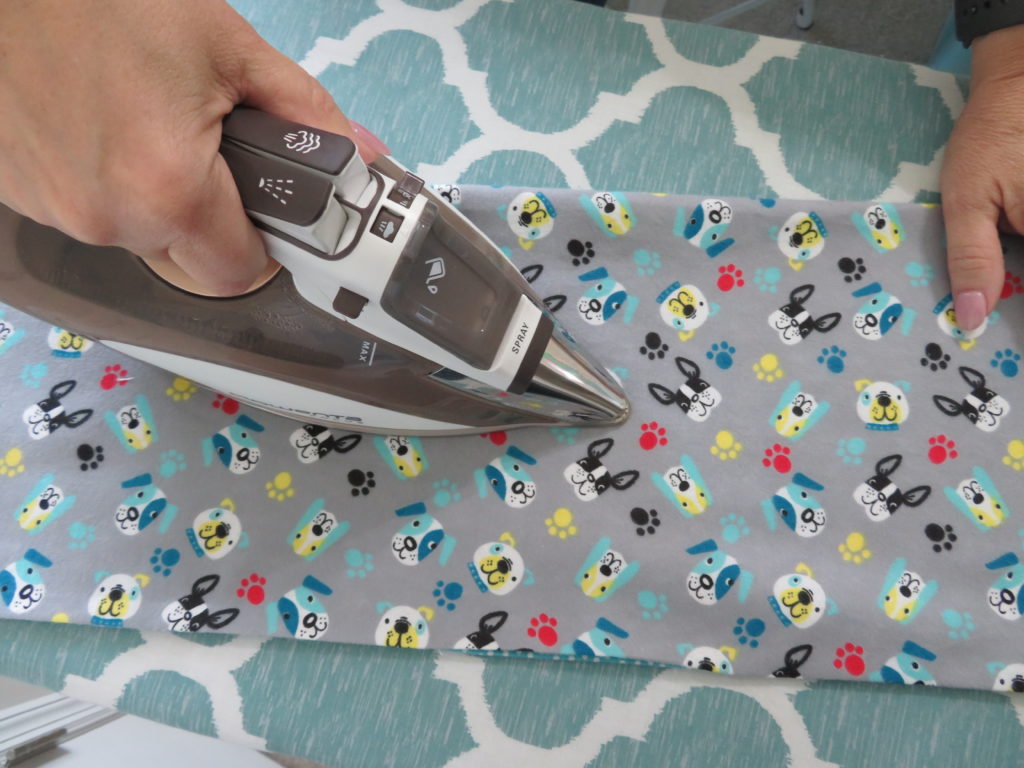
Press
Step 4: Top Stitch
- Top stitch all around the top of the burp cloth using 1/4″ seam allowance again.
- This will close up the opening you left for turning and give a nice finished look to your burp cloth. I like to start on the side with the opening so I can make sure it gets sewn.
- Trim any loose threads and voila…you are DONE. Whoo hoo!
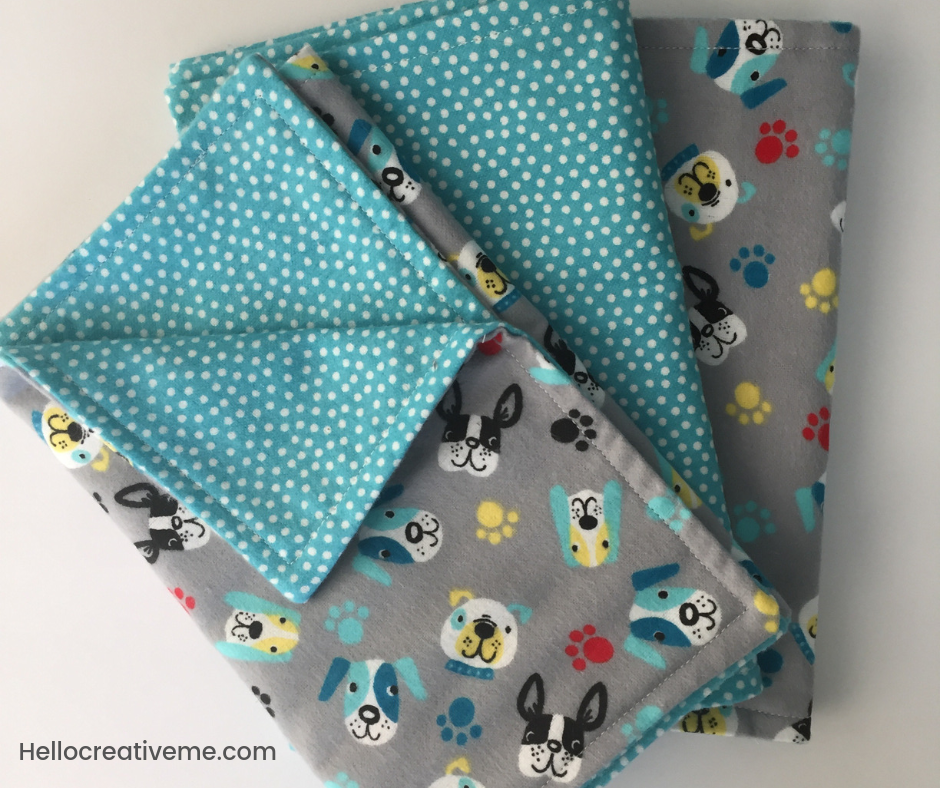
Now wasn’t that easy?
When I am making multiple burp cloths I like to do so in stages. Makes it go much quicker.
I usually cut out 5-6 burp cloths and pin together. Then it’s easy to sit and sew all of them at one time. Then turn inside out and iron. And top stitch all at once.
There you have it…the easiest ever burp cloth tutorial!!!
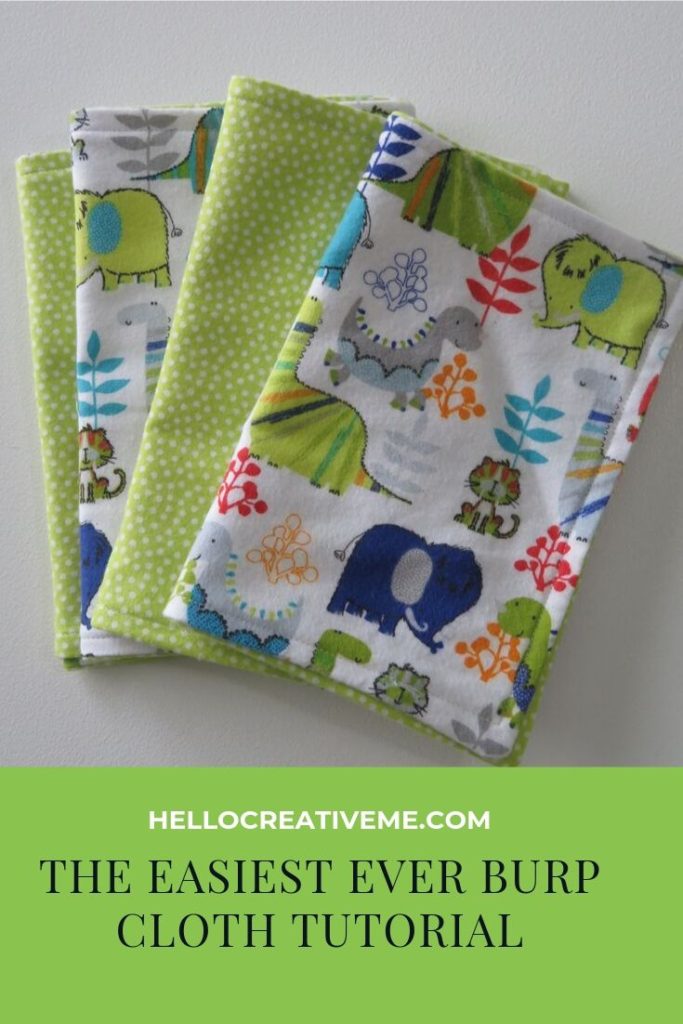
Pin for later!
~Sherry
I use fat quarters folded in half. No cutting needed
That certainly would work!