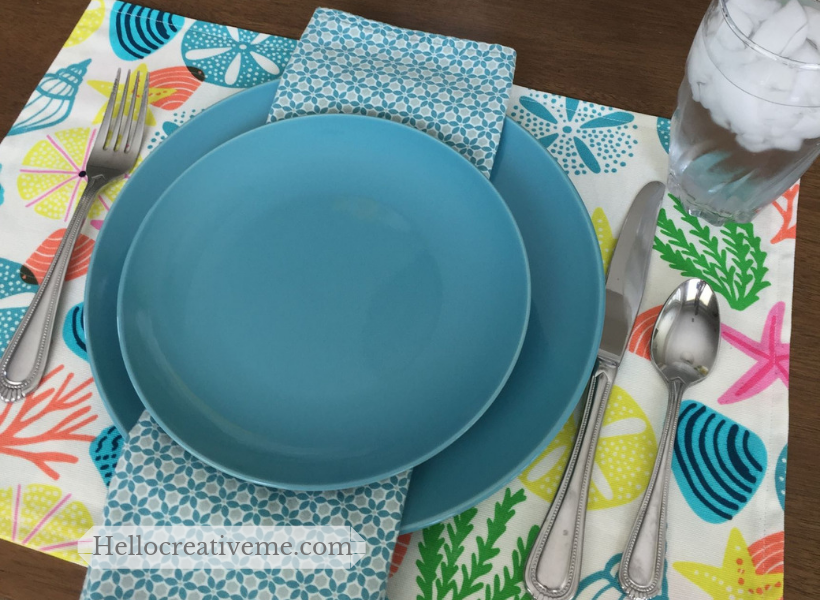
Looking for a quick and easy way to update your table? Try sewing your own placemats. It’s really easy to do. And when you sew your own placemats you can get the exact color, pattern and size that fits your decor and style.
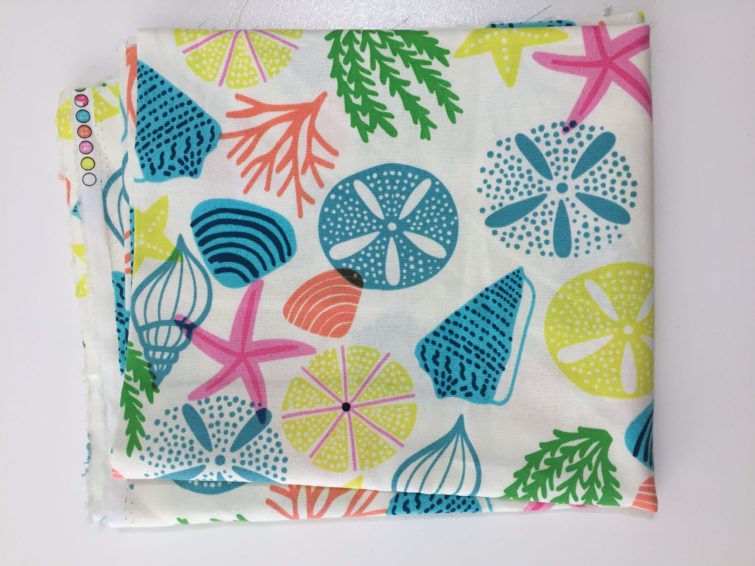
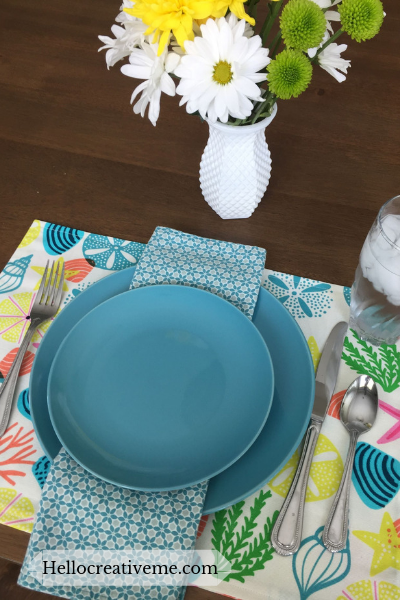
I had been looking for some pretty placemats in a nice floral pattern for my kitchen table. But wasn’t seeing anything that I liked. Then one day this fabric caught my eye. It seemed so bright and summery to me. And it had shades of teal…just my color.
Teal is my new favorite color. Even my 2 year old granddaughter knows that. Whenever she sees anything teal she points to it and says “teal for grandma”. Love that kid!!
Anyhow, I saw this fabric in the clearance bin and I thought it would be perfect for summer placemats. And at $4 a yard I could easily get two double sided placemats from it. Score!
Have you ever tried to sew your own placemats? They are sooo easy to do. And fun too! Follow this simple tutorial and your table will go from blah to ahhh…in a matter of minutes.
Tips For Selecting Fabrics
- Select fabrics that are washable if you plan to actually use them. I must confess that sometimes I’ve made placemats that were just for show…not actual use. If that’s the case then try using some fancier home decor fabric.
- Fabrics should have a nice weight to them. Quilting cotton, duck cloth and home decor fabrics are all good choices.
My tutorial is for double sided or reversible placemats. You could use 2 coordinating fabrics for different looks if you want. I chose to use just one fabric for both sides. I selected duck cloth for these placemats.
To determine the size of your placemat I suggest that you measure a current one that fits well on your table to get the finished dimensions. You can adjust the size making it wider or taller to fit your table or place setting.. Mine are 14 x 18 finished size.
How to Sew to placemats in 4 easy steps
Step 1: Cut fabric and pin
- Determine the finished size you want and add 1″ to that total for both length and width. My placemats are 14 x 18 finished size so I will cut my fabric 15 x 19″
- Cut 2 pieces from the fabric for each placemat and pin right sides together leaving 3″ opening for turning.
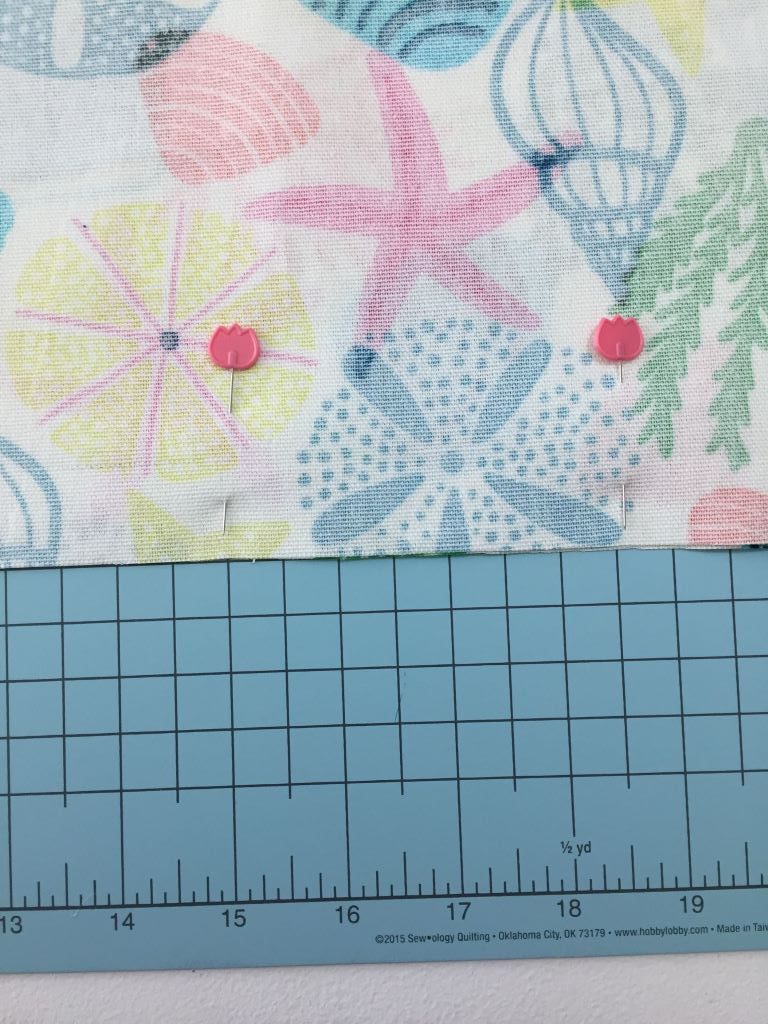
Step 2: Stitch along sides
Use a 1/2″ seam allowance making sure NOT to sew the 3″ opening closed. (Hey sometimes it happens…if it does remember the seam ripper is your friend :).
Step3: Turn fabric inside out and press
Tuck the fabric at the opening inside and press.
Step 4: Topstitch all around the placemat
Use a 1/4″ seam allowance. Then trim any loose threads.
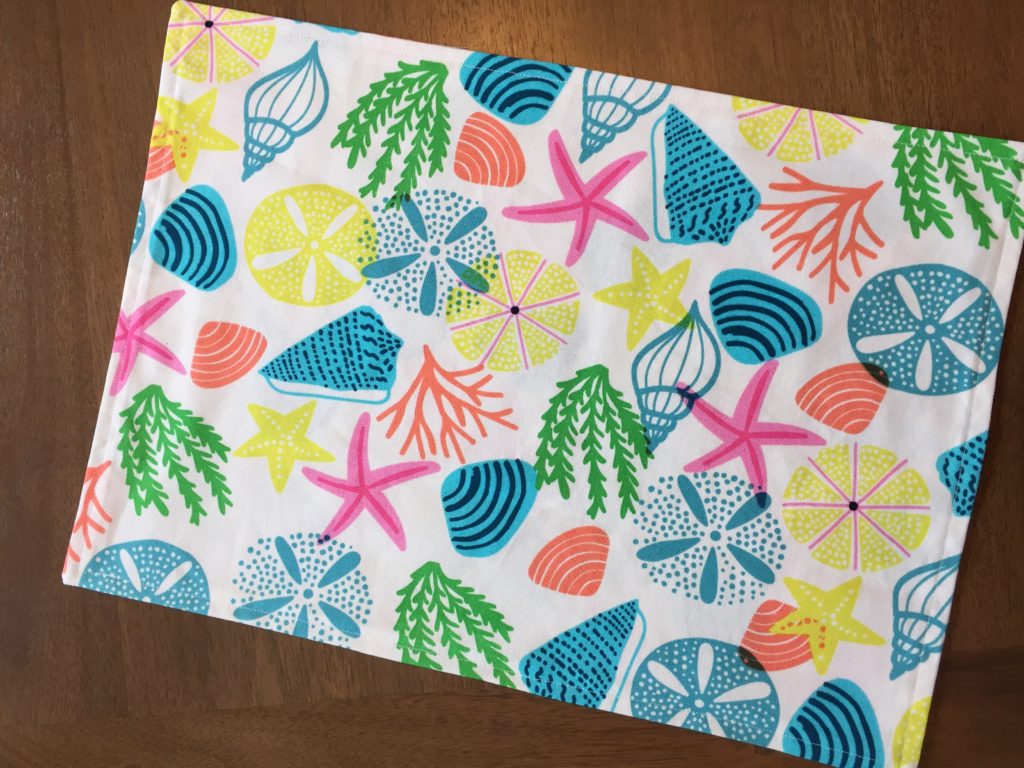
And that’s it. Very quick and easy to do. A creative way to add a touch of beauty to your everyday table. So we can dine…not just eat.
Want to remember how to sew placemats in 4 easy steps? Pin to your favorite Pinterest Board!
~Sherry
Leave a Reply