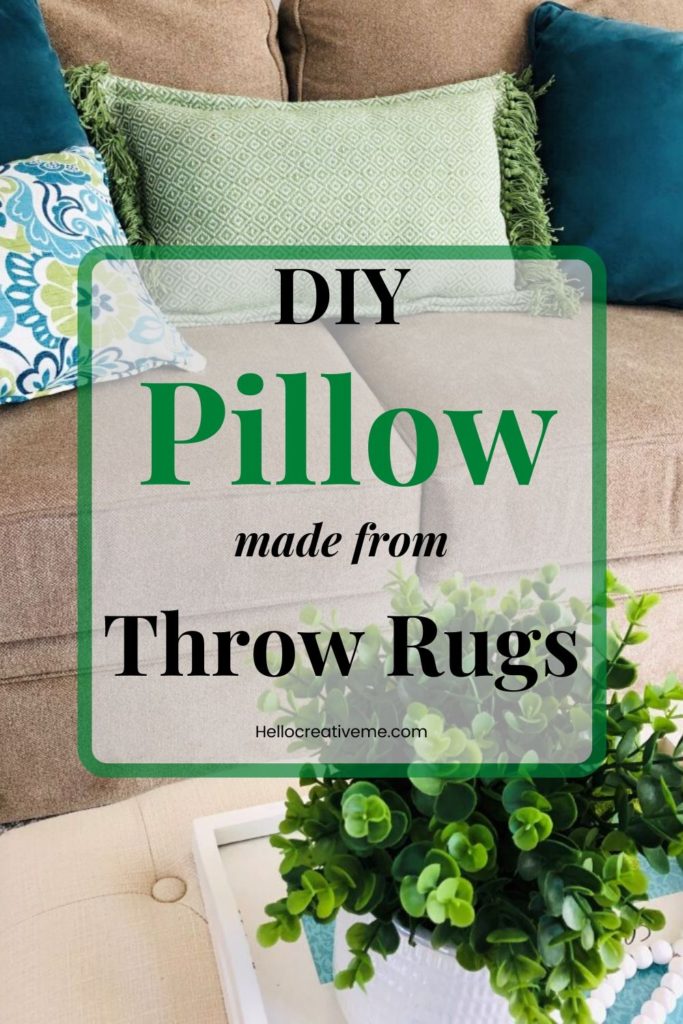
Turn Dollar Tree throw rugs into a beautiful textured pillow for your home with this tutorial.

Hello all! I am sooooo ready for spring!! How about you? Well this simple DIY throw rug pillow project was just the thing I needed to break out of those winter doldrums. And get me thinking about spring. Let me tell you about it!
As I was walking down the aisle at Dollar Tree one day this bright green color caught my eye. It’s my favorite shade of green! I use it all the time in my spring decor, especially outside. So I was intrigued…what was this?
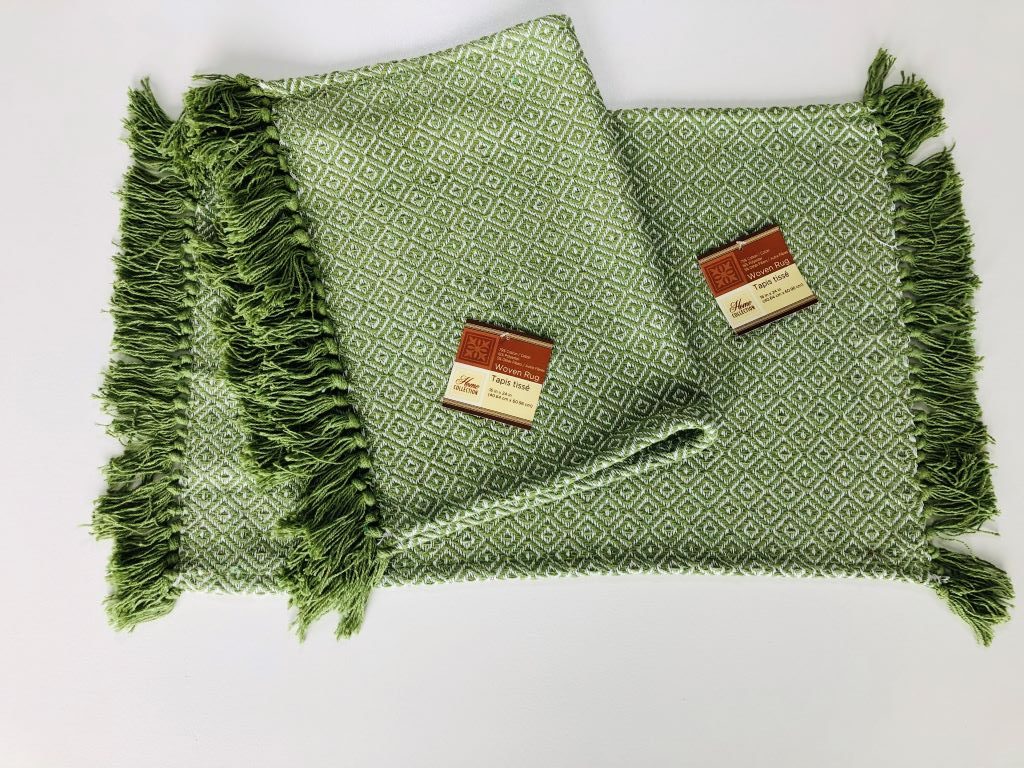
Throw rugs !?! Well that’s what the label said. They certainly seemed rather tiny for a throw rug… 16″ x 24″.
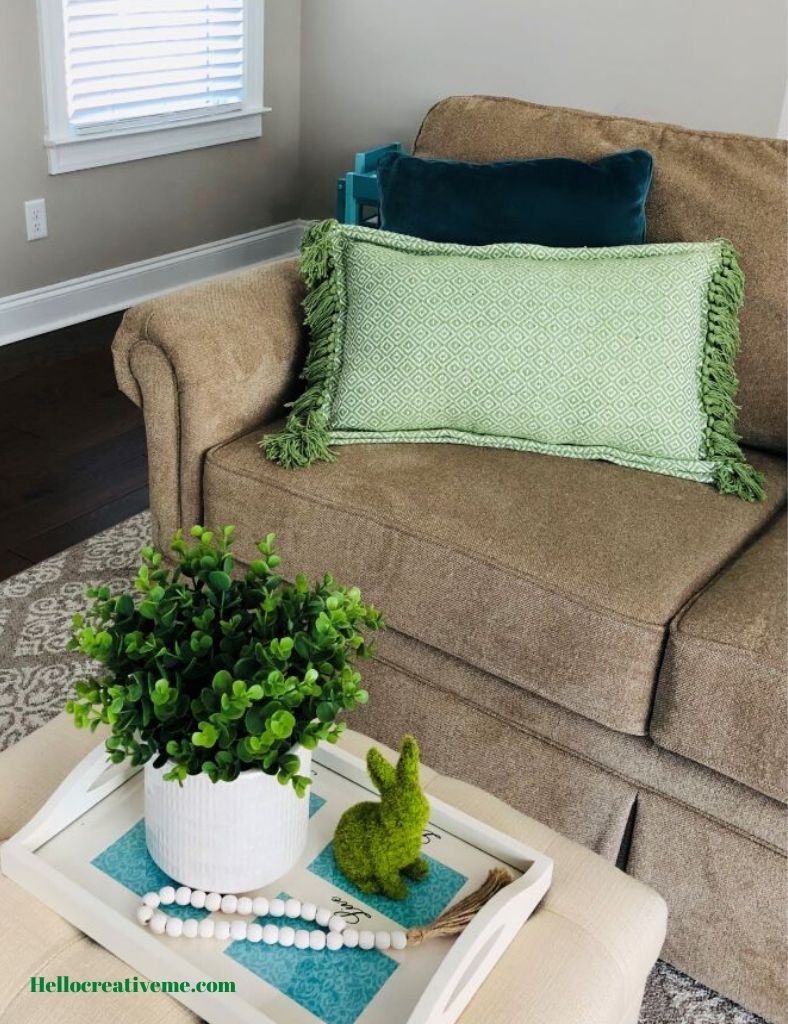
But I loved the bright green color, the geometric pattern and the texture. Hmmm… too tiny for a rug but…the size seemed perfect for a lumbar pillow.
Now I LOVE pillows!!! Truly my obsession with them is slowly being tamed…maybe. I have been making my own pillow covers so I can change out my pillows often yet not have the hassle of storing them anymore. An easy solution. And fun to do. Especially for holiday or seasonal decor like I did with this Valentine’s Day pillow.
But this tiny green throw rug seemed to be saying help…I can be so much more!! (Or perhaps that’s my overactive imagination.) Anyhow…
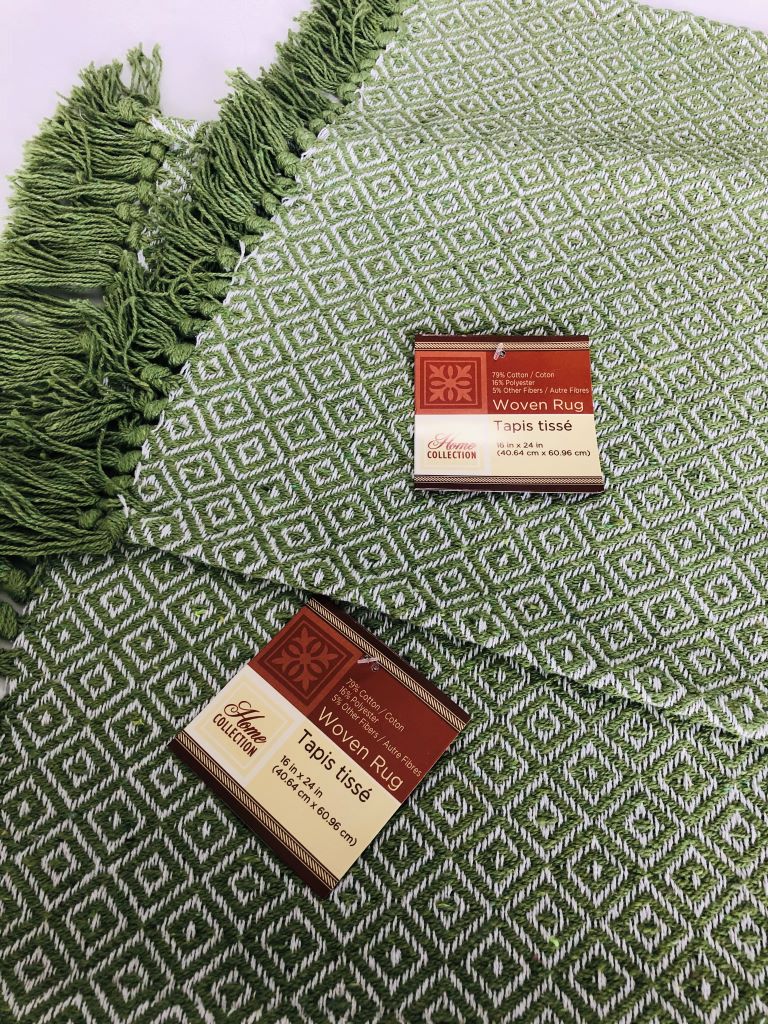
The color was fabulous. I loved the geometric pattern. The rugs had a nubby type texture that that felt nice and looked awesome. The fringe on the end sealed the deal.
These rugs would make a really cute pillow!! So I bought two. Only two… taming that pillow obsession thing remember? Two dollars for a pillow?!? What a deal!!!!
So home they went to transform themselves into “something more”. This is how I did it.
Steps and Tips For Sewing a DIY Throw Rug Pillow
This easy project only needs a few supplies:
- 2 throw rugs… mine came from the Dollar Tree
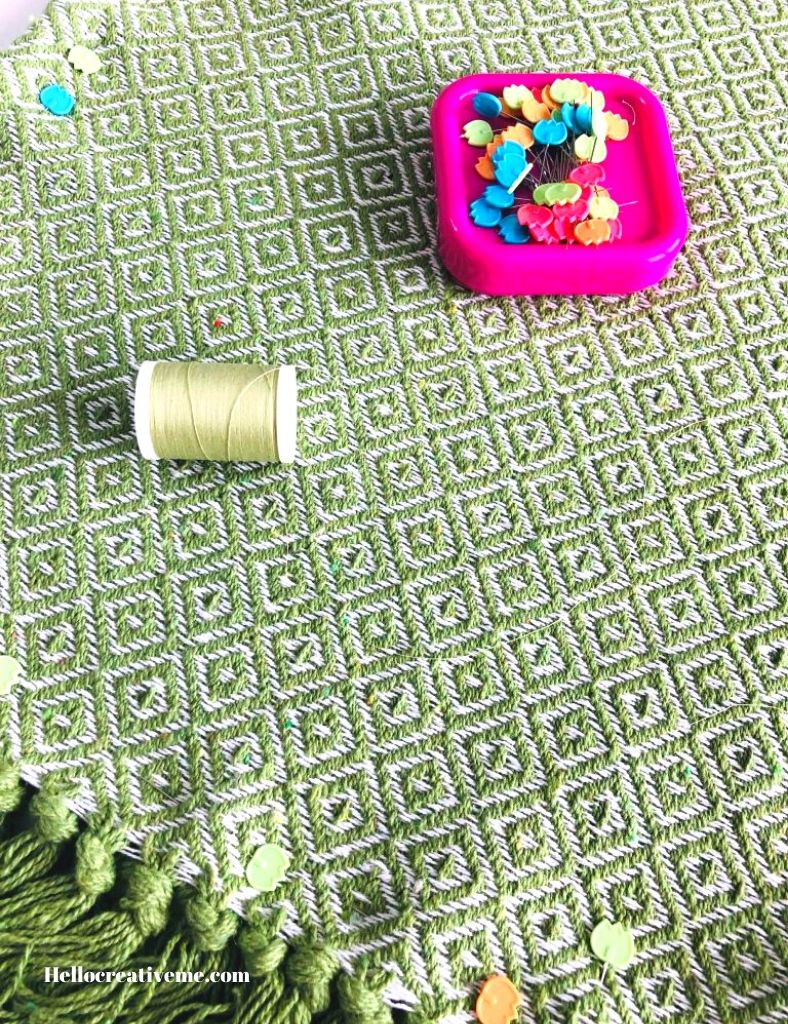
- thread that coordinates with fabric
- pins
- needle for hand sewing
- fiberfill
- sewing machine
- scissors
Now these rugs have a thick hem edge on two sides and fringe on the other sides. So you will sew them with wrong sides together, kinda like making a pillow sandwich and the rugs are the bread.
They will not be turned inside out like most pillows are when you sew them.
So first cut off all the tags and sewn in labels from the rugs.
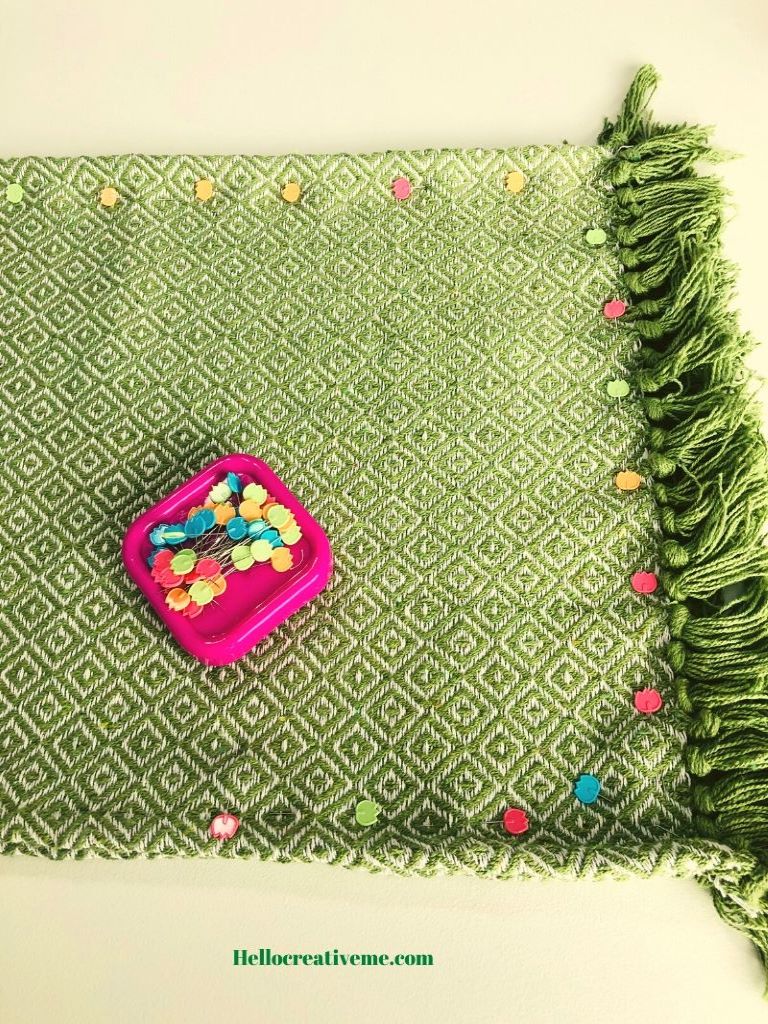
Next, place rugs wrong sides together. Line up edges and pin all around.
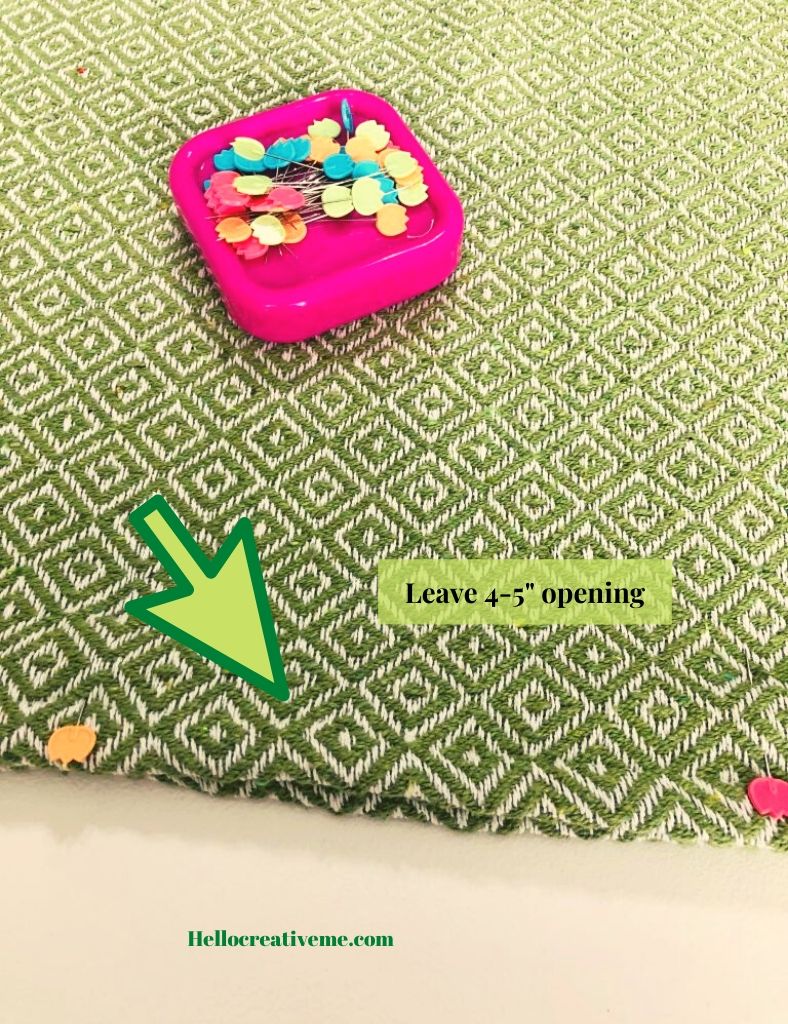
Leave an opening about 4-5″ at the bottom for stuffing. Mark this opening with your pins.
The rug has a thick hem edge on the top and bottom that makes it a little tricky for sewing. To avoid sewing through all those thick layers just line the presser foot as close to the edge as you can.
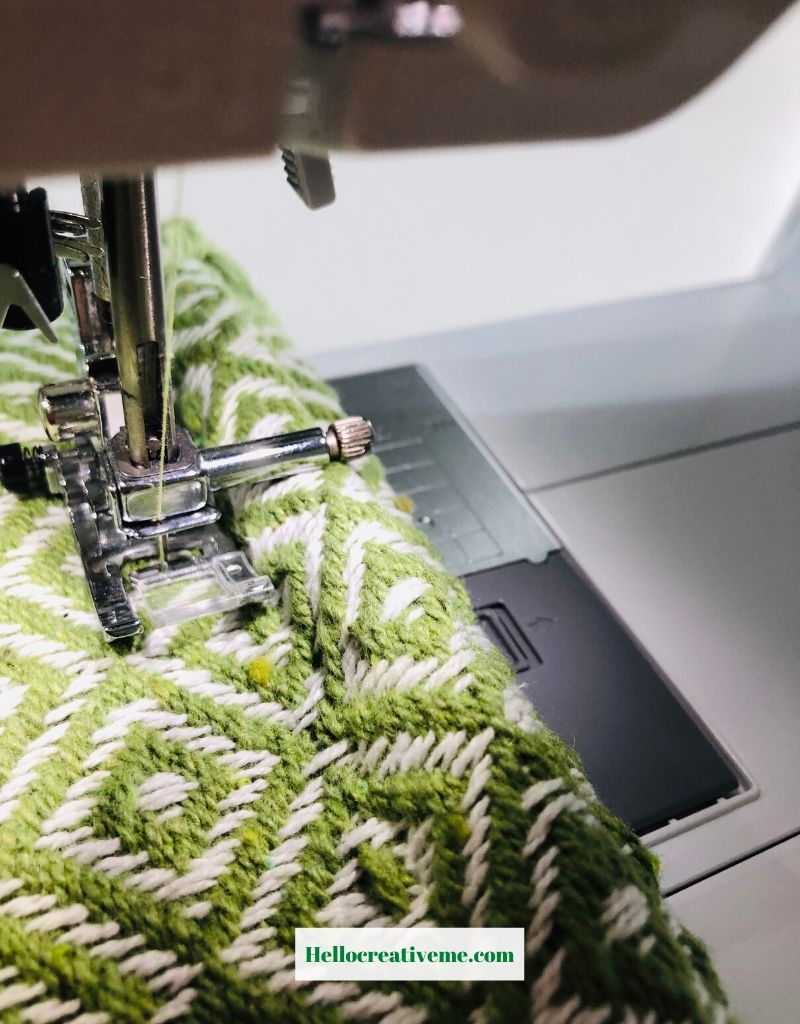
Tip: It’s best to keep the bulk of the rug to the left of the presser foot. This way your presser foot won’t get caught in the fabric. Ask me how I know this. But the seam ripper is your friend!!
Then sew around the edges of the rug leaving the opening for stuffing. Be sure to back stitch at the beginning and end for added support.
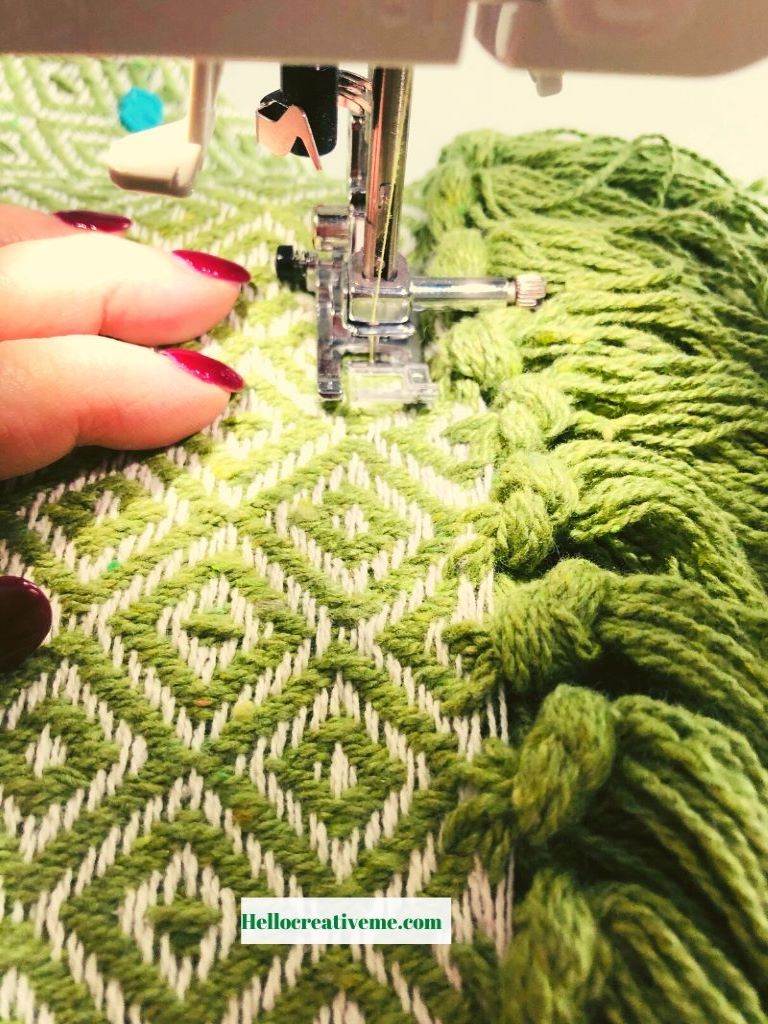
When sewing the sides with the fringe, check underneath the rug to be sure no stray strings are getting pulled into the seam as the rug moves through the machine.
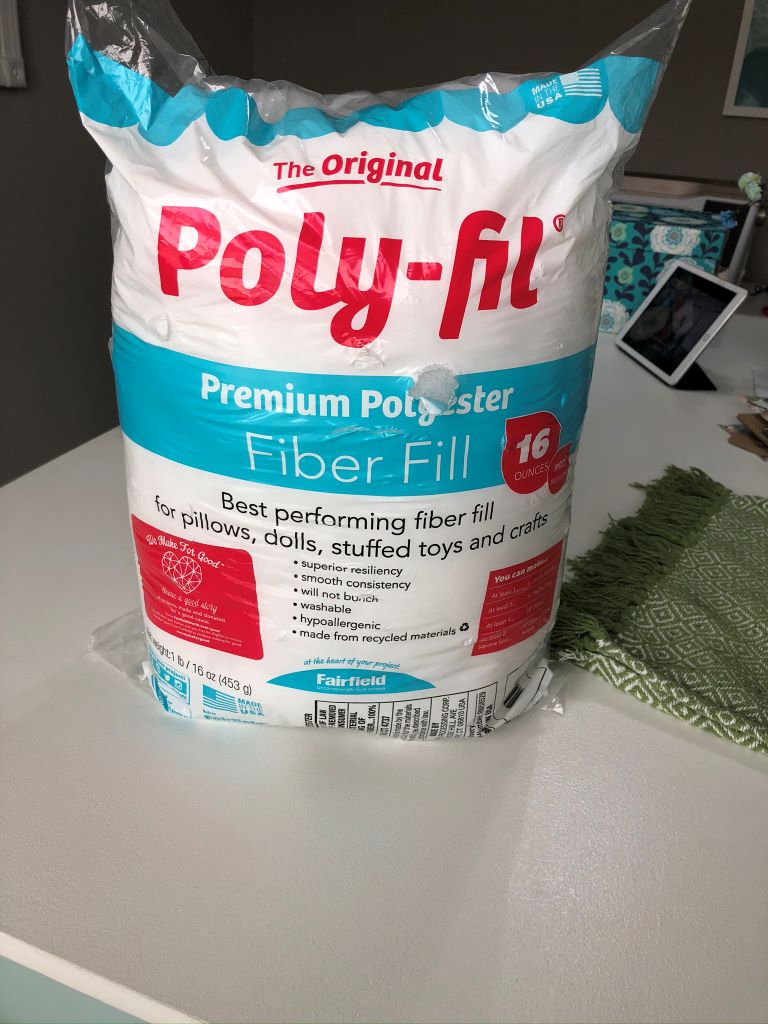
Then stuff with fiberfill. I used one 16 oz. bag for this pillow.
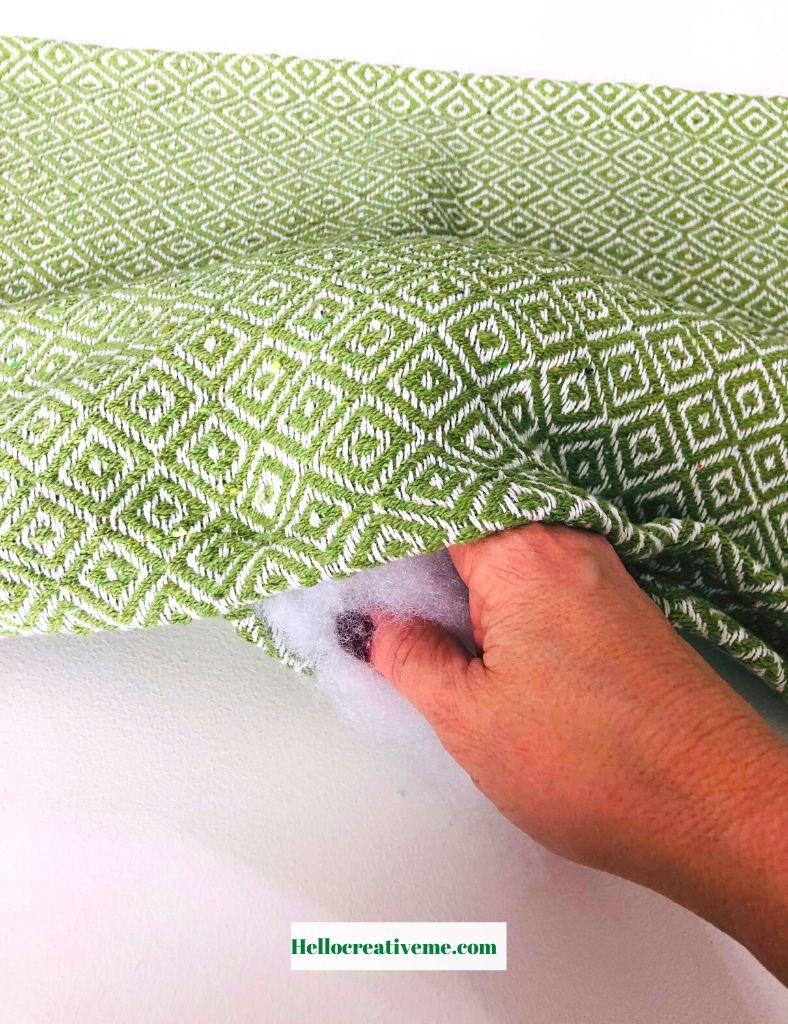

Finally, hand stitch the opening closed. And you’re done!!
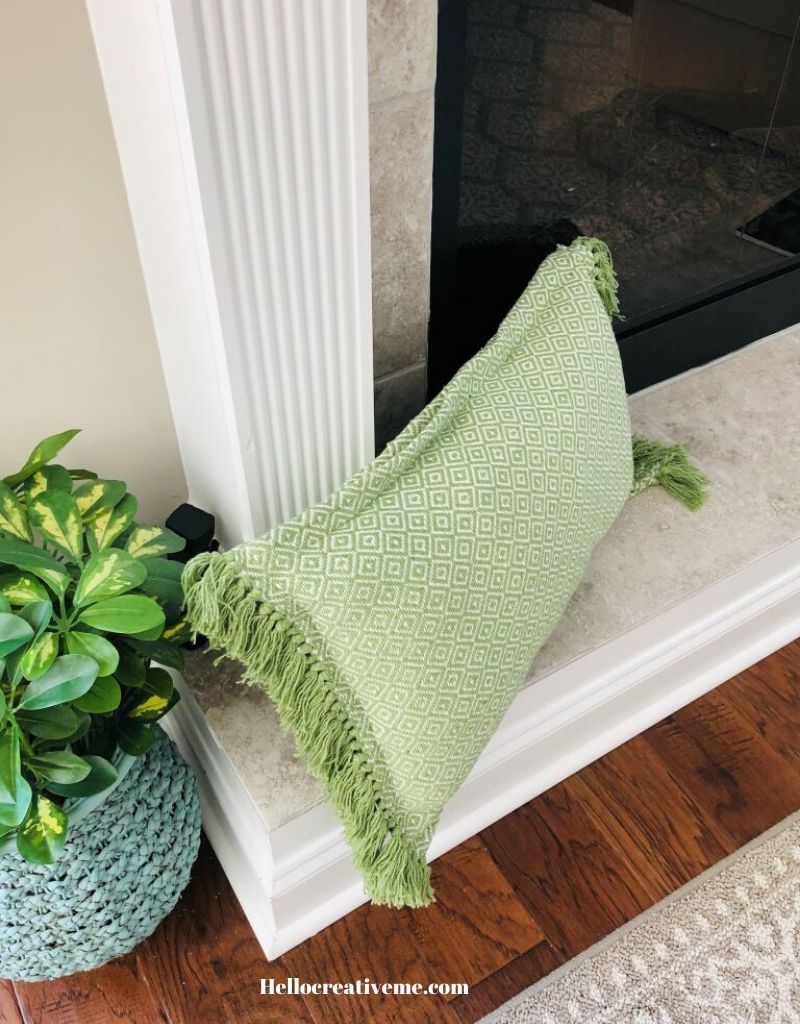
Fluff your pillow and enjoy!!
See! Very quick and easy. The cost of this throw rug pillow was about six dollars… $2 for the throw rugs and about $4 for the new bag of fiberfill. Less than an hour of time and I have a new pillow to help add a touch of spring to my home.
Now c’mon spring hurry up!!
How do you add those first touches of spring to your home?
Pin This For Later

Your pillow looks great! I’ve not noticed their rugs before, and they look nice for being from the Dollar Tree. Pinned. Visiting from Wow Me Wednesday. 🙂
Thanks Allyson! Thanks for visiting.
Sherry, I love a good pillow project and especially one that starts at Dollar Tree. Great tutorial and thanks for sharing at Tuesday Turn About Link Party. Pinned to my DIY Projects Board.