Do you often have more than one project going on at a time? Have trouble keeping up with where you left off or what needs to be done next? Yeah, me too. Being organized with my projects in the craft room became easier for me when I created this DIY Project Board. It may just help you too.
I usually have more than one craft, sewing, or home decor project in the works at one time. Either actively working on it or planning ahead for the next project. I often only have small pockets of time to work on my projects due to….well, life. And other responsibilities. Sound familiar?

It seemed like I spent more time trying to remember where I left off and what I needed to do next rather than actually working on my projects. Ugh!!
So I created this DIY project board for my craft room as a way to help me keep my projects and myself organized. And the best part…I made it from thrift store art!!!
In the past I have made fancier dry erase boards using a picture frame and scrapbook paper like I did here. I considered something similar for the craft room.
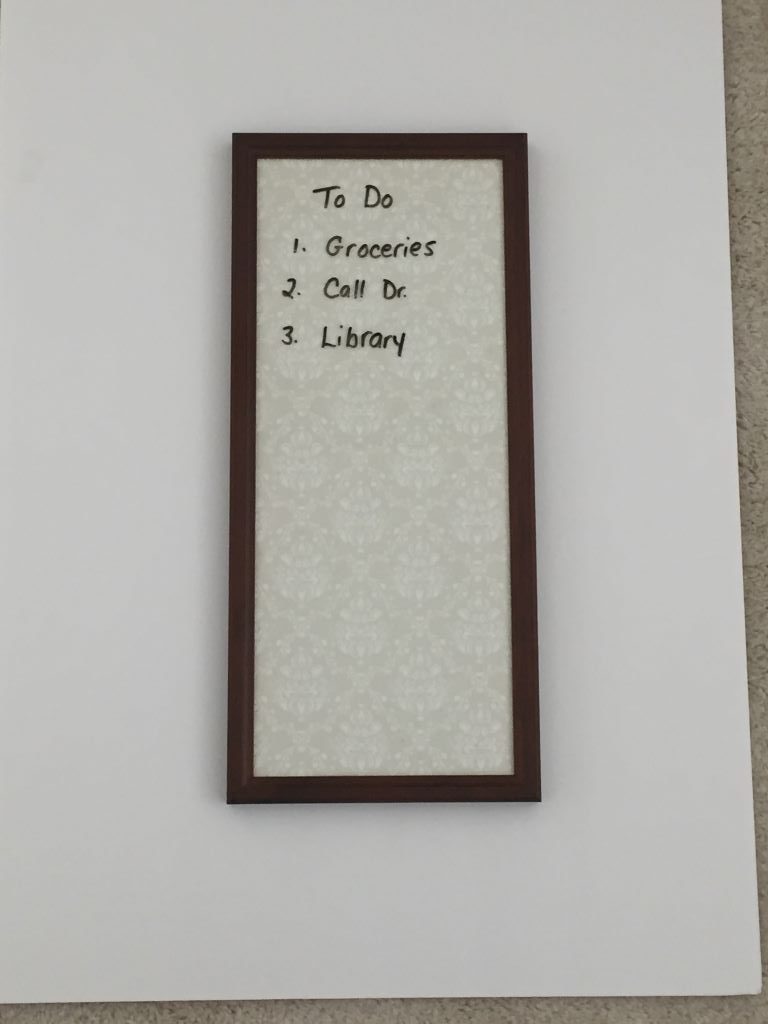
But I really wanted something on a larger scale. I searched for a large glass picture frame I could use but no such luck. Then one day I was browsing my local thrift store and I came upon this framed artwork.
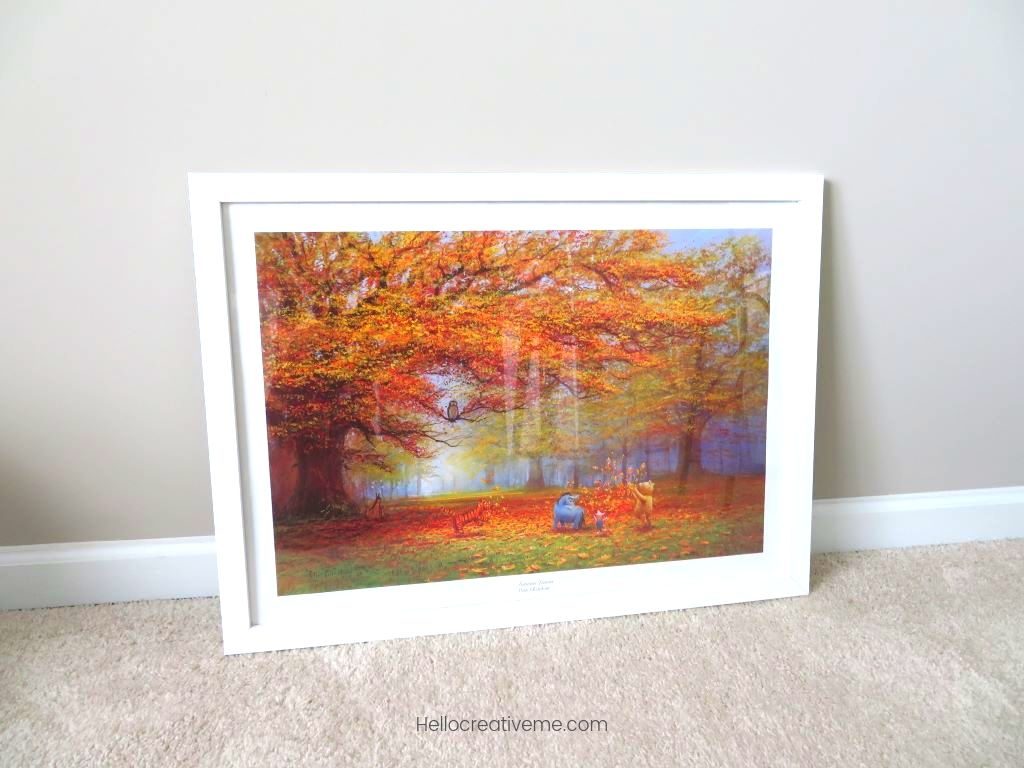
The size and shape were perfect! It measures 20″ by 30″. The frame was already white and in great condition. It even had a hanging wire on the back of the frame. The cover was acrylic instead of glass, which made it lightweight. And it was only $4!!! I had an idea of what I could do but I wasn’t sure it would work with the acrylic covering. But for $4 I’d give it a try.
Transform old artwork from the thrift store into a project board
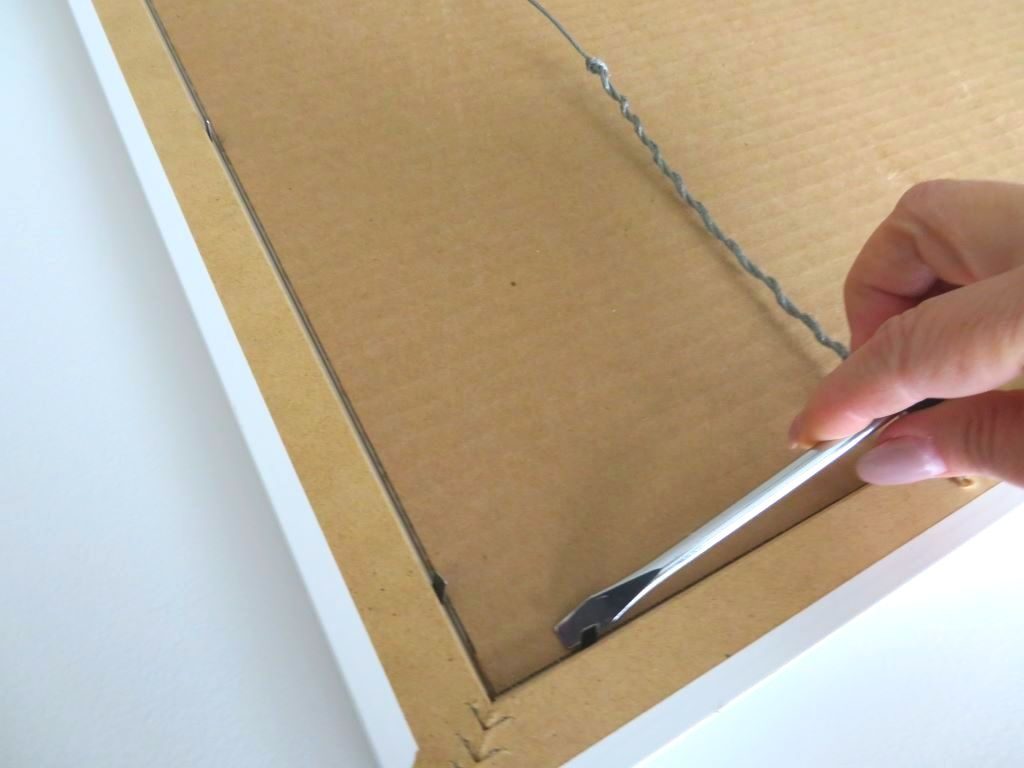
First I carefully pried off the backing and removed the acrylic cover. Then I cleaned it.
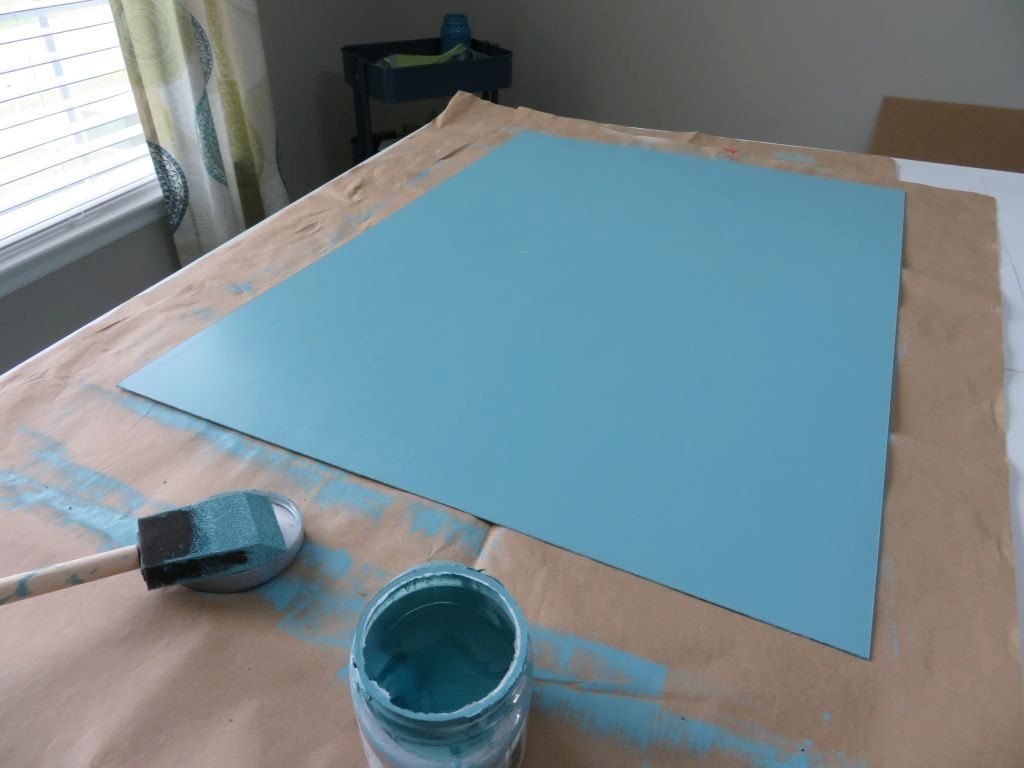
Next I painted one side of the acrylic cover with the same paint I used on my craft table base…Sherwin Williams Reflecting Pool. Gave it 2 coats and let it dry.
I carefully reassembled the picture frame making sure the painted side was facing the back of the frame not the front. This is important because you do not want the paint getting scratched off.
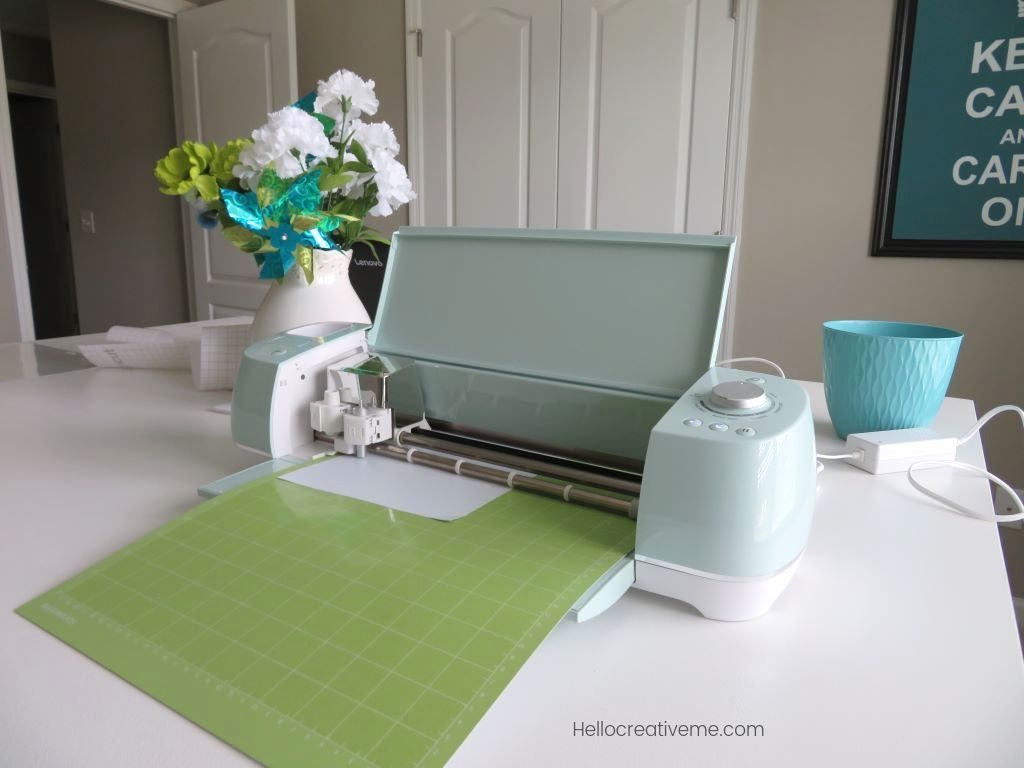
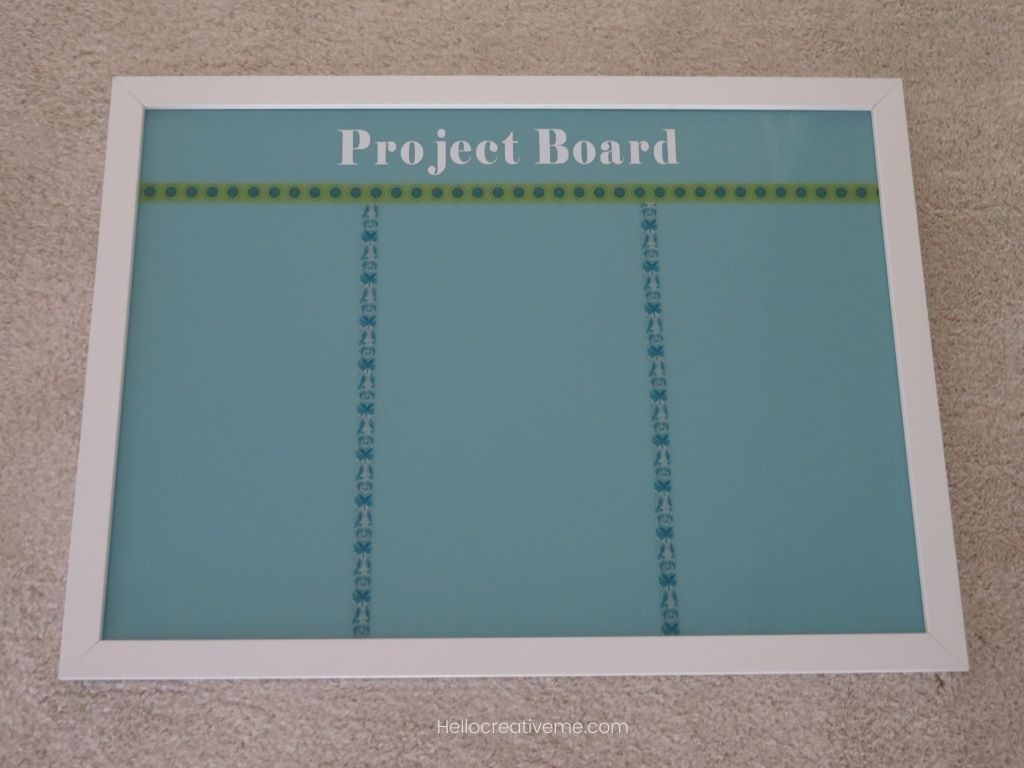
I loved the color!! However it looked a little too plain. So I raided my stash of washi tape and found some colors that would coordinate with my new craft room. I used the washi tape to create three columns. The “Project Board” letters I cut from white vinyl with my Cricut machine.
And this is how it turned out.
Originally I planned to use dry erase markers on the board. But they can be so messy and I didn’t want all that marker dust getting all over EVERYTHING. (And it will!!!. As a former teacher I can attest to that!).
I thought about using my fine tip sharpies. Did you know you can write on the glass and remove it with a wet wipe?!? I tried it on my acrylic cover and it worked…but still too messy.
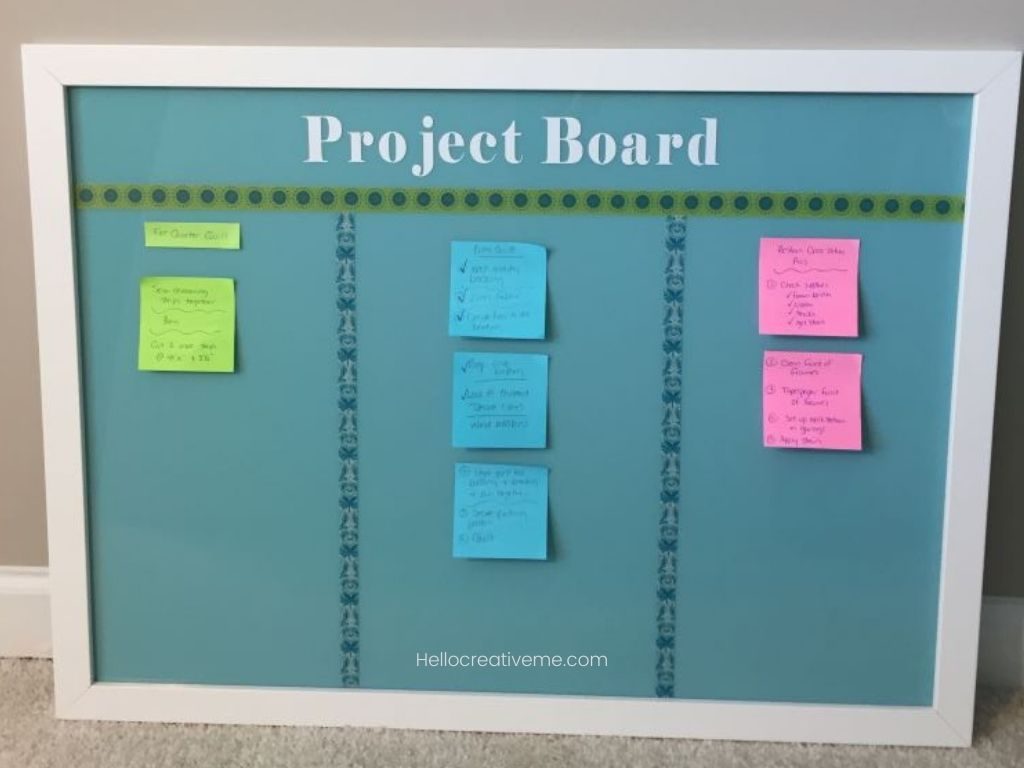
So I chose to use post it notes instead. No mess. Easy to remove. And adds another pop of color to my room
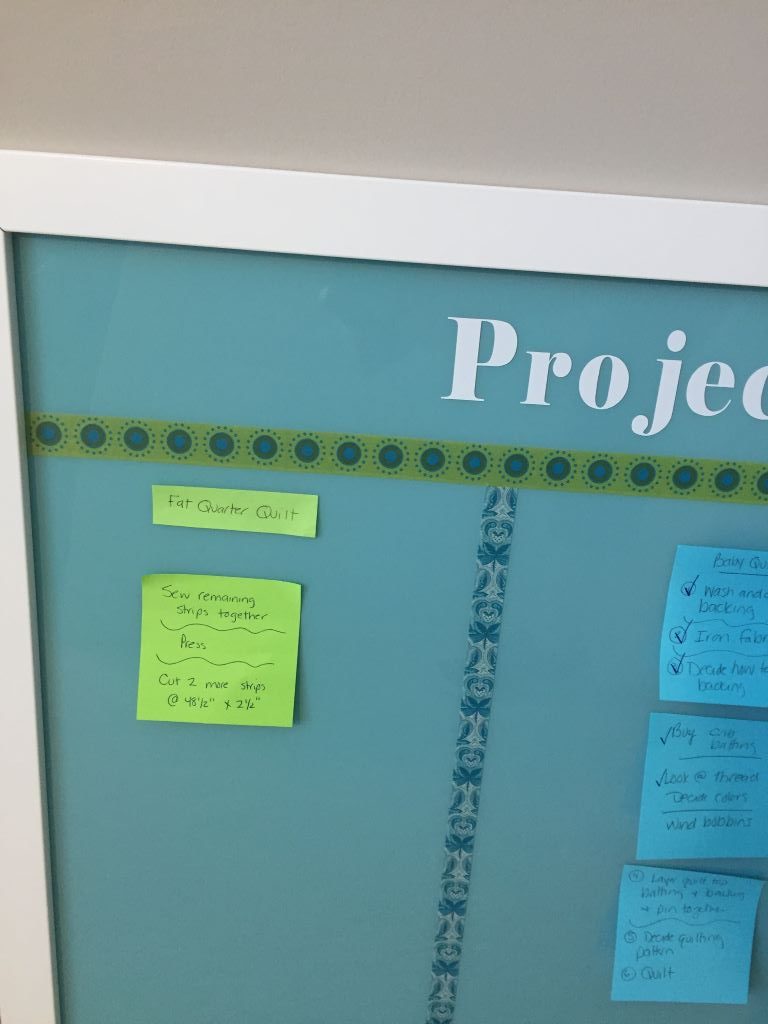
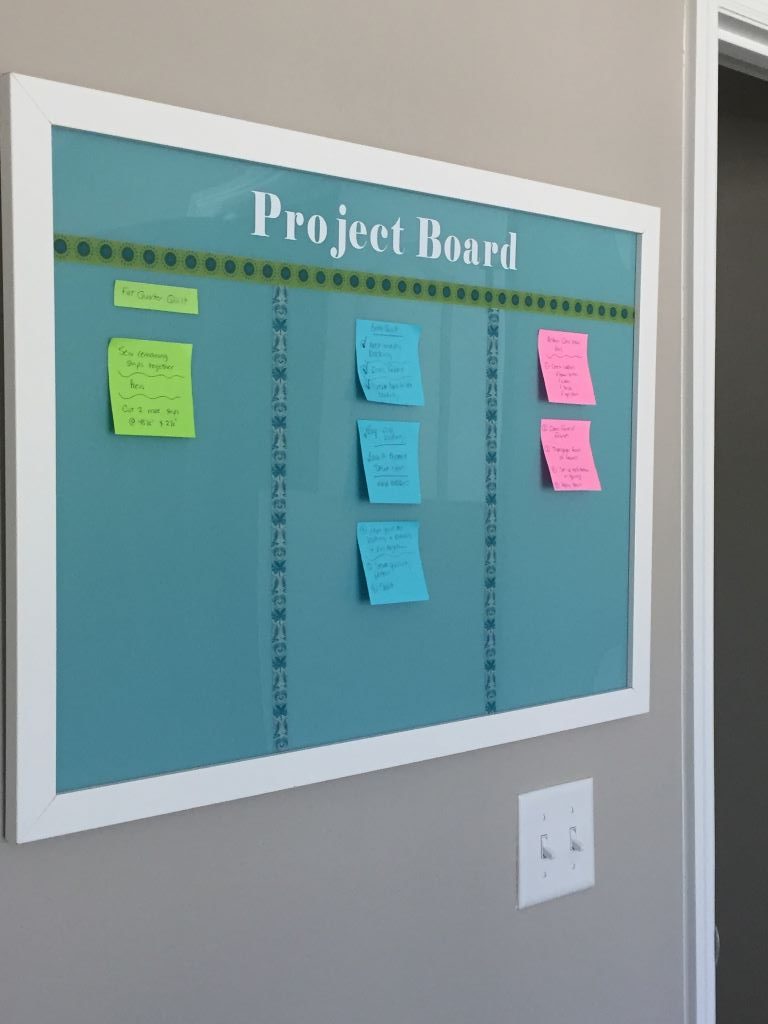
It was challenging to get good pictures of my new project board because of the glare and reflection. Here it is hanging on the wall just as you enter the craft room…a perfect location.
My DIY project board helps keep me organized. It also helps me to be more efficient in the use of my time. I break down my projects into smaller, more manageable tasks so I know what I need to do next on my projects. Now I no longer waste precious time trying to remember where I left off or searching for the next step. So if I only have 15-20 minutes I know exactly what task to do next. And little by little it gets done.
This DIY project board idea is useful for so many other things as well. Grocery lists, menu planning, household tasks, etc.
Let’s take another look. From this:
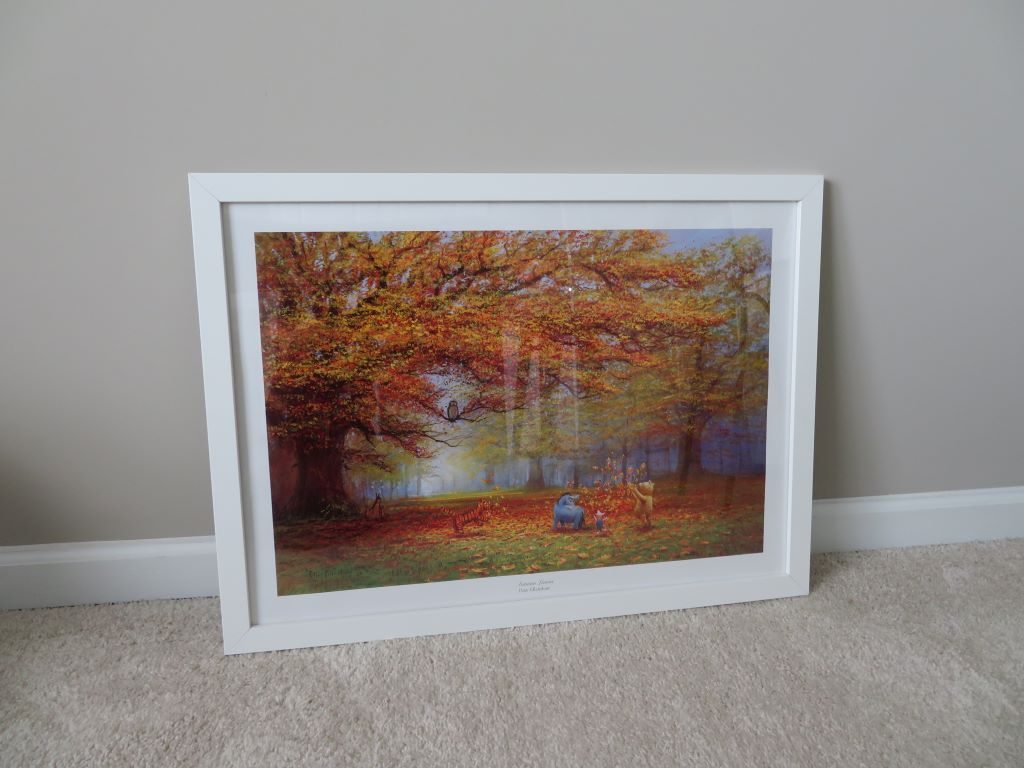
To this:

A creative and pretty way to get stuff done!
What are some ways you keep your projects organized?
~Sherry
Pin for later!
Sherry, what a smart idea for a project board… you could pick this type of item up at any thrift store, that’s for sure! Thanks for sharing at TTA! It’s good to have you back this week!
Thanks Julie. I love when I can repurpose items.